Overview
A pool is used to delimit a separate process, which generally comes from a different organization. All types of flows can connect normal processes to sub-processes, but processes in separate pools can only communicate via message flows.
Understanding Pools and Lanes
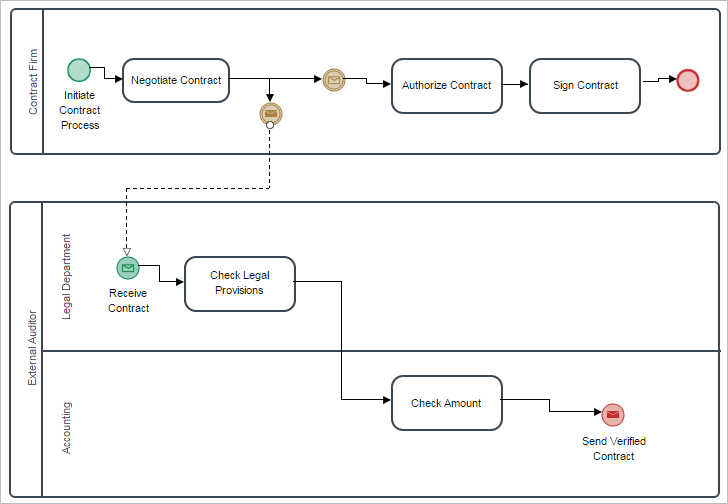
A pool is an organizational boundary that encompasses all the elements of a single process. A pool is used to delimit an organization's process and create communication with other organizations' processes. Unlike normal sequence flows inside ProcessMaker, which are shown as solid black lines, the message flows between pools are shown as dashed black lines.
There are two types of pools. A normal pool (which is also known as a white box pool) displays its internal details, so it is possible to create connections directly with the objects inside the pool. In contrast, a black box pool hides all its internal details, so it is not possible to view the events, tasks, gateways, etc. that constitute the process inside a black box pool. Only the connections to and from a black box pool can be viewed.
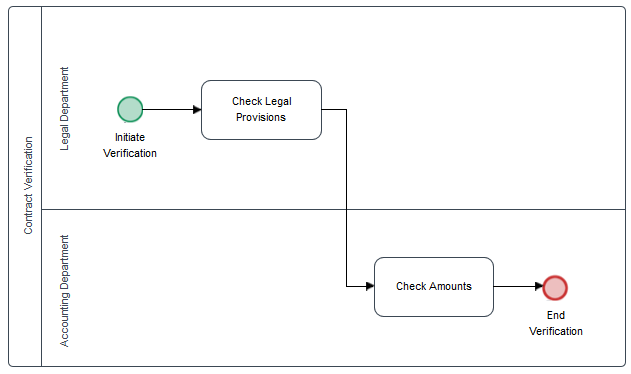
Inside a normal pool, the elements in a process can be divided up using horizontal or vertical lines, which are called swimlanes, or more simply, lanes. In most cases, these lanes are used to separate the tasks assigned to different users or groups, such as management, sales, accounting, etc., but lanes can be used for any kind of grouping, such as timing, geographical location, hierarchical organization, etc.
Pools
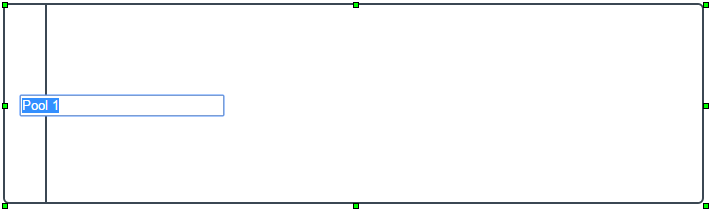
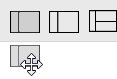
To add a pool to the design of the process, drag and drop the pool symbol from the shapes toolbox onto the designer map.
The new pool will be automatically named "Pool 1" when added to the Process Map.
Pools have an ascending order, therefore when adding a new Pool it will start with "Pool 1", next will be "Pool 2" then "Pool 3" and so on.
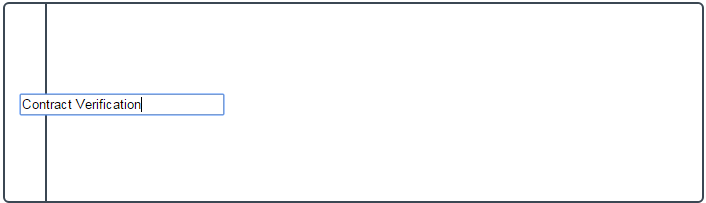
To change the name of the pool, double click on its name to enable the edit mode.
To add elements to the pool, such as activities, events and gateways, either move existing elements into the pool or drag new elements from the Shapes toolbox and drop them inside the pool.
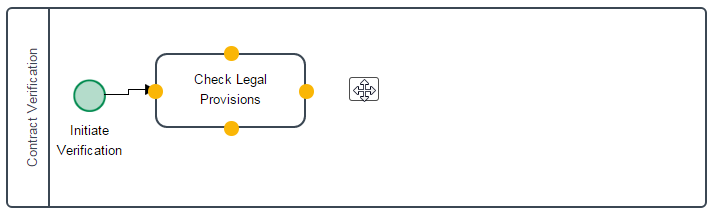
Remember that as of version 3.0.1, elements are easily added using the Quick Toolbar.
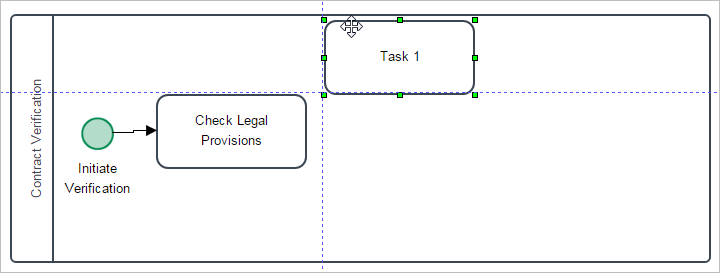
Elements that are not part of the pool box are superimposed by the pool and its elements, even if they seem to be part of the elements of the pool box. When a pool box is moved, it moves along with its elements, but elements that are not part of the pool box do not move along.
Note: To add an existing process to a pool, do NOT create a new pool on top of the process. Instead, create the new pool in a blank area in the designer and resize it so it is big enough to encompass the entire process. Then select the entire process with the group selector tool and drag it into the pool.
To move a pool, click on it so that green boxes appear on its borders, then drag and drop it to a new location on the designer map.

To resize a pool, click on it so that green boxes appear on its borders. Then, click down on one of the green boxes and drag it to resize the box.

To delete a pool, click on it so that green boxes appear on its borders. Then press the Delete key on the keyboard. All the elements inside the pool will also be deleted.
Another way to delete the pool is to click on it and the trash icon will appear (available as of version 3.0.1)

Lanes
Lanes are used to divide up a pool into sections. They can be used to indicate different departments or offices, geographical regions, conceptual differences, etc.
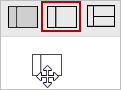
To add a lane to a pool, drag a pool from the shapes toolbox and drop it inside an existing pool.
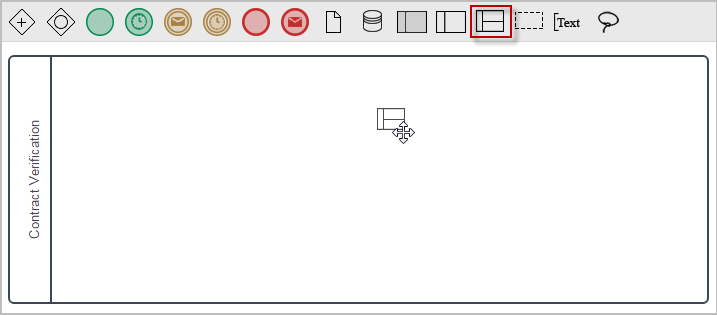
The new lane will appear in the pool, adding a label on the left-hand side of the pool.
![]()
There is currently an inconvenience when creating pools that prevents existing elements in a pool (such as events, activities and gateways) from being edited once a lane is added. When this happens a quick error message will appear. Therefore, it is recommended to first add the lanes to a pool, then add the elements later.

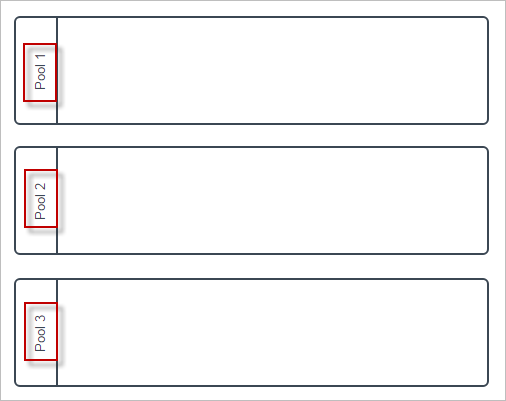
To add additional sections to the pool, drag more lanes from the Shapes toolbox and drop them on the pool.

The lanes can be renamed and additional elements can be added to the lanes.
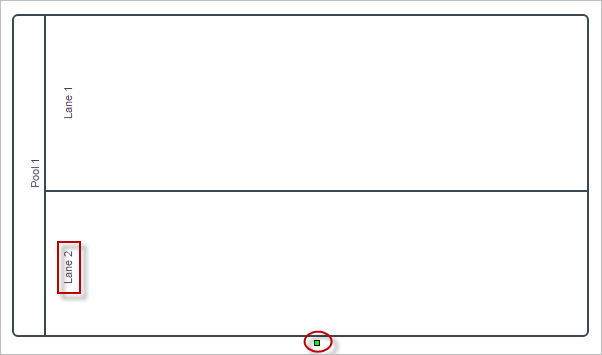
Each lane can be resized by clicking on it to make green boxes appear on the bottom and right-hand borders. Then drag and drop the green box to a new location to resize the lane.
To resize or move the entire pool after adding lanes, click on the left-hand side of the pool where its name is located to make green boxes appear around the entire pool. Then drag and drop one of the green boxes to resize it. To move it, click down inside the pool and drag and drop it to a new location.
To delete a lane and all the new elements that were added inside it, click on the lane so a green box appears on its borders and then press the Delete key on the keyboard.
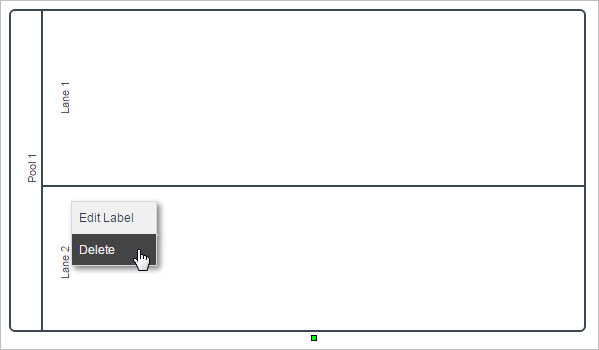
A lane can also be erased by right clicking on it and selecting Delete. The lane will disappear immediately.
Message Flows Between Pools
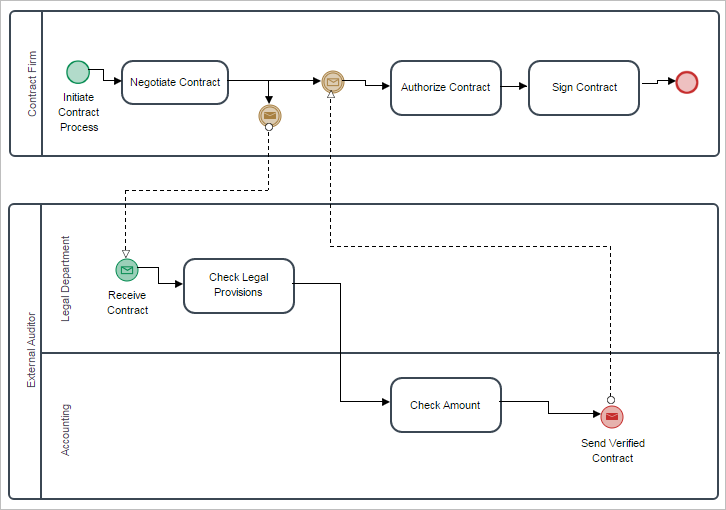
According to the BPMN 2.0 standard, each pool should contain a separate process, with starting and ending events and an unbroken flow from start to end. To communicate between processes in separate pools, message flows can pass between the processes, but sequence flows can not pass between pools. Sequence flows are represented by solid lines, whereas message flows are represented by dashed lines.
To send a message between pools, click on an element inside the first pool, and when the Quick Toolbar appears, use a connection arrow to drag a line from the first pool to the second pool.
Notice that the flow is indicated with a dashed line, which means that it is a message flow, rather than a sequence flow.
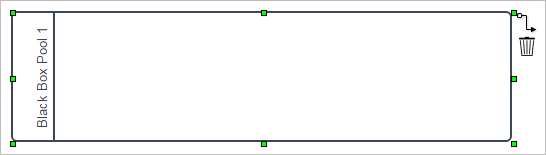
Black Box Pools
Note: Take into consideration that ProcessMaker 3.0 and on has implemented Black Box Pools in the process designer but these pools haven't yet been implemented in the process engine. Therefore, Black Box Pools must be used for design purposes only. Please be on the lookout for future releases.
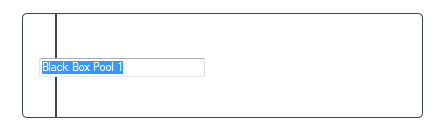
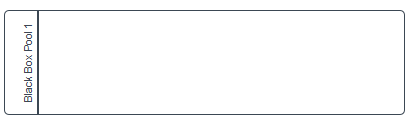
Add a Black Box Pool by dragging and dropping its symbol from the Shapes toolbox onto the process map.
Add a label to a Black Box Pool by double clicking on the pool and entering the label's text.
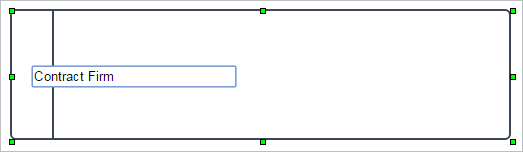
To move a pool, click once on the pool, so it is bordered by green squares. Then drag and drop it to a new location. Note that no other elements can be placed inside a black box pool, so it is not a good idea to place it on top of any existing elements in the process map. To resize a pool, use the green squares on its sides to adjust the pool to the needed size.
For the moment, dropping elements into a Black Box Pool will not be effective, therefore it is advisable not to add any elements and use them only for illustration purposes only.
To delete a pool, press the Delete key on the keyboard when a pool is bordered by green squares. A Black Box Pool can also be erased by clicking on it and using the Quick Toolbar.