Oracle
Read this page to connect ProcessMaker 3.2 or later to an Oracle database. If the Oracle database does NOT use the UTF-8 character set used by ProcessMaker, please read the Converting Oracle to UTF-8 section.
Windows
-
Make sure that PHP 7.1 or above is installed on your server.
-
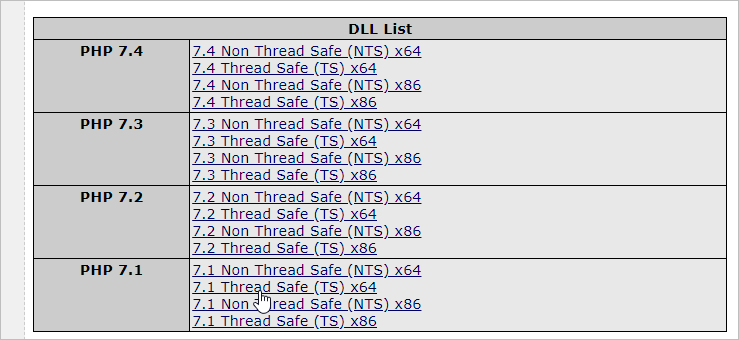
In the OCI8 Oracle database extension, click the DLL link on the 2.2.0 version of the Available Releases.

-
Choose the link according to the PHP version on your server and click to download the DLL file.
-
In the
php.iniconfiguration file, add the following extensions:extension=oci8.so extension=php_oci8_12c.dll 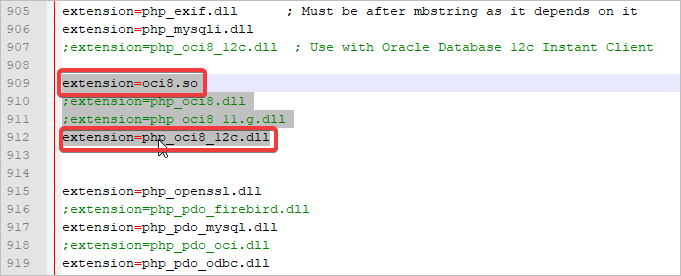
-
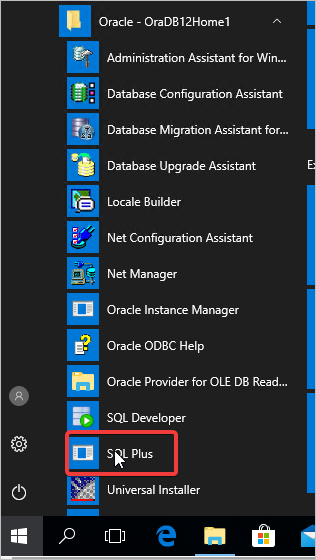
Open SQL Plus on your server.
-
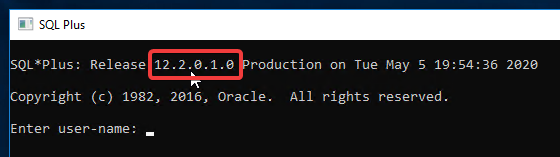
Take note of the release version displayed.
-
From the Oracle Instant Client Downloads select the link according to your server version.
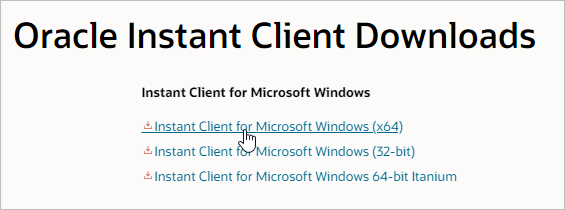
-
Download the package and make sure that the version selected is the same or above than the one shown previously by the SQL Plus.
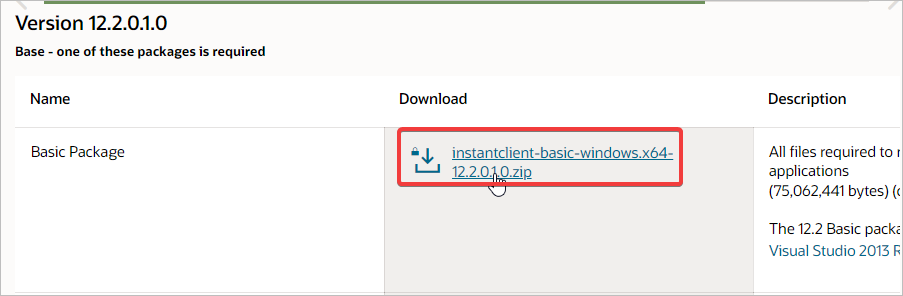
-
Extract the downloaded client on the
C:\Oraclepath. -
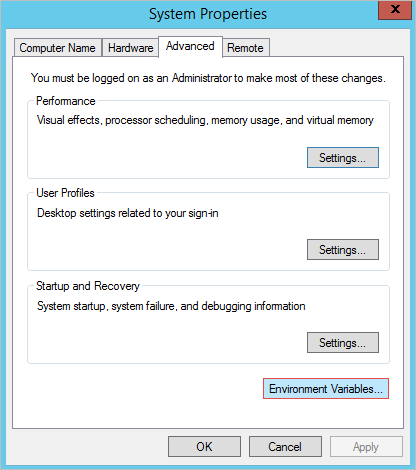
Go to the Control Panel > System.
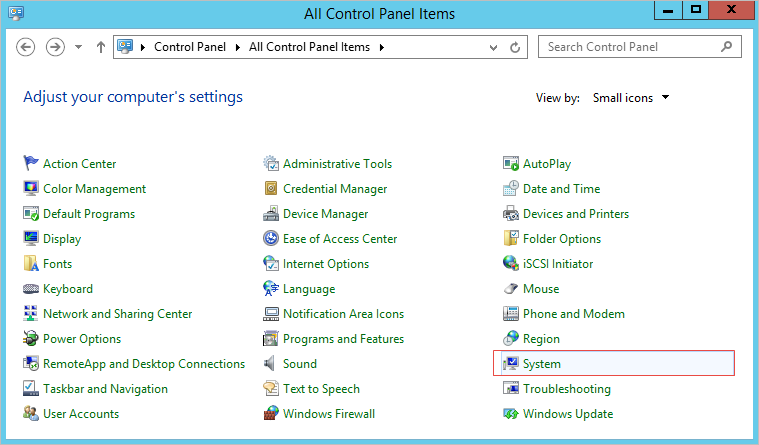
-
Click on the Advanced system settings option on the Control Panel Home.
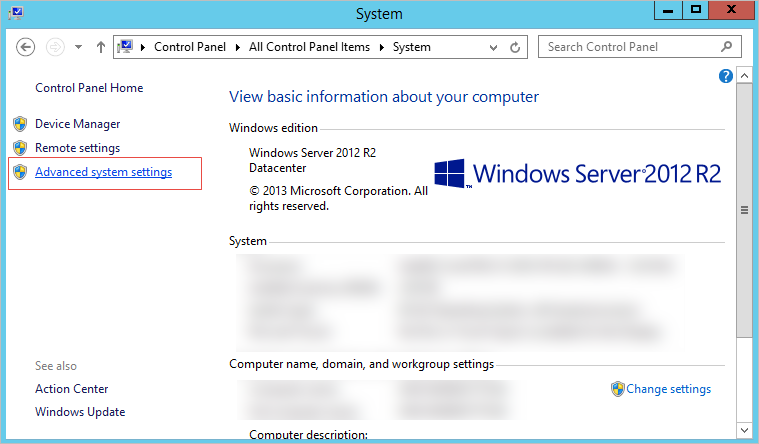
-
Click on Environment Variables.
-
In the System variables section, click New.
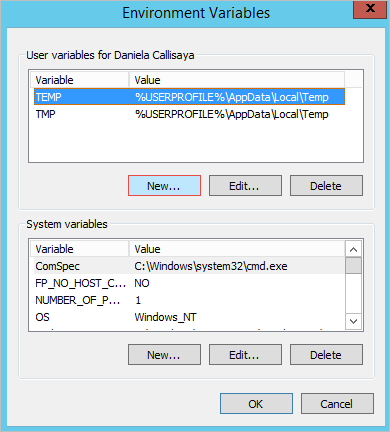
-
Add the Oracle Client path and then click Save.
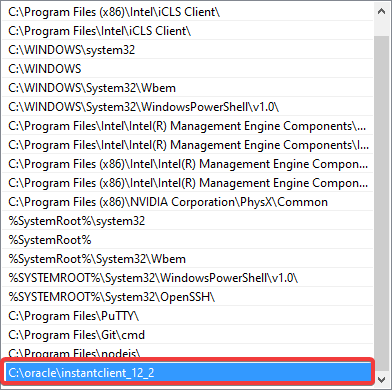
-
Restart the server to apply the changes.
Linux
Red Hat/CentOS
Open a terminal on the server where ProcessMaker is installed and log in as root to install the following packages required by the Oracle Instant client:
Note: These PHP packages names may vary according to the distribution.
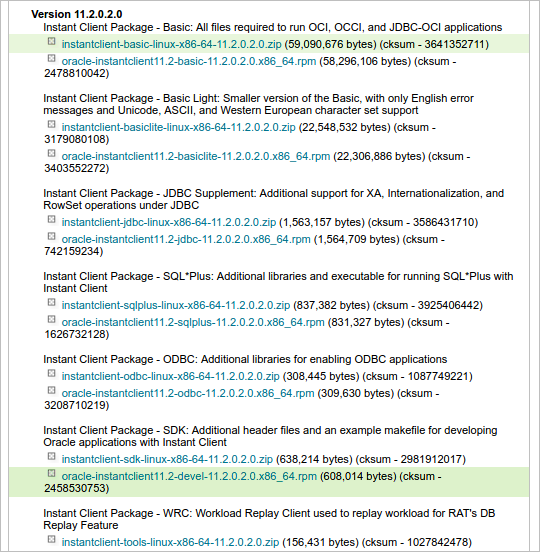
Go to the Oracle Instant Client Downloads page.
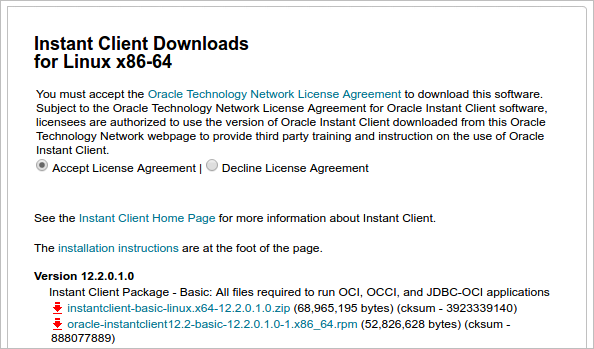
Download the Instant Client Basic and Instant Client Devel RPM packages for the version of your Oracle database. For example, for Oracle v.11.2.0.2, download the files named "oracle-instantclient-basic-11.2.0.2-1.x86_64.rpm" and "oracle-instantclient-devel-11.2.0.2-1.x86_64.rpm".
When the RPM files are downloaded, issue the following command to install them (do not forget to change the version of the files).

After, install the oci8 driver with the following command:
The command prompt will ask for the location of the ORACLE_HOME directory. Press ENTER to autodetect it.

After the installation is finished, a confirmation message displays.

Finally, open the php.ini file, which is usually located on CentOS at /etc/php.ini, and add the following line:

Restart Apache.
Log in to ProcessMaker, go to Designer and open a process using the Edit option.
Click on the Database Connections button in the Process Objects toolbox and create a new connection. In the Engine dropdown box, "Oracle" should display as an option:

Oracle Troubleshooting
If there is a problem connecting to the database, you can try to identify the cause by following the instructions below:
- Check the Apache error log file for startup errors.
- Temporarily set
display_errors=Onin php.ini so script errors display. Switch it back to off when finished for security reasons. - Read Chapter 9 of The Underground PHP and Oracle Manual, which contains information about common connection errors and discusses alternative ways to set up environment variables.
- Download the Oracle's SQL*Plus command line tool from the Instant Client page and check whether the SQL*Plus can connect. Ensure the Environment section (not the Apache Environment section) of phpinfo.php displays the equivalent environment settings.
-
Create a script to test the OCI8 extension. For example, create a file named "testoci8.php" at the location <install-directory>/workflow/public_html/testoci8.php with the following content:
<?php //change the username, password, machine, domain and address: $conn = oci_connect('USERNAME', 'PASSWORD', 'MACHINE.DOMAIN/DATABASE'); $stid = oci_parse($conn, 'SELECT COLUMN from TABLE'); oci_execute($stid); echo "<table>\n"; while (($row = oci_fetch_array($stid, OCI_ASSOC+OCI_RETURN_NULLS)) != false) { echo "<tr>\n"; foreach ($row as $item) { echo " <td>".($item !== null ? htmlentities($item, ENT_QUOTES) : " ")."</td>\n"; } echo "</tr>\n"; } echo "</table>\n"; ?> Make sure to modify the connection credentials to suit your database. For example:
<?php
$conn = oci_connect('HR', 'hr', '192.168.40.205:1521/XE>');
$stid = oci_parse($conn, 'Select department_id, department_name from departments');
oci_execute($stid);
echo "<table>\n";
while (($row = oci_fetch_array($stid, OCI_ASSOC+OCI_RETURN_NULLS)) != false) {
echo "<tr>\n";
foreach ($row as $item) {
echo " <td>".($item !== null ? htmlentities($item, ENT_QUOTES) : " ")."</td>\n";
}
echo "</tr>\n";
}
echo "</table>\n";
?>Open a web browser and go to the following address:
- http://<processmaker-address>/testoci8.php
For example, if ProcessMaker is installed at the address 192.168.51.118 on port 3280, then go to:
- http://192.168.51.118:3280/testoci8.php
The query results display, as shown in the image below.
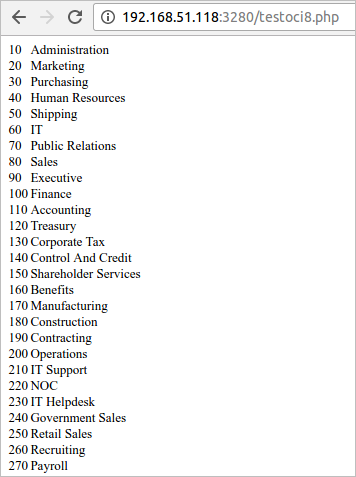
Make sure to delete the testoci8.php file when done testing.
Converting Oracle to UTF-8
If the Oracle database uses a character set other than UTF-8, then the
NLS_LANGenvironment variable needs to be set to the UTF-8 character set on the server where ProcessMaker is installed.The format for the
NLS_LANGvariable should be:[NLS_LANGUAGE]_[NLS_TERRITORY].[NLS_CHARACTERSET]First, determine the current local settings in the Oracle database with the following SQL query:
SELECT * FROM V$NLS_PARAMETERS; For example, if the local parameter is
american_america.EL8MSWIN1253, then it needs to be changed toamerican_america.UTF-8.Linux:
On a Linux server, edit the file /etc/environment with a plain text editor and add the following line:
NLS_LANG=American_America.UTF8 Unfortunately the /etc/environment file is not read by cron scripts, therefore it is also necessary to edit the /etc/profile file and adding the following line:
export NLS_LANG=American_America.UTF8 These settings should take effect the next time you reboot your server. To have them take effect immediately, enter the following text in the command line of the terminal:
export NLS_LANG=American_America.UTF8 Windows:
On a Windows server, go to Control Panel > System.
Click on the Advanced system settings option on the
Control Panel Home
.Click on Environment Variables.
In the System variables section, click New.
In the Variable Name field, enter
NLS_LANGand in the Variable Value field, enterAmerican_America.UTF8.
Click on Ok and close all dialogs. Then, reboot your server for the changes to take effect.

