Overview
Calendars allow process designers to specify the hours and days when users are expected to be at work, so that the due dates for tasks can be more accurately calculated (Timing Control). They also allow holidays to be specified, so those days are excluded when calculating the due date. Calendars can be used to calculate dates, according to how it is created, for instance, a calendar, specifying the work days, can be created, so when the salary for each month need to be calculated, it only calculates working days and not holidays or weekends.
Calendars can be created for specific processes, tasks and users. That way process can use different calendars when calculating due dates for their tasks. Likewise, users in different sections or regions of an organization can use different calendars.
Accessing Calendars
To access the list of available calendars, login as a user such as "admin" who has the PM_SETUP permission in his/her role and go to ADMIN > Settings > Calendar:
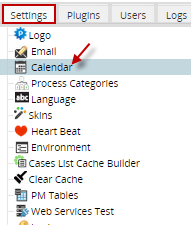
On the right side of the screen a list of the calendars available for the workspace will be shown.

Setting up Calendars
As the image below a the calendar has been grouped into four categories.
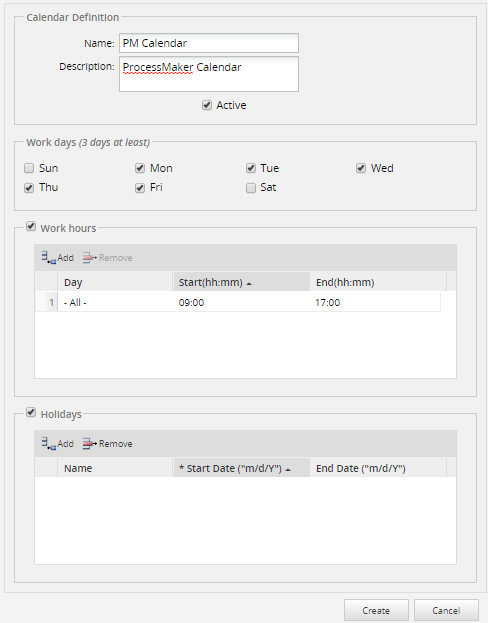
The four categories are the following:
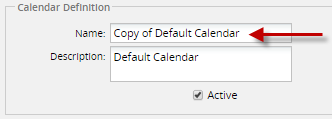
Calendar Definition: This group is to define the name for the calendar. Includes three fields: Name, description and active.
- Name: A label to identify the calendar. This text should be short yet descriptive.
- Description: A description about the Calendar, which should inform the user what is the general content or purpose of the Calendar.
- Active: Select whether the calendar is enabled or disabled.
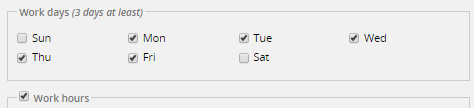
Work Days: This group has the seven days of the week with a check box to select the days. To enable the checkboxes to select the days of the week, the option Work Hours must be unchecked:
Work Hours: This group is a grid, to define as many rules as needed to determine the work hours in each day. The grid has three fields: Day, Start and End.
- Days: This dropdown box field has a list of the seven days and ALL, to set the day.
- Start: This field is to identify the starting time for the selected option in days.
- End: This field is to identify the ending time for the selected option in days.
Holidays: This group is a grid to define the holidays for the Calendar. This grid has three fields: Name, Start,End.
- Name: A label to identify the name for the holiday.
- Start: This field is to identify starting date for the holiday.
- End: This field is to identify ending time for the holiday.
Create new calendar
To create a New calendar, follow the steps below:
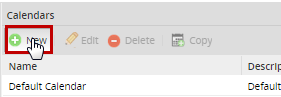
- Click on the option "New".
- In the window calendar definition, fill out all the required fields.
- After defining the new Calendar, click Save.
Note: Take into consideration that there might be some issues creating creating calendars before version 2.8.
Edit default calendar
To Edit a Calendar, follow this steps:
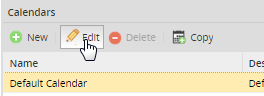
- From the calendar list, besides the name there is the option: Edit, choose the calendar to be edited and click on that option:
- In the window calendar definition, modify the fields.
- After editing the Calendar, click Save.
Delete a Calendar
To Delete a Calendar, follow this steps:
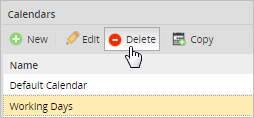
- From the calendar list, besides the name there is the option: Delete, choose the calendar to be deleted and click on that option:
Copy Calendar
To Copy a Calendar, follow this steps:
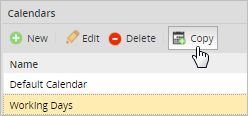
- From the calendar list, besides the name there is the option: Copy, choose the calendar to be copied and click on that option:
- A copy of the calendar will show in the window calendar definition. The word copy will be added to the end of the calendar name.
- After editing the Calendar, click Save or it will not get copied.
Assigning Calendars
A calendar can be assigned to a user, task or process. The order that the calendars will be used is:
If the calendar is not defined for the user (i.e., set to "-None-"), then it will use the task's calendar. If the task's calendar is set to "-None-", then it will use the process calendar. If the process calendar is set to "-None-", then it will use the default calendar for the entire workspace.
To User
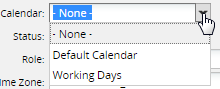
To assign a Calendar to a user, go to ADMIN > Users > Users List and edit the profile of a particular user. Under the title Personal Information there is a drop-down box named Calendar, with a list of all the calendars created for that workspace. Select the calendar from that drop-down box that this user will have. Click on Save.
Note: To assign or change a calendar in the user profile without requiring to have the PM_USERS permission in their role, the user must have the PM_EDITPERSONALINFO_CALENDAR permission.
To Task
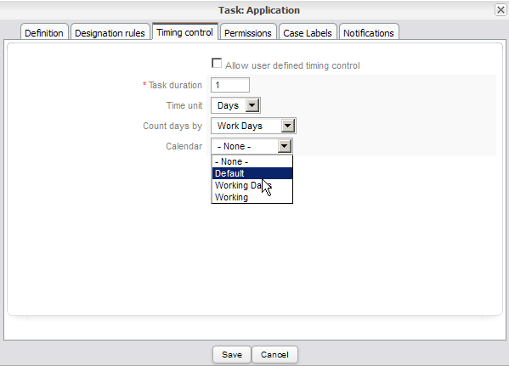
To assign a Calendar to a task, first open a process. Right click on a task in the Process Map, and select the option Properties from the menu. Click on the Timing Control tab, go to the drop-down box Calendar. Select a calendar from the list. Click on Save.
Note: The option None is by default and it means that the Default Calendar is active for this task.
To Process
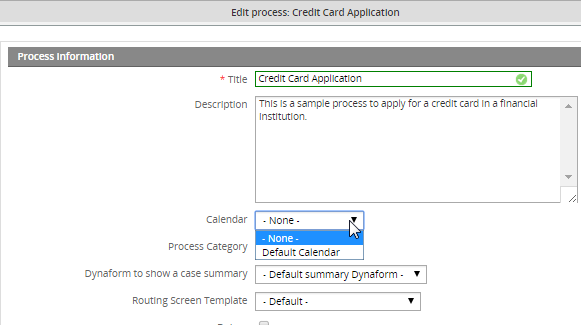
To assign the Calendar to a process, first open a Process. Right click anywhere in a blank area on the map and select the Edit Process option. Then go to the dropdownbox Calendar and select a Calendar from the list. Click on Save.
Note: The option None is by default and it means that the Default Calendar is active for this process.