Overview
| Note: The content of this page is outdated. Please review the following pages with the latest content of Public Files and Templates. |
The process file manager is used to store files which will be used in a process, such as common documents for the organization, graphics files, and email templates. The process file manager stores these files either in the "templates" directory, which stores .html files used by notifications, or in the "public" directory, which stores any other type of file.
Unlike attached files, input documents, and output documents, which are associated with individual cases and whose access is controlled by role based access control (RBAC), the files in the process file manager are not governed by RBAC and can be accessed by any user. In addition, the files in the public directory are publicly accessible (if the processmaker server has a publicly accessible IP number or domain name).
Adding Files
Open a process and go to the main toolbox of the Process Map. Hover the pointer of the mouse over the + symbol of the option "Files Manager".
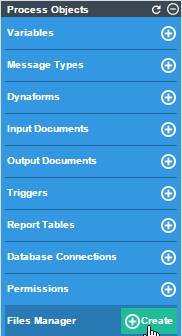
The dialog box that appears provides access to the "templates" and "public" directories.

To see the contents of a directory, click on it or its "View" option.
Templates directory
Templates are .html files used as email templates for sending notifications. Remember that uploaded templates are only available per process and not per workspace. Select this option to start working with these files.
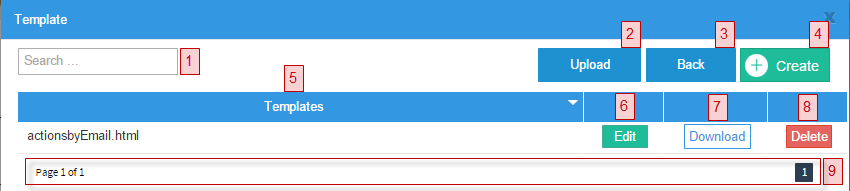
1. Text to search. Enter in this field the name of a template file. This field has the autocomplete property, which lists all matching files.
2. Upload. Click on this button to upload a file from your computer to ProcessMaker. This option is useful if the template was created in an external HTML editor, such as DreamWeaver or BlueGriffon.
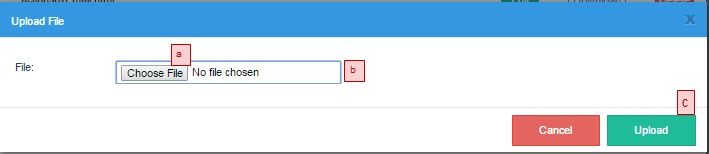
- To upload a file, click on the "Choose File" button (a) to select an .html file, so its filename is displayed in (b). Then, click on the "Upload" (c) button to add it to the templates directory.
3. Back. Click on this button to return to the previous window.
4. Create. Click on this button to create a new template in the window that opens:

- Enter the name for the template in the "Filename" field (a), without the .html extension since it will be automatically added when saving the file. Then edit the content of the template with WYSIWYG Html Editor (b). To discard the new template, click on the "Cancel" (c) button. To save the email template, click on the "Save" button (d) and the following flash message will confirm that it has been saved.
5. Templates. This column lists both the created and uploaded templates for the process.
6. Edit. Opens the HTML editor to modify the contents of the selected template.
7. Download. Click this button to download the template to your computer. A flash message indicating that the fila was downloaded successfully will appear at the upper side of the window.
8. Delete. Click this button to delete the template. A message will ask if the file should be deleted:
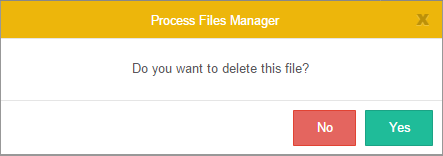
- Click "Delete" to delete the template, or click "Cancel" to close the window and return to the previous window.
9. Pagination control. Use this control to navigate through the pages, which show 10 templates per page.
Public directory
To view the contents of the public directory, click on "public" or its "View" button to access the public files.

A dialog will open listing the files in the directory:
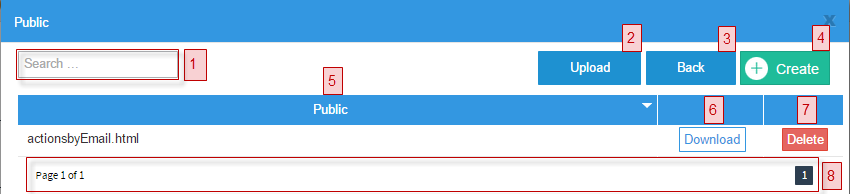
Where:
1. Text to search. Enter the name of a file to find. This field has the autocomplete property, so all matches will be listed while typing the filename.
2. Upload. Click on this button to upload a file from your computer to the public directory:
3. Back. Click on this button to return to the previous window.
4. Create. Click on this button to create a new .html file. Remember to not write the file extension, since it will be added automatically.

- Enter the name for the template in the "Filename" field (a), without the .html extension since it will be automatically added when saving the file. Then edit the content of the template with WYSIWYG Html Editor (b). To discard the new template, click on the "Cancel" (c) button. To save the email template, click on the "Save" button (d) and the following flash message will confirm that it has been saved.
-
Note: If needing to create other types of files, create them in an external editor and upload them.
5. Public files. This column lists the public files for the process.
6. Download. Click on this button to download the public file.
7. Delete. Click on this button to delete a file. A message will ask if the file should be deleted:
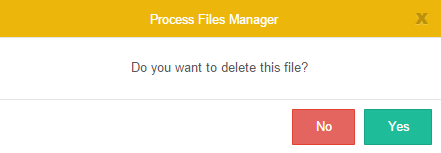
- Click "Delete" to delete the file, or click "Cancel" to close the window and return to the previous window.
8. Pagination control. Use this control to navigate through the pages, which show 10 files per page.
Resources: To learn how to access public files, see this documentation.

