Introduction to Gulliver Framework
Overview
Gulliver Framework is a high quality open source framework for developing Web Applications and Web Services with PHP based on MVC pattern.
Installation
Gulliver Framework is built with object-oriented PHP 5 and requires PHP 5.1.4 or later. Please see the system requirements appendix for more detailed information.
The Gulliver Framework is included in a standard install of ProcessMaker, which is available for download at:
Once you have a copy of the Gulliver Framework you can add it globally using the parameter include_path of your php-ini (include_path = /path/to/gulliver/) or you can add it in the following way:
Layout
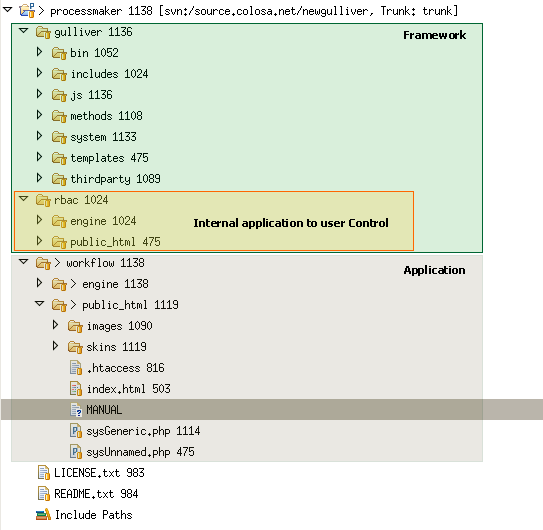
This is a general overview of an application using Gulliver Framework.
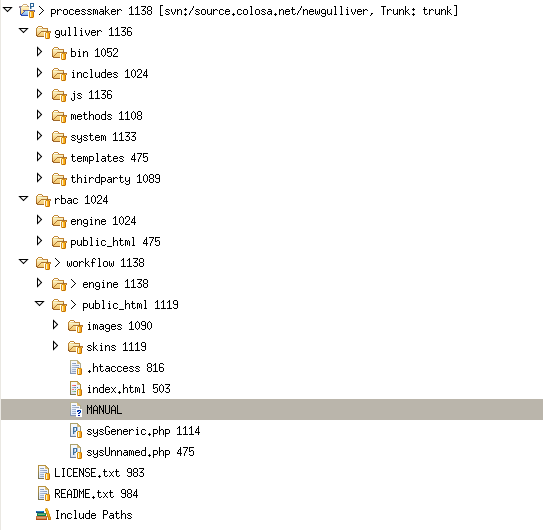
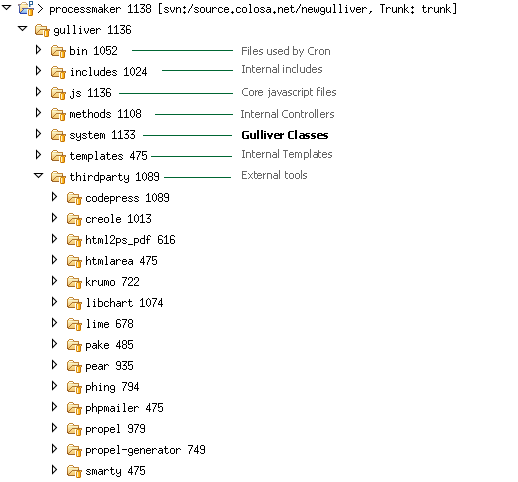
We can divide the overview in 2 sections.
Creating your first Application
These are the steps to creating an application using the Gulliver framework.
1. Enter the directory /
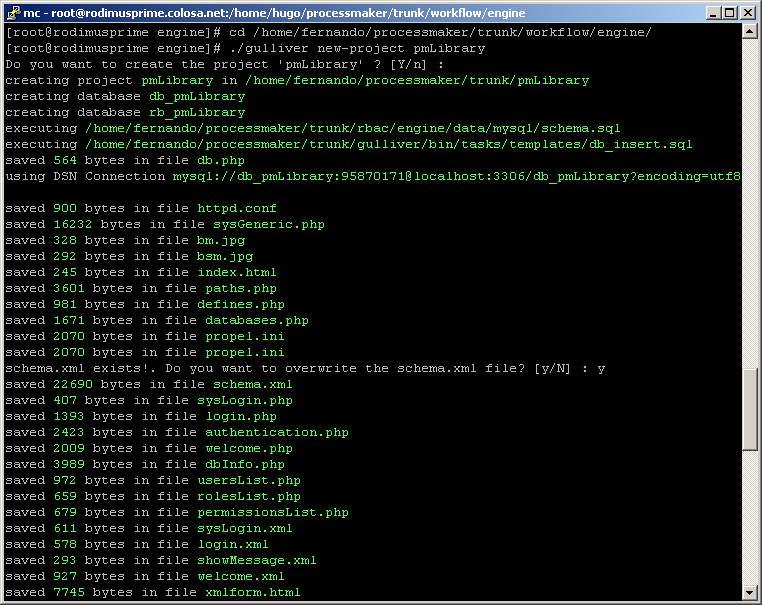
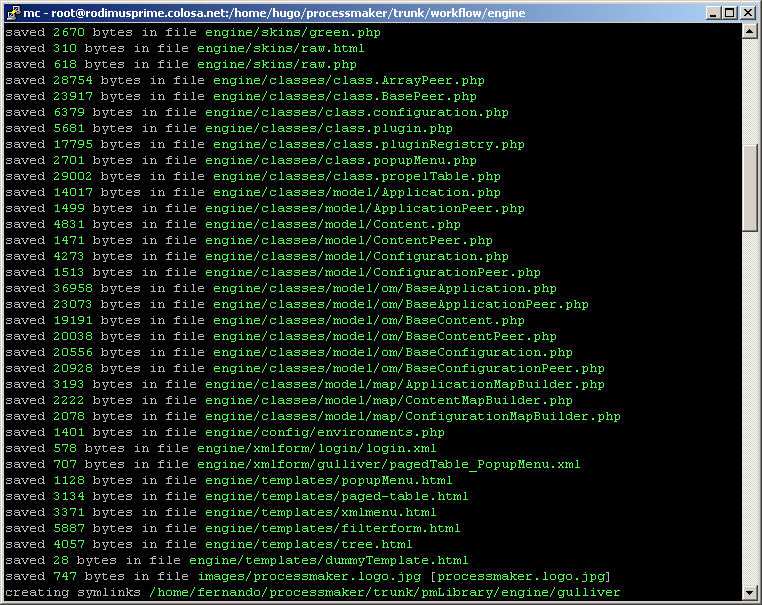
2. Execute ./gulliver new-project
In this step the wizard will create the directories and files needed to run a basic application. In this tutorial, we'll create the pmLibrary application that will be the ProcessMaker Library.
3. Configure the file proyecto.conf in the directory /etc/httpd/conf.d
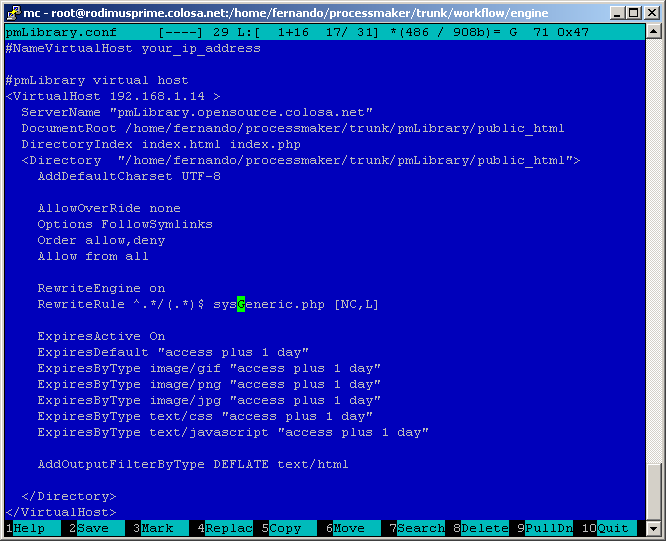
The generated file pmLibrary.conf should be copied to the directory of virtual server configuration in Apache, in a RedHat or CentOS distribution this directory is /etc/httpd/conf.d
In this step we need a subdomain for our new application, and in order to enable it as a virtual server we need to change the values according to our network configuration.
ServerName : the subdomain in which our application will be installed, in this case pmlibrary.opensource.colosa.net
The ip of the server (
NameVirtualHost your_ip_server , on this line the ip should also be changed, but it's not necessary if inside the same server there's more than one VirtualHost with the same ip.
Below please find the screen that shows the resulting file pmLibrary.conf
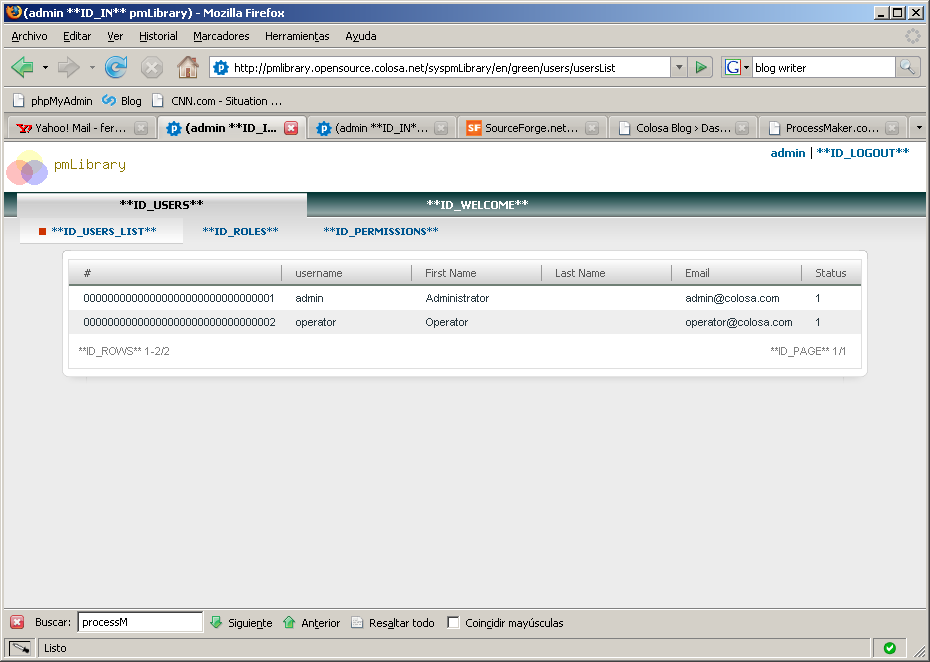
4. Now we're ready to test. Open a navigator (preferably Mozilla Firefox) and write in the URL box the selected domain for our application:
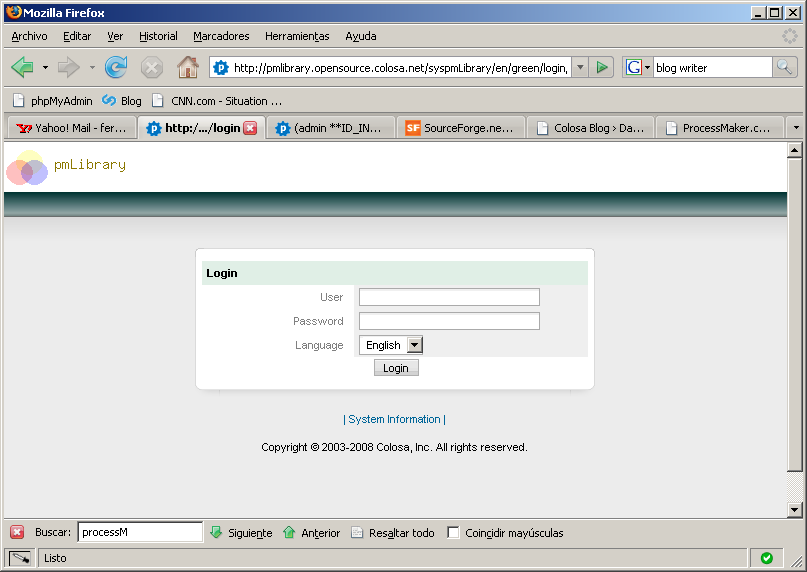
The wizard automatically generates the following:
- 2 Databases: rb_pmLibrary and db_pmLibrary
The first is the database RBAC for this system, and the second Database should contain the system tables, by default the USERS and CONTENT tables are created.
- 2 users: admin and operator with different roles, so that they can begin to test the application and begin to construct the other pages and options that the new system will have.
- Users and Welcome menus: In the Users menu we have the list of users, roles, and permissions for the recently created application. In the Welcome menu, we have a page with an example list made to show a list with dbarray. This page is changed for the initial page, depending on the role of the user that enters the system.
Now that the application is created, we can begin to develop the system.
