Overview
This guide explains how to run a case on ProcessMaker Mobile using the process created in the How to Create Your First Process guide. Moreover, this guide will help you learn how to use ProcessMaker 3 with ProcessMaker Mobile.
Process Description: This guide will use the same process created in the How to Create Your First Process guide, and add the Geomap and Signature mobile controls.
This process consists of a sequence of steps that happen when an employee of a company makes a request to purchase one or more items. After the employee submits the request, it goes to the inbox of the supervisor, who can approve or reject it. If the request is rejected, then it returns to the employee who first made the request. The employee can either modify the request and resubmit it to the Supervisor or abandon the request. If the Supervisor approves the purchase request, then it is sent to the Manager, who will purchase the requested items and finish the process.
Step 1: Creating the Process
Assuming that ProcessMaker is already installed on your computer (if not, follow this guide in order to install it), log in using an Administrator account. Then, follow the How to Create Your First Process guide and create the process "Purchase Request".

Step 2: Adding a FileUpload Control
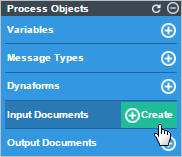
Create a new input document to store the content of the fileupload control, go to the main toolbox on the process map, hover the pointer of the mouse over the + symbol next to Input Documents and click on Create.
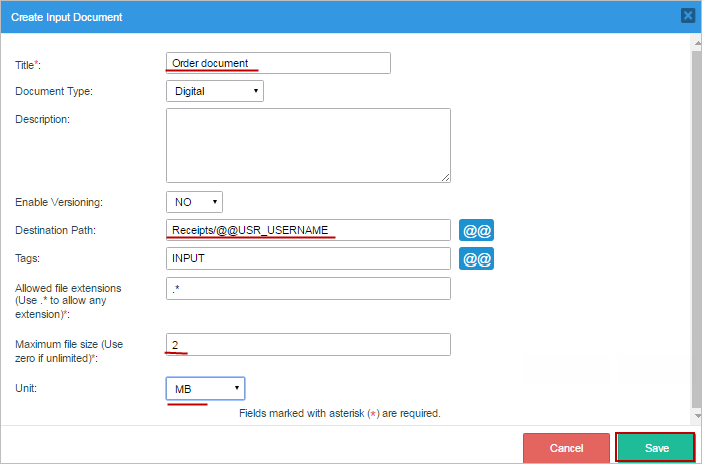
Create the input document with the following parameters and click on Save.
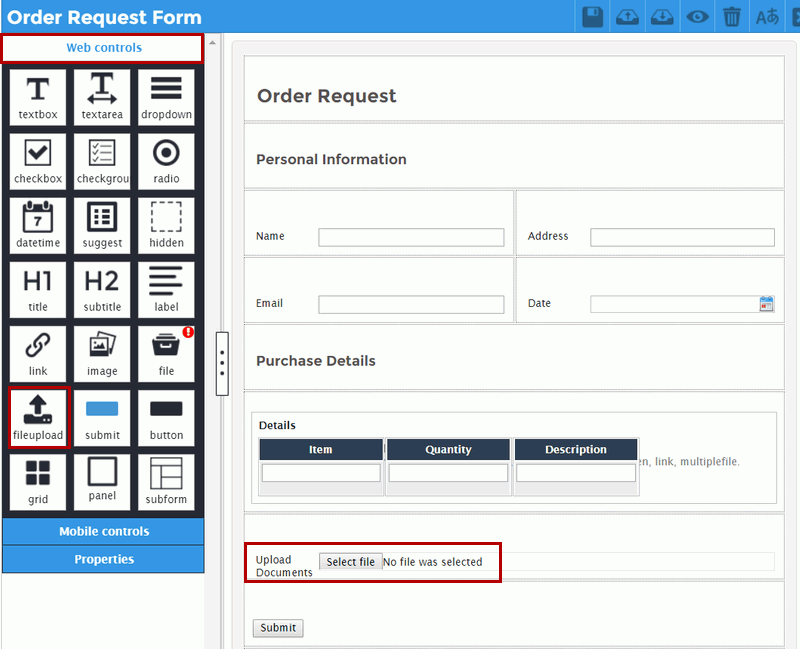
After creating the input document, add an additional control. Open the "Order Request" Dynaform, select Web Controls from the Dynaform Controls menu, and add the fileupload control under the "Details" grid by dragging and dropping it onto the Dynaform Designer.
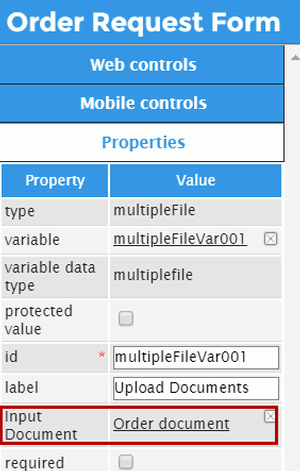
Select the fielupload Control created from the Order Request Dynaform, and then click on the Input Document Property value link to add the input document: "Order document" by clicking on it.
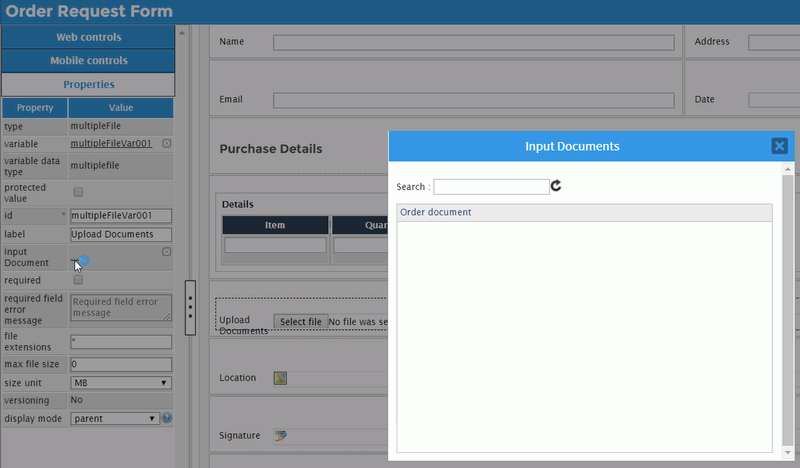
The "Order Document" input document is added. Click here for more information about this configuration.
Step 3: Adding Mobile Controls
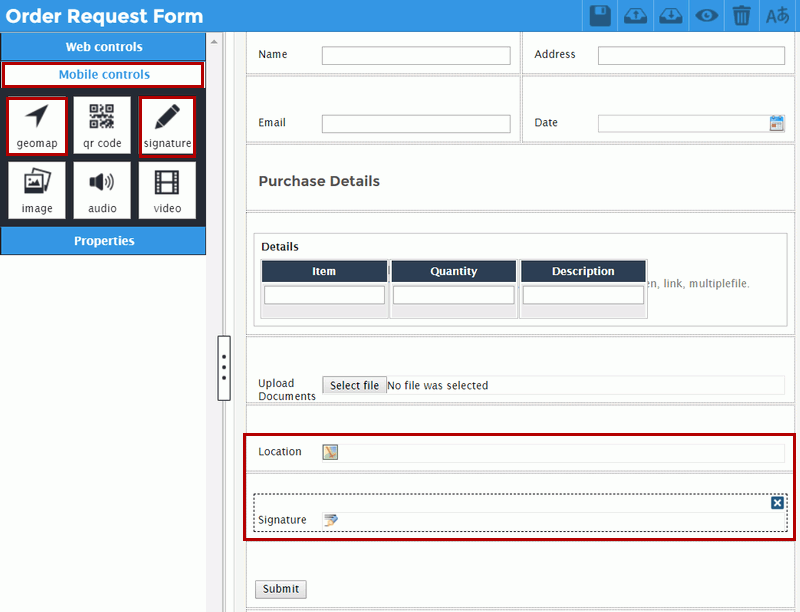
Let's add a couple of mobile controls to the "Order Request" form. Select Mobile Controls from the Dynaform Controls menu, and add the Geomap control and the Signature control under the fileupload control.
Add the same controls: FileUpload, Geomap and Signature to the "Request Approval Form" Dynaform that is reviewed by the next assigned user. Be sure to select the same variables chosen in the first Dynaform in the Variable property of the File and Geomap controls.

Step 4: Starting a New Case Using ProcessMaker Mobile
Assuming that ProcessMaker Mobile is already installed on your smartphone (if not, follow the Android guide or the iOS guide to install it), and then log on as one of the users assigned to the “Employees” group to start working with the "Purchase Request" process.
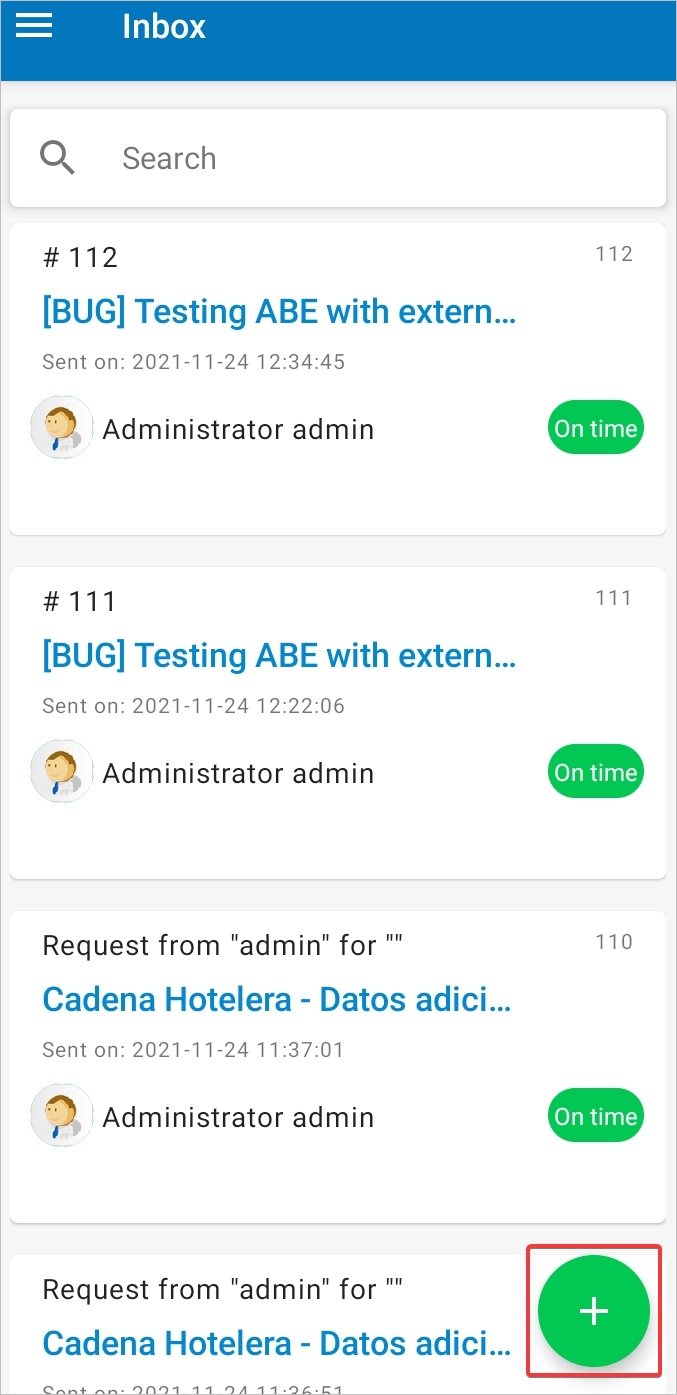
Start a case by tapping the plus (+) icon located at the right-bottom of the screen.
A list of available tasks assigned to the current user displays. Tap the "Purchase Request" process that was created.
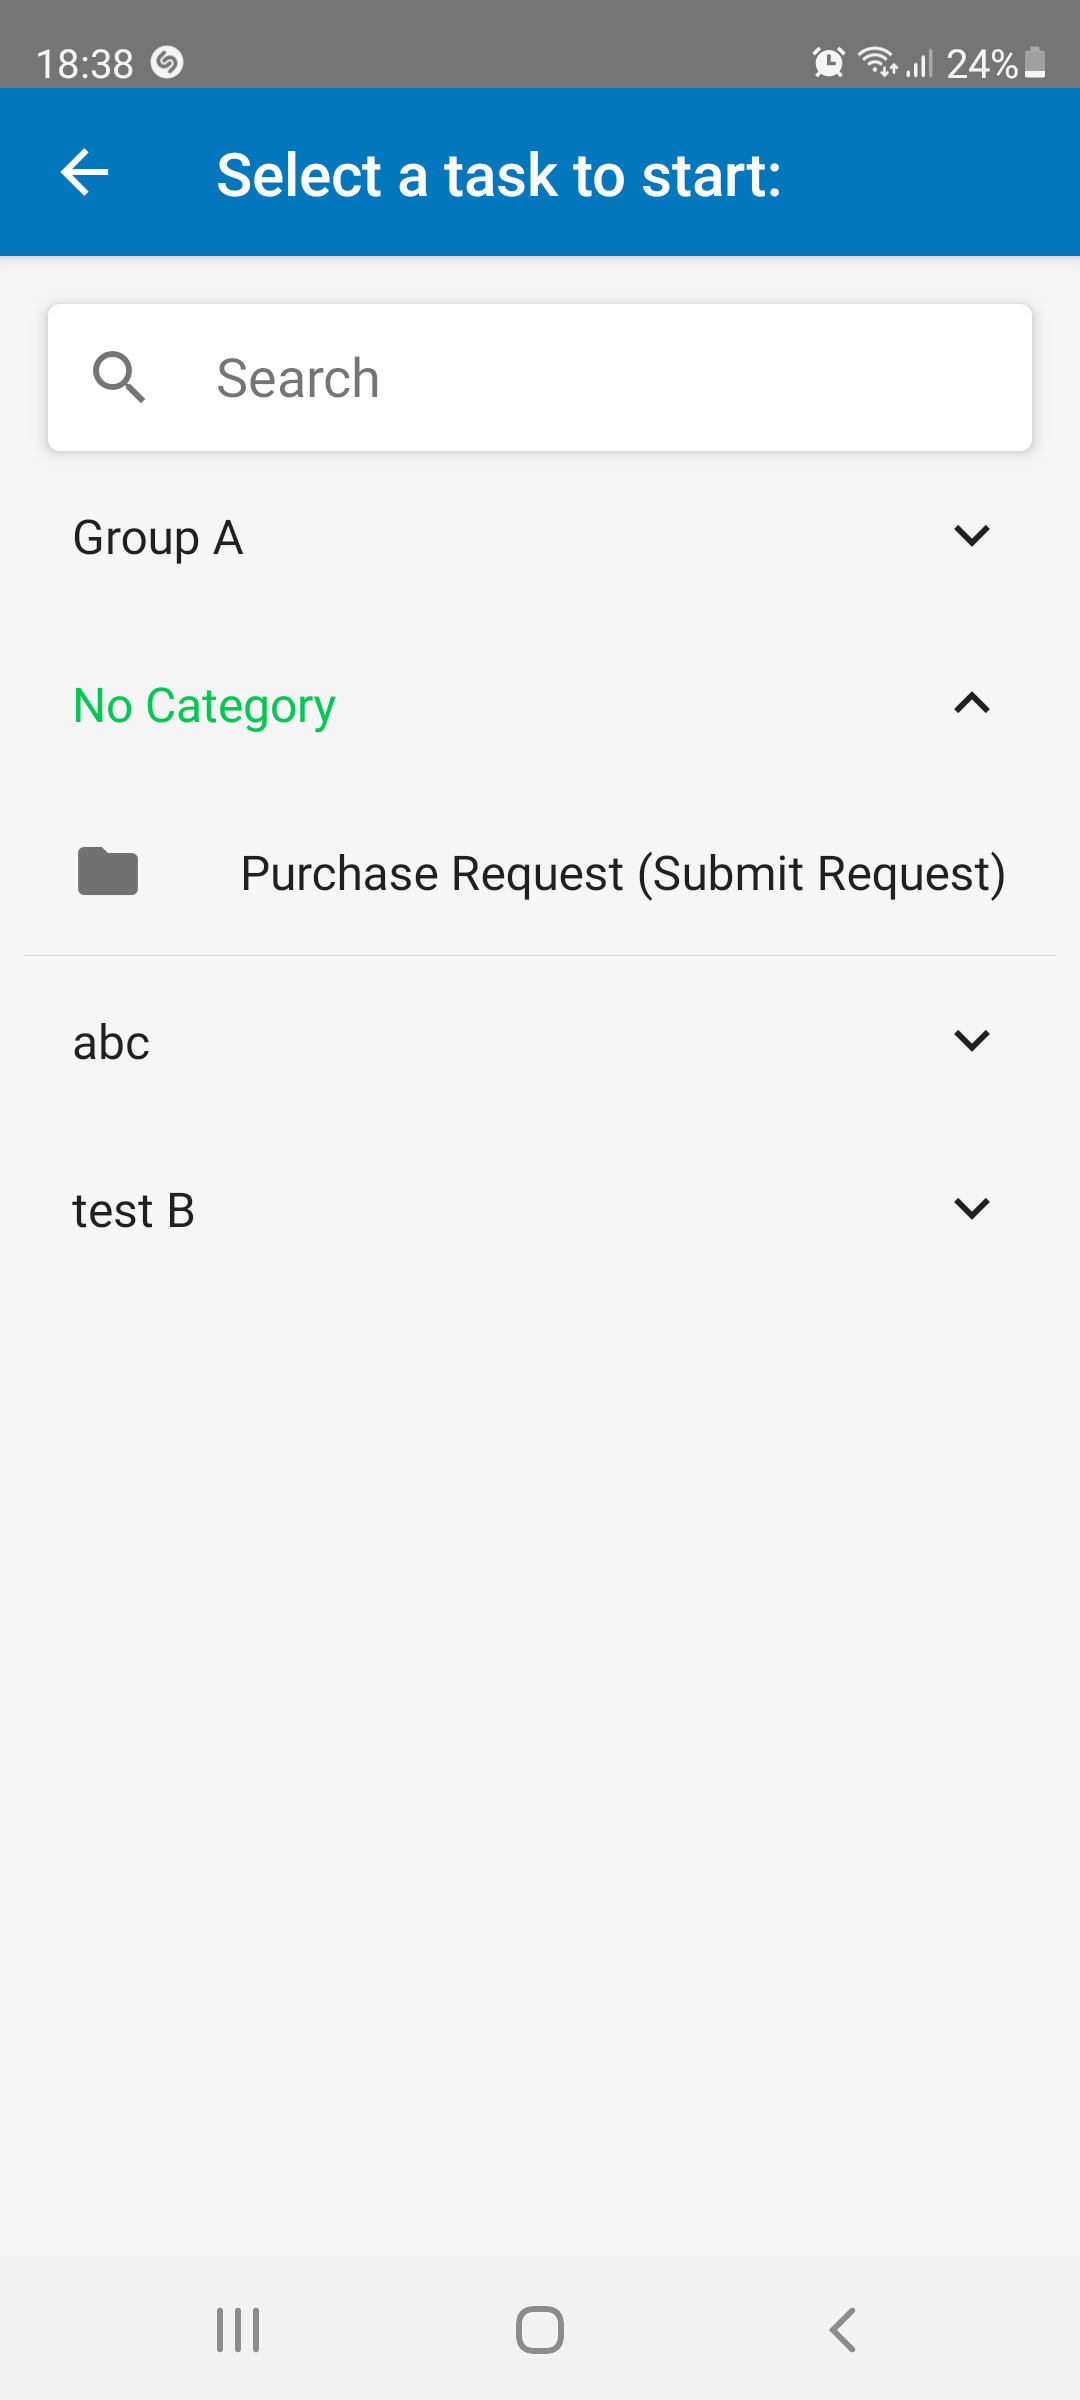
The mobile app allows to search for a task or a process. For this purpose, tap the Search field located at the top of the screen.
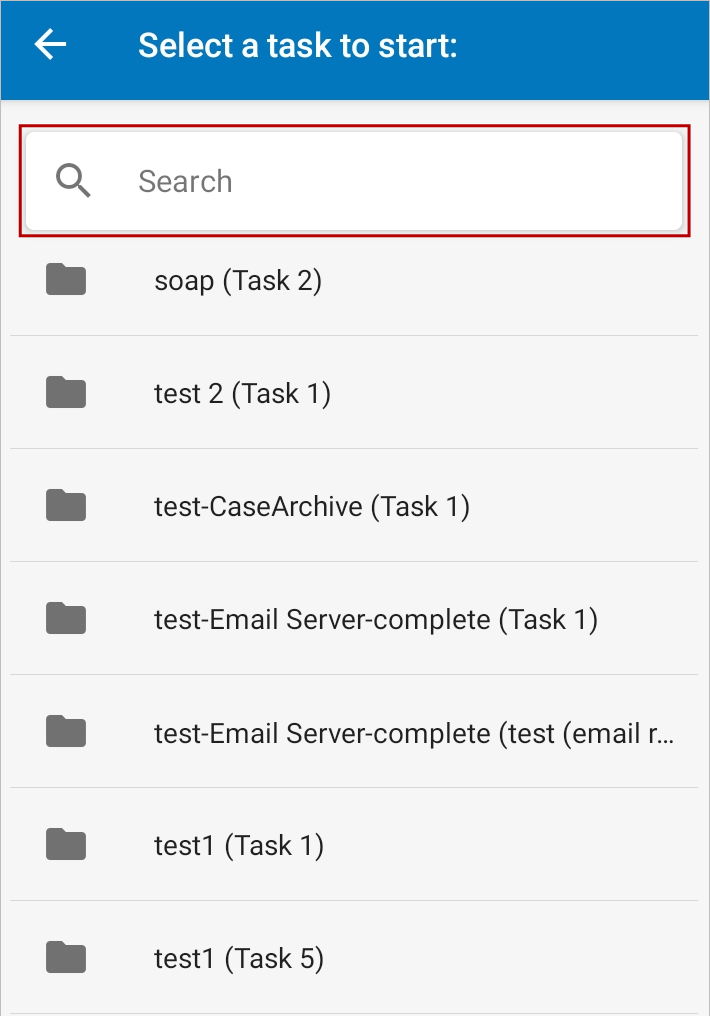
Type the name of a process, and the process list filters automatically based on the search input.
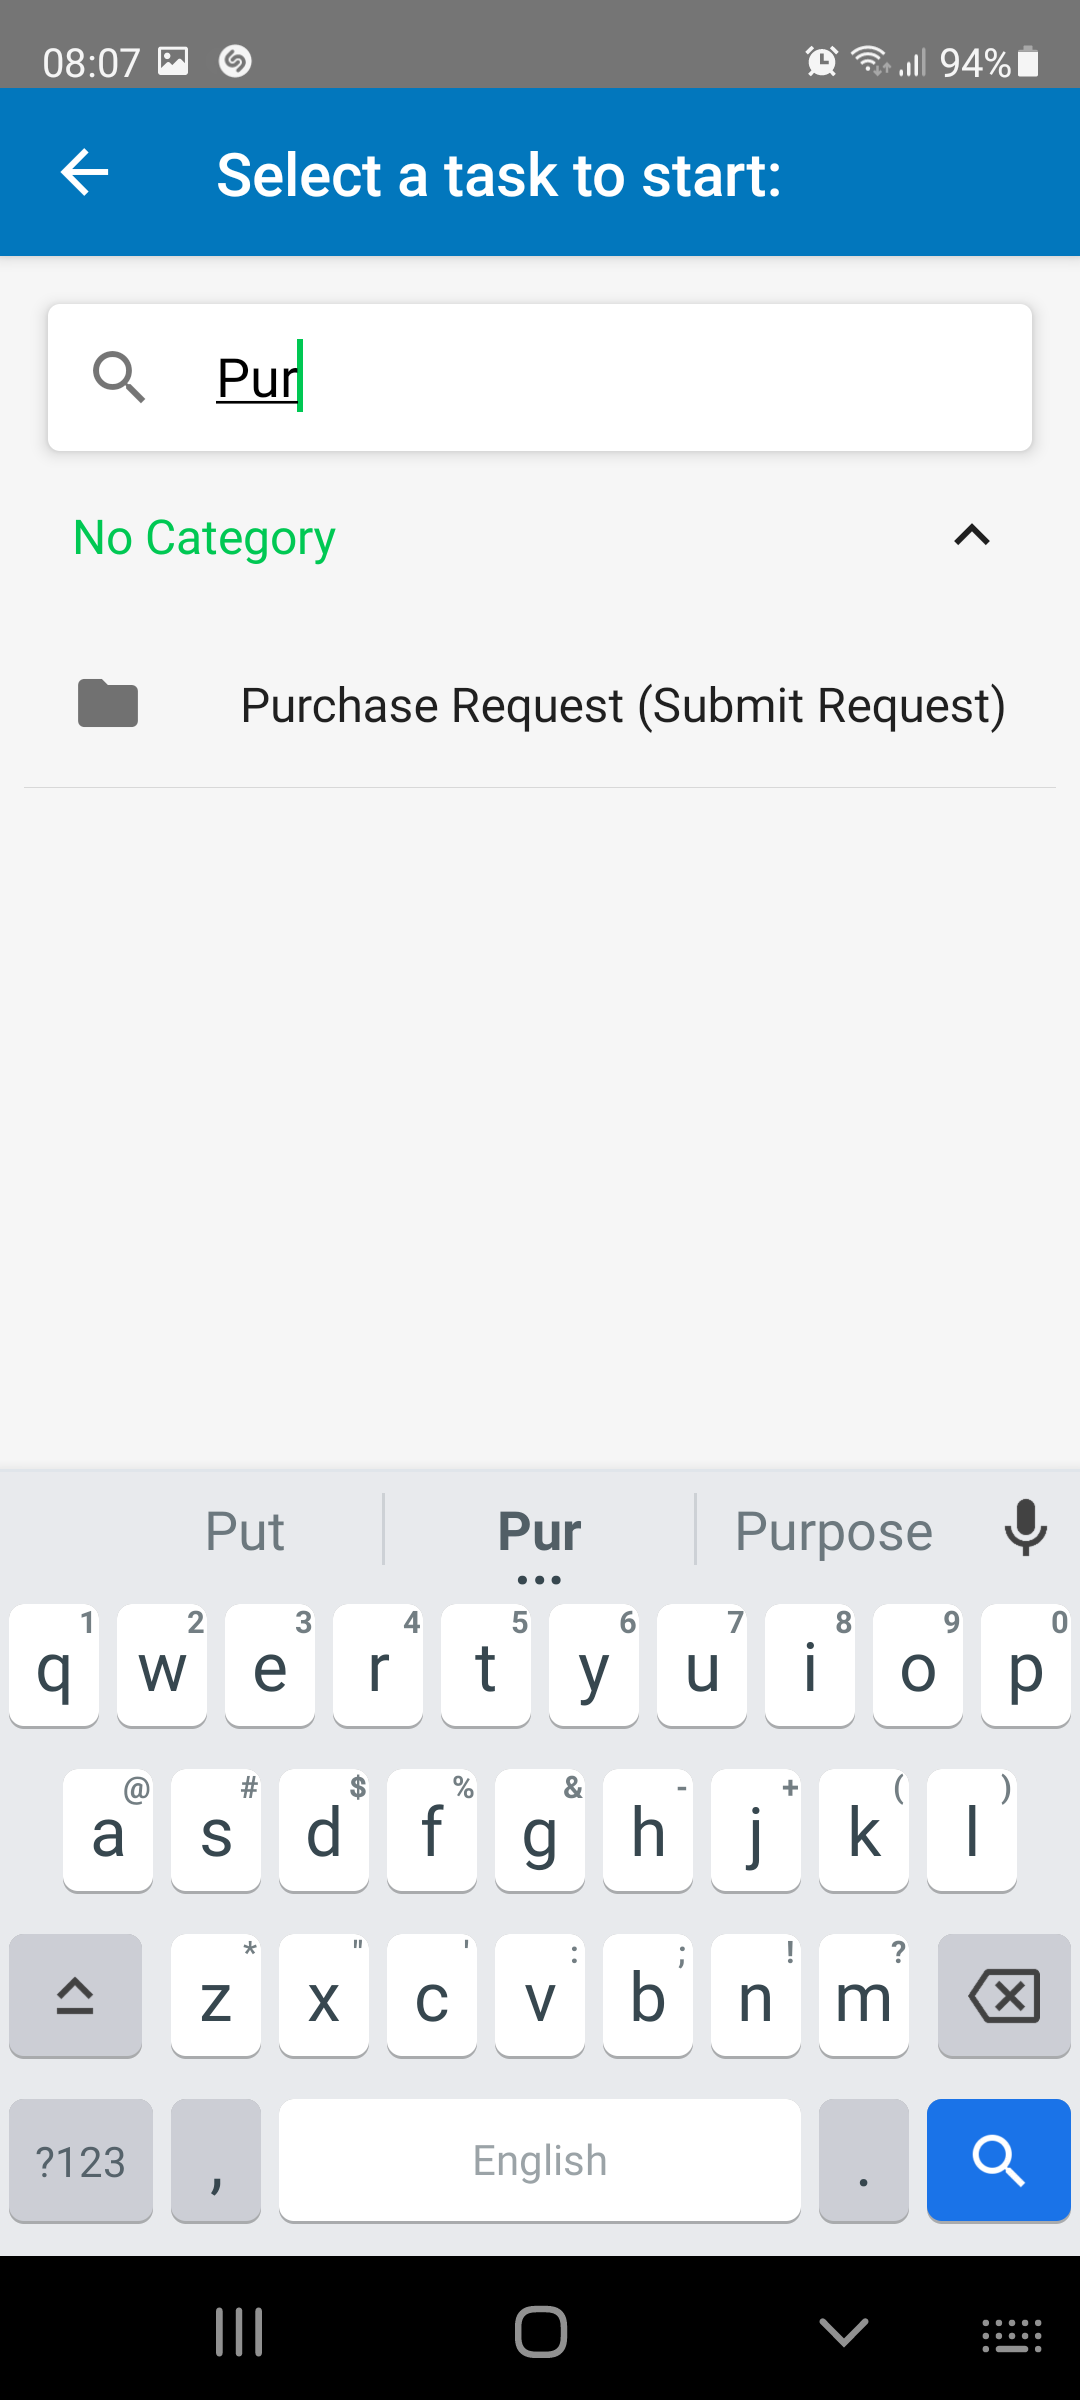
When the case is opened, the "Order Request" Dynaform created for the first task displays. Each case is identified by a unique number shown in the header. Fill in the fields with the personal information.

Add new items to the "Purchase Details" grid by tapping on the (+) Add button at the top-right corner of the grid.

Fill the fields in the new screen and tap Save to add a new item to the grid.

An item can be edited or deleted by tapping its row. To cancel, tap the cross sign (x) at the top-right of the new screen.

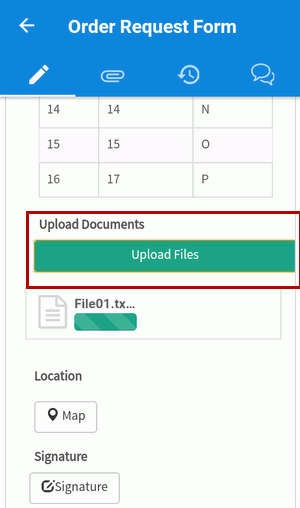
Add a file to the form by tapping the Upload Files button next to the file field.

A new screen opens allowing to navigate through the files on their device. Each different type of file has a different icon to help to navigate between files. Select a file by tapping it.

The selected file starts to be uploaded.

Select another file by tapping the Upload Files button again. Once ready, the file is listed in the form.
Note: The file management is different in the iOS system mobile. To learn more about this behavior, see Files in iOS.
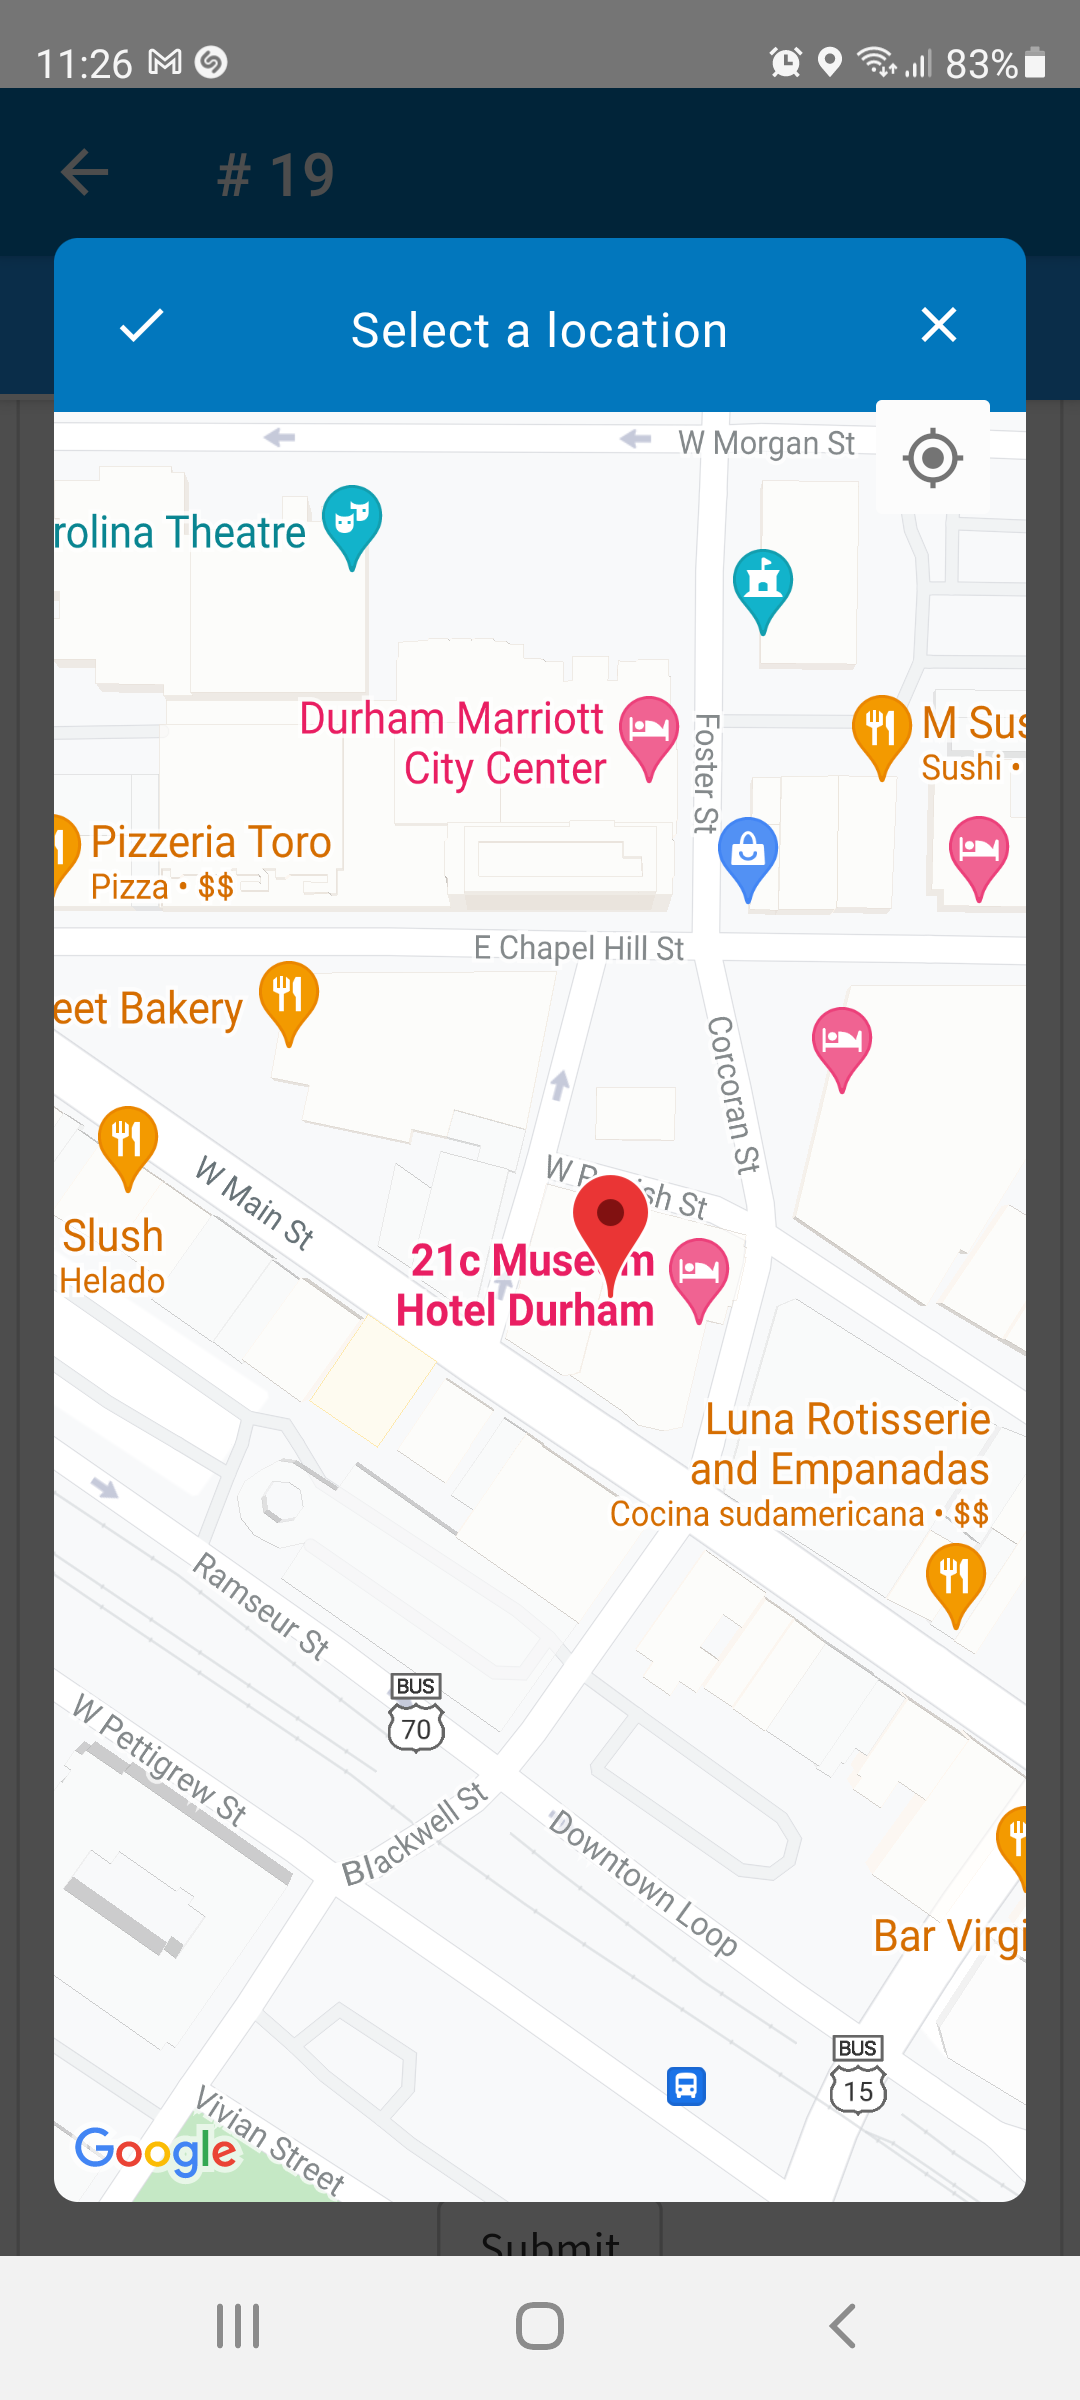
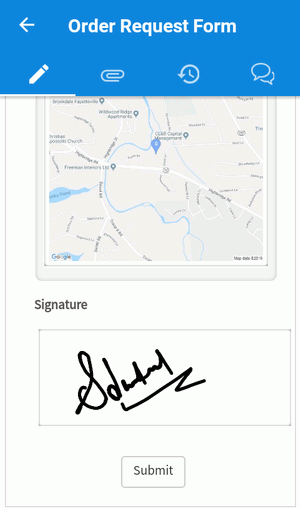
Tap the Location field to open the Geomap control, then tap the target icon to get your current location (the Location Service on your device must be enabled), or slide and double tap the screen to select the location by yourself. Once ready, press the check icon on the top-left of the screen.
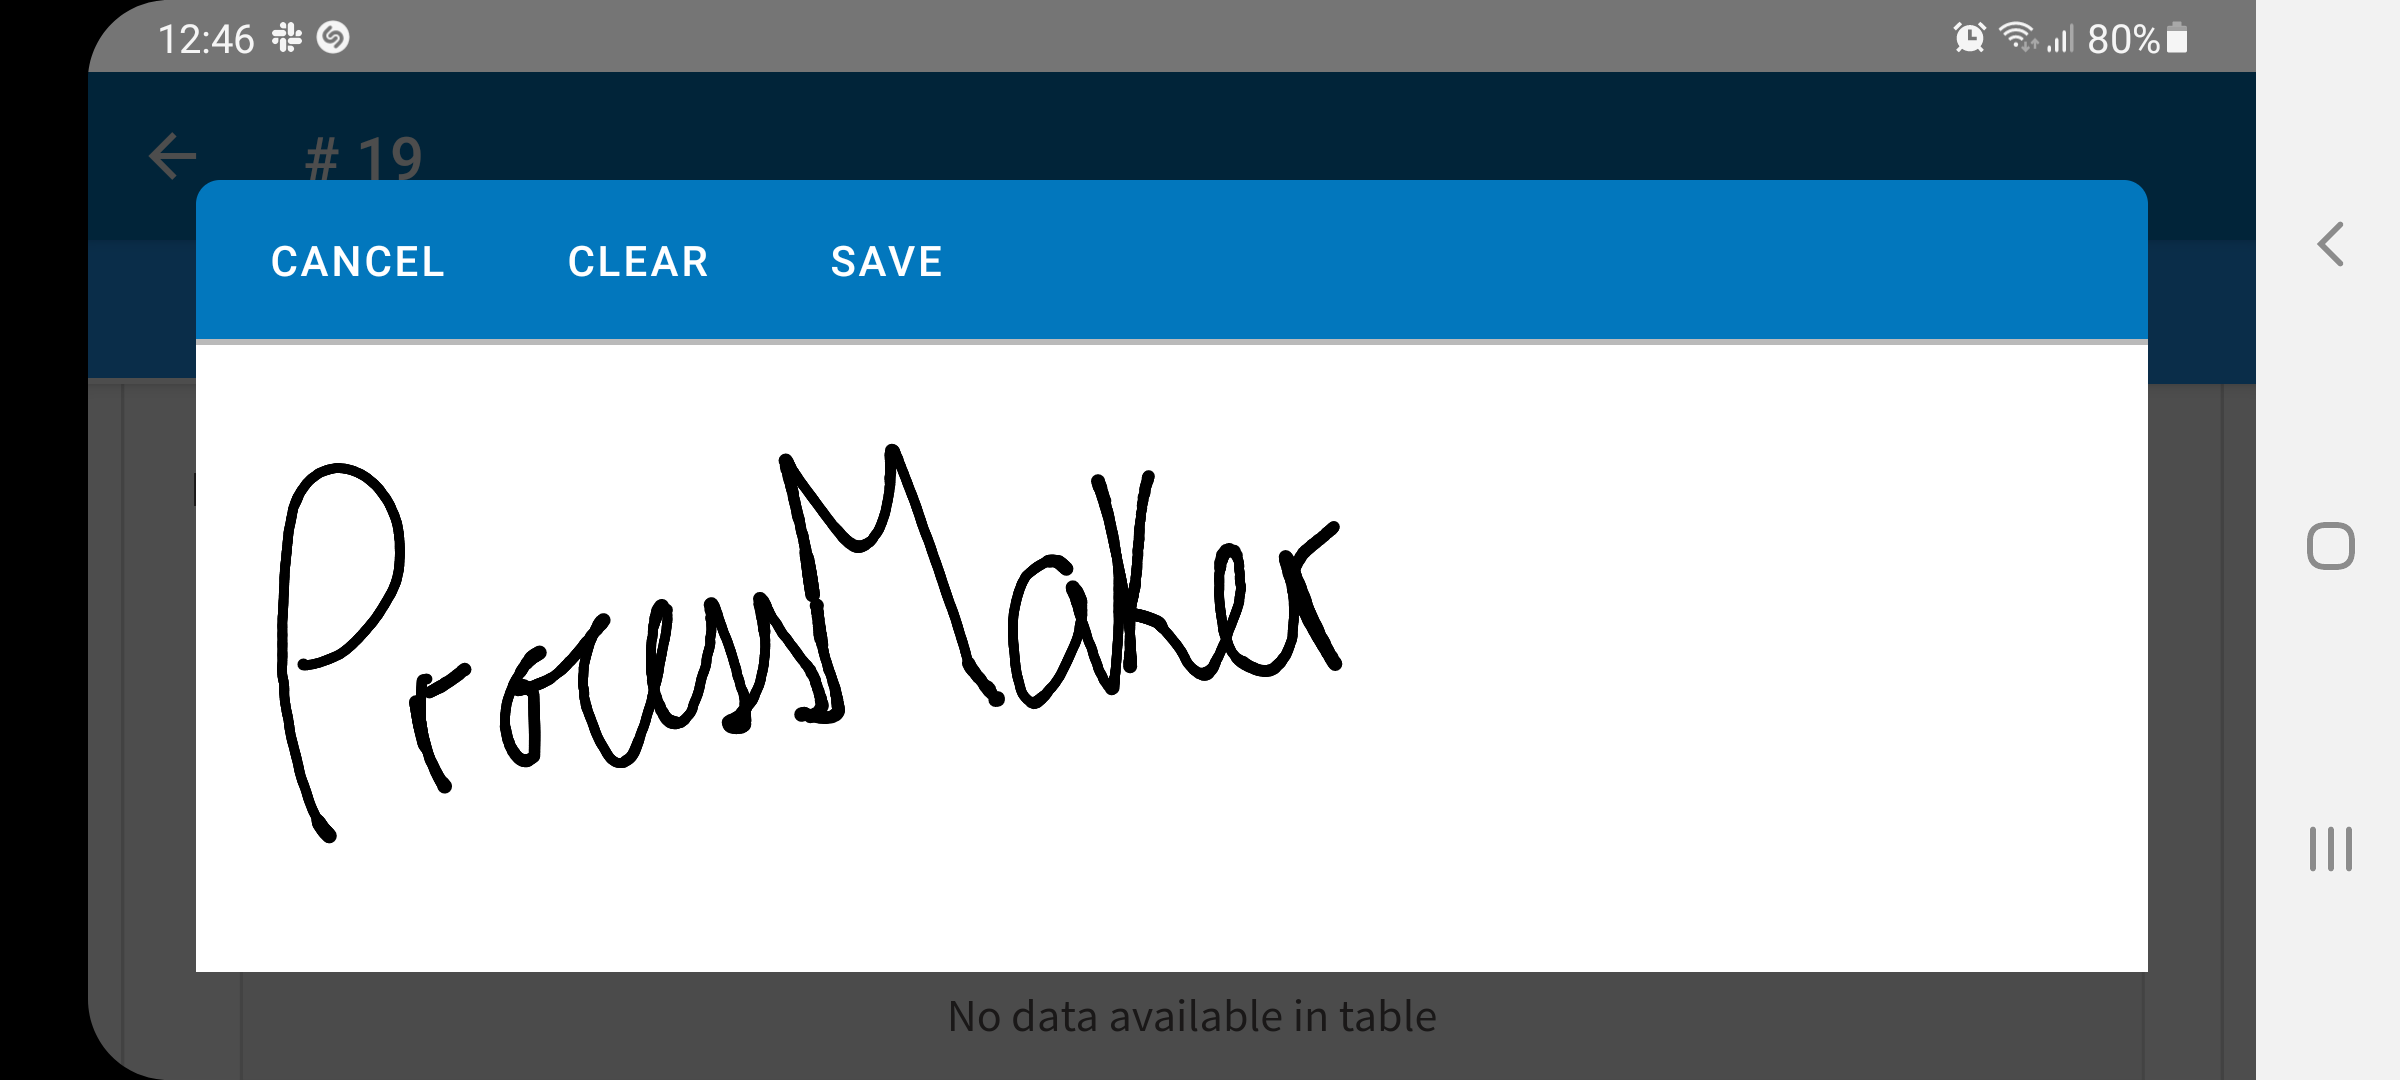
Tap the Signature field to open a blank screen to draw a signature before to provide storage permissions on your phone. Tap the Clear button to clear the screen and start all over. Once ready, tap the Save button.
After filling out the "Order Request" form, tap the Submit button to save the information to the ProcessMaker server.
The next task in the process is assigned to one of the users in the Supervisor group, in this example "Jhohan Die".
Step 5: Reviewing a Case Using ProcessMaker Mobile
Log out of ProcessMaker and log in as the next user who is assigned to the case, which in this example is "Jhohan Die".

The case sent is listed in the next user inbox, which can be seen by going to the Inbox.
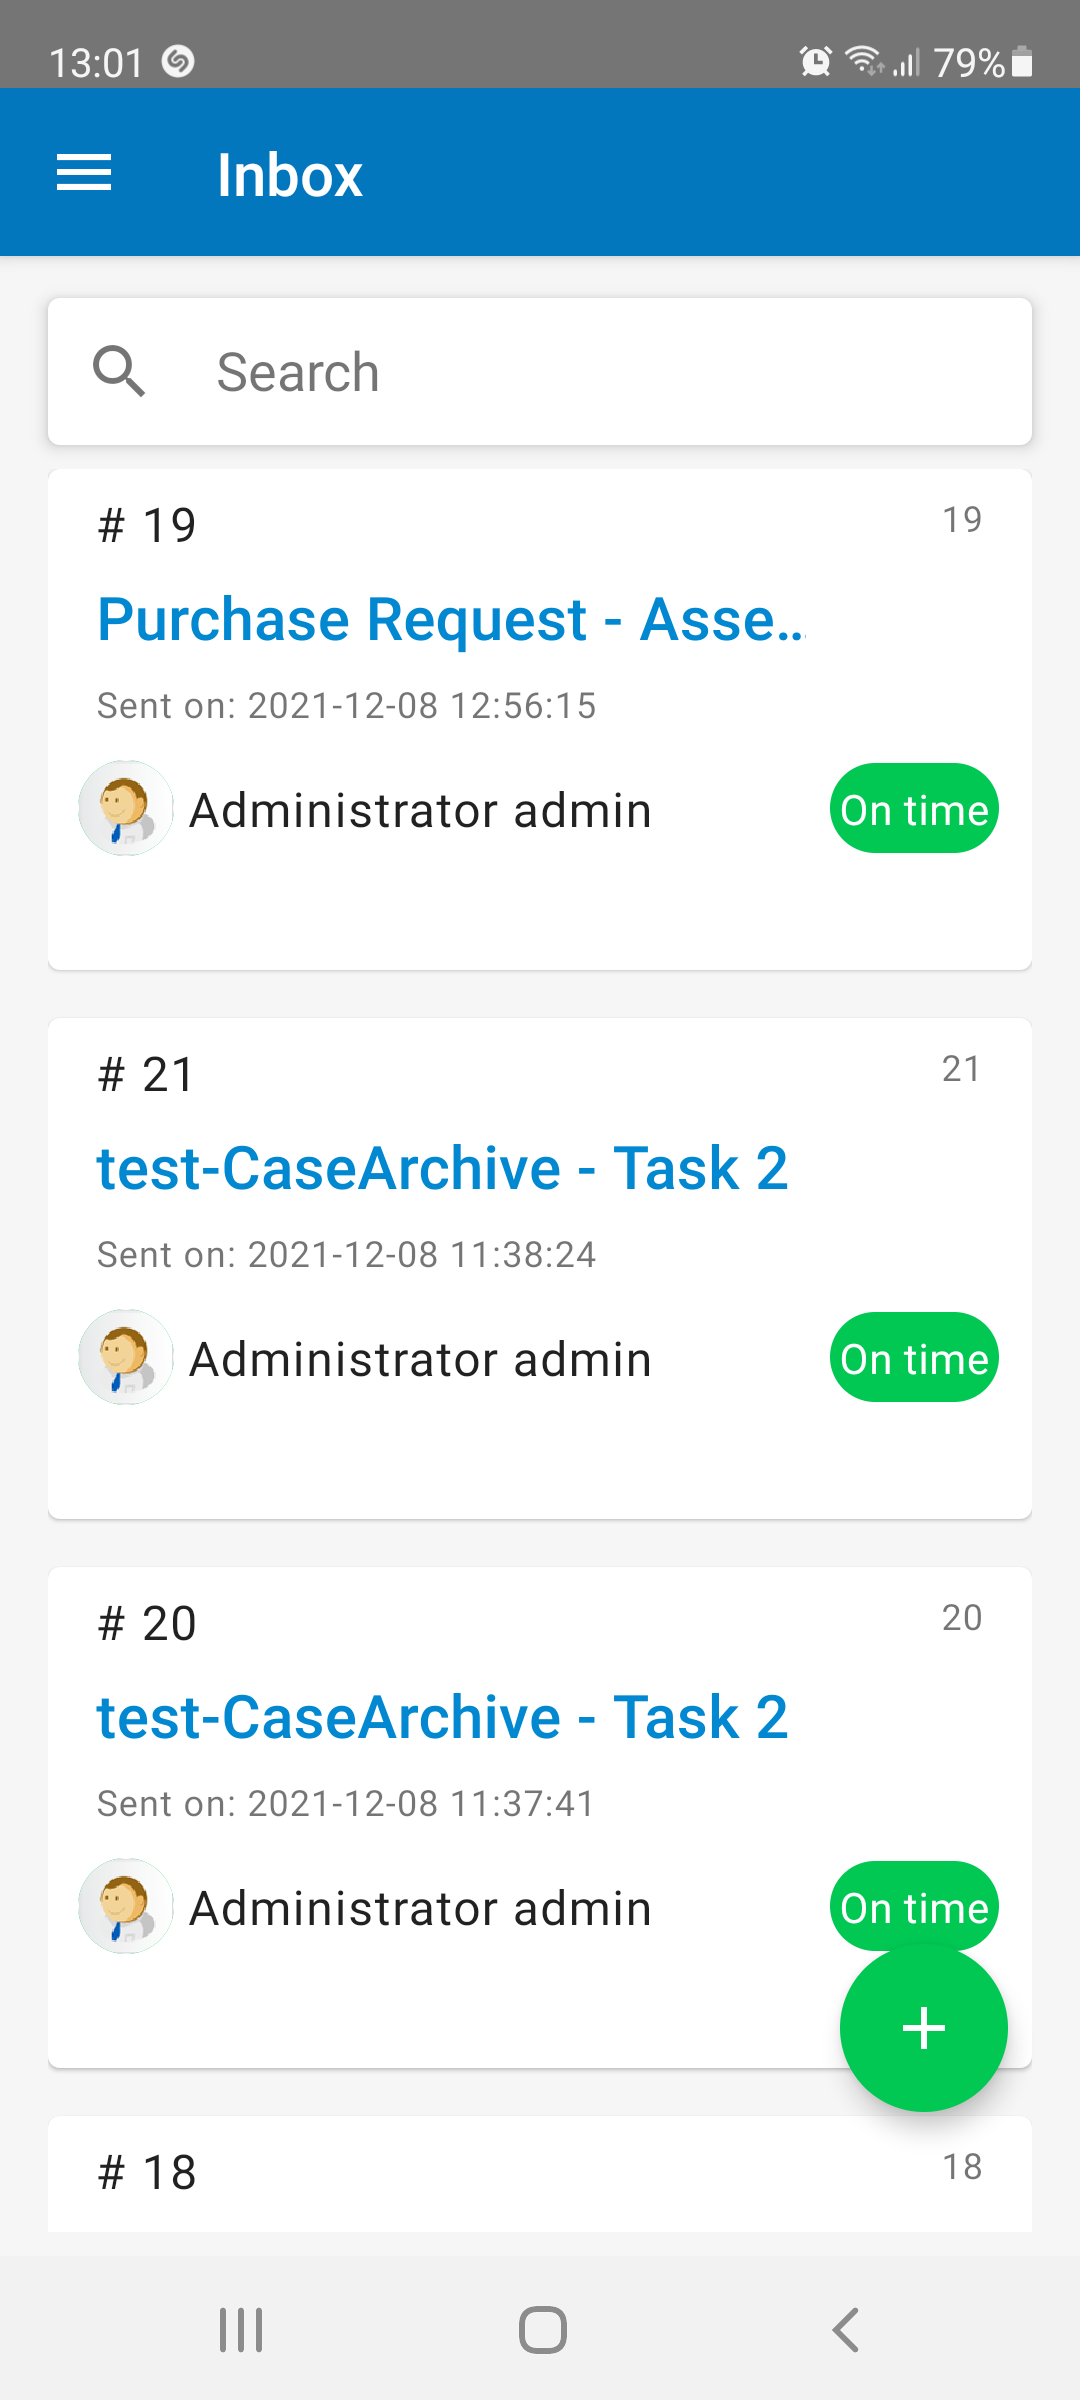
Tap to open the case and view the information sent (which can not be modified).
Jhohan Die, who is a member of the Supervisor group, has the ability to either approve or reject the request sent by the user by selecting “Yes” or “No” in the "Approved" radio button option. In this example, the supervisor approves the request and submit the form.
Remember that after this task, an exclusive gateway evaluates whether the request was approved or not. Since it was approved, it is now assigned to a user in the Manager's group named "Jhohan". In this example Jhohan belongs to the Managers group, too.

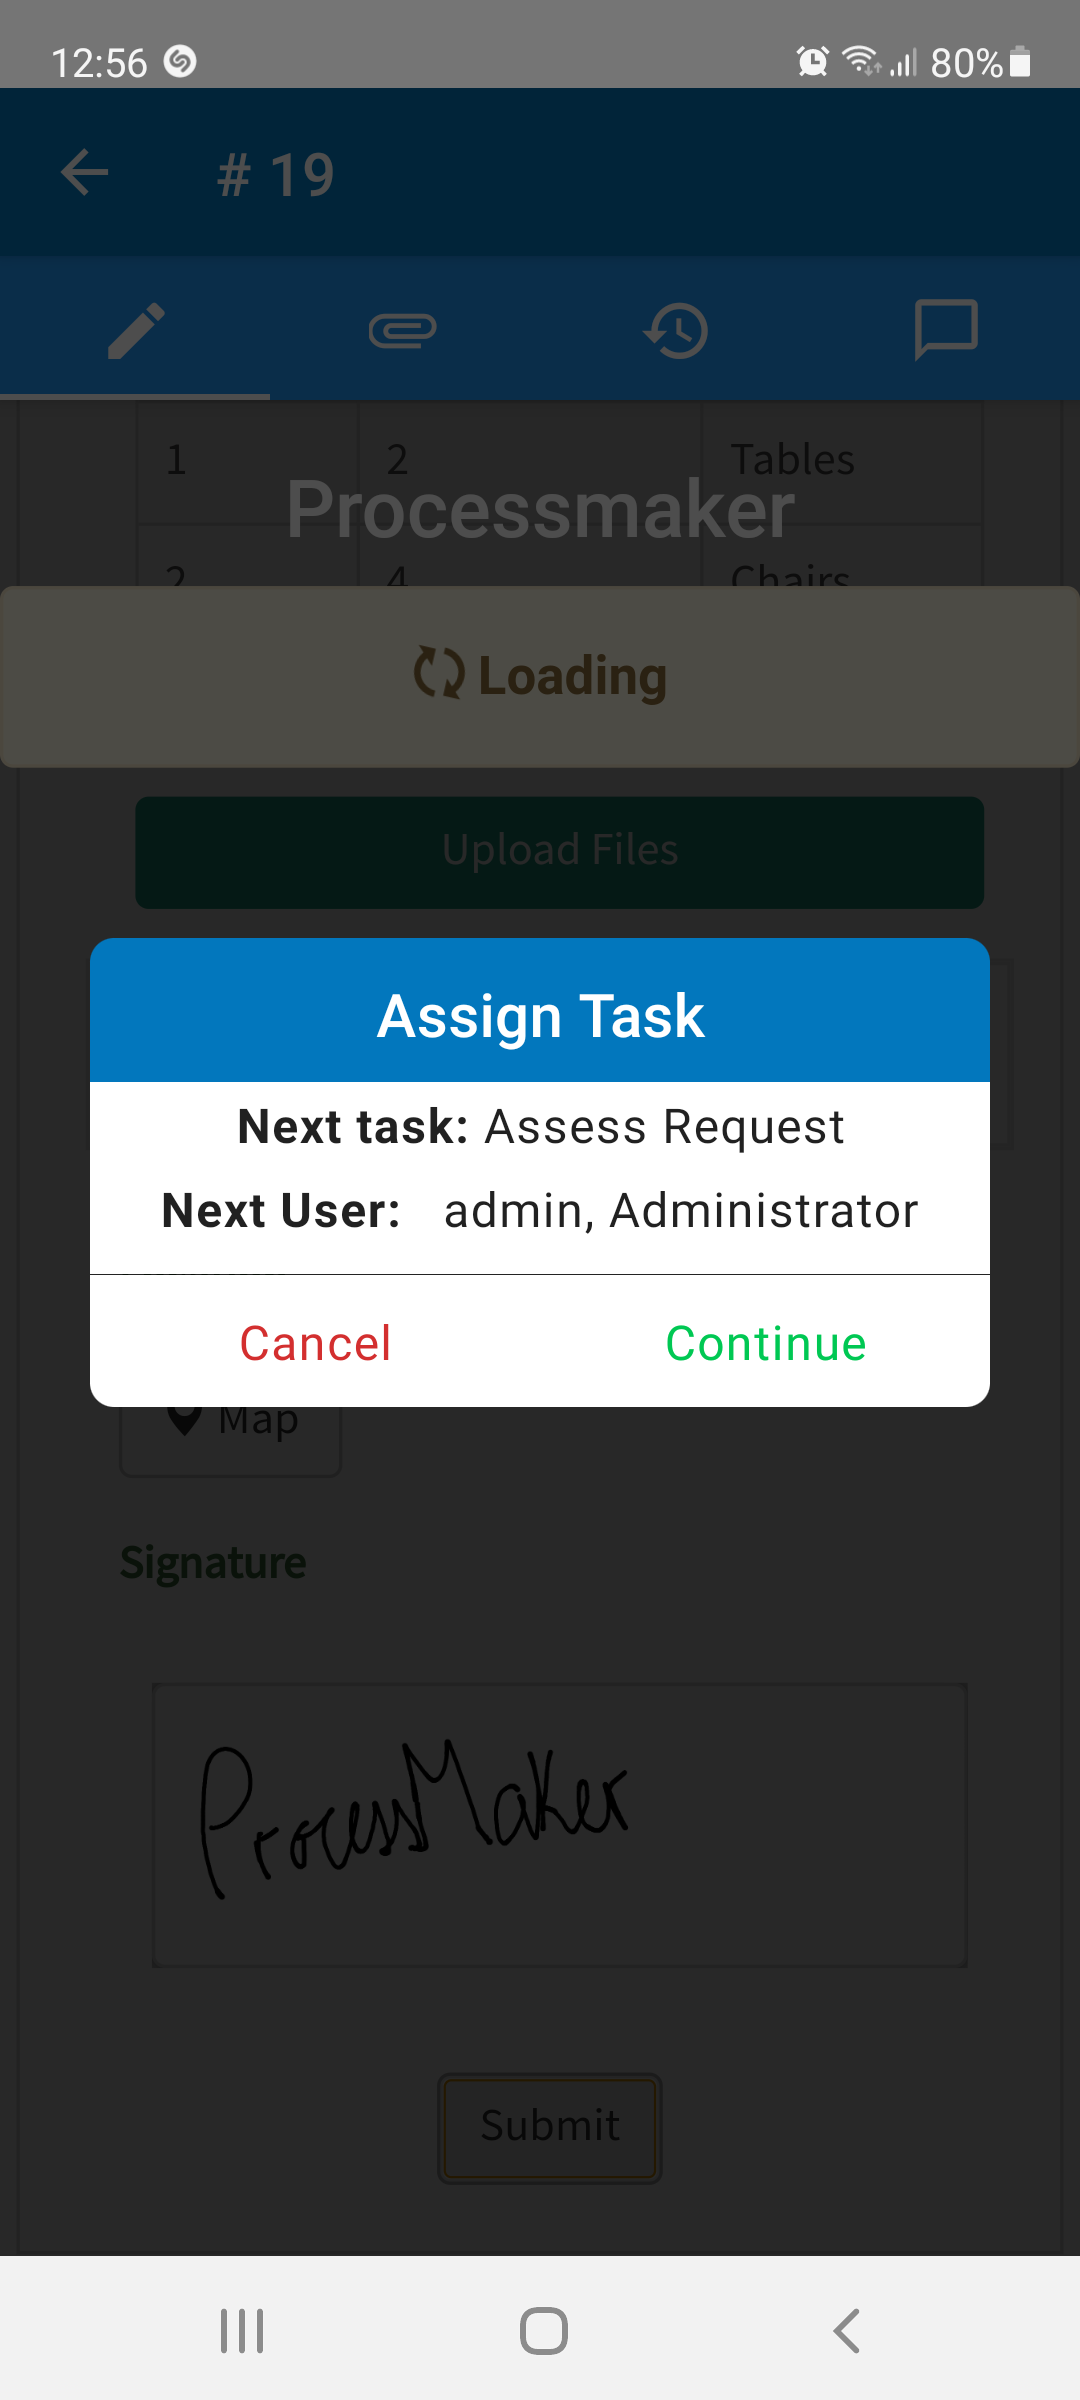
After tapping Submit, the Assign Task window displays. Tap Continue to send the case to the next user, in this example is the same user: "Jhohan".
The case #number sent by "Jhohan Die" is shown in his inbox.
The information shown on this Dynaform is the same shown on the Dynaform sent by the first employee, except that the option "Deliver Order?" is at the bottom of this Dynaform, where the Manager decides whether or not to deliver the request. In this case, the Manager approves deliver the order by selecting the "Yes" radio button under the "Deliver Order" option and submitting the form.

Since this is the last task of the process, the message "End of process” will be displayed, along with the name of the last employee assigned to the case.
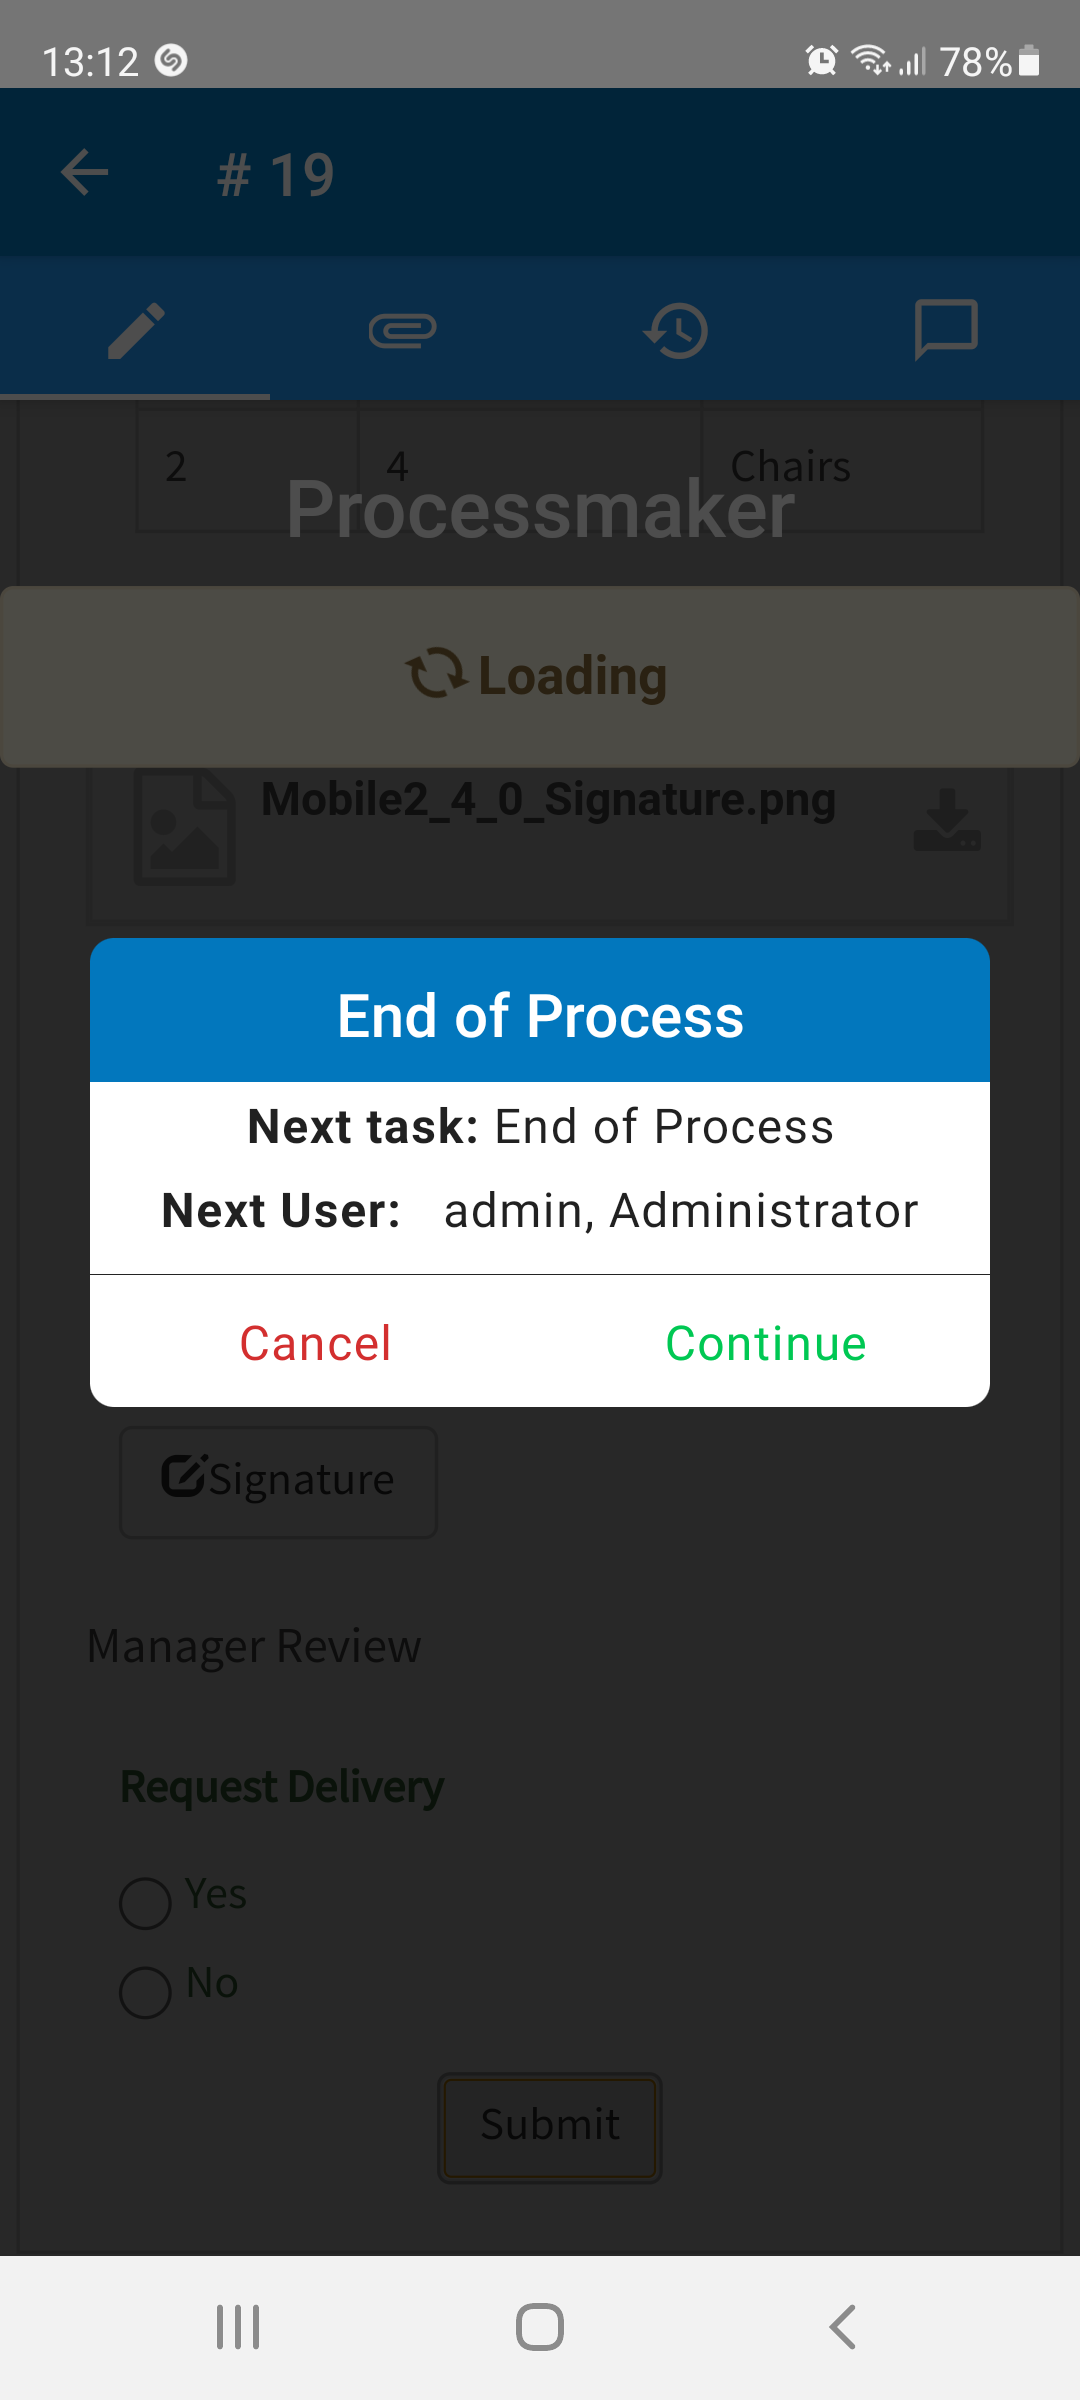
Tap on Continue to end the case and finish the process.
This is just a very simple example of how to work with a process in ProcessMaker version 3 with ProcessMaker Mobile. Real processes are more complex and often require more analysis and development. To learn more about designing processes, review the rest of the documentation and try doing more examples to improve your knowledge of ProcessMaker.

