Overview
A Dynaform, or Dynamic Form, is an intuitive drag-and-drop interface used to design electronic forms for end-users to fill out. A Dynaform works as a canvas where various controls, such as buttons, text boxes, dropdown menus, etc, can be easily placed to create an attractive, legible form that can be saved, duplicated, or printed out at the click of a button.
This page provides information on how to create, edit and delete a Dynaform, as well as information on how a responsive Dynaform will be displayed on three different devices.
Creating Dynaforms
To create a new Dynaform, go to the Dynaforms option in the Process Objects menu in the Process Designer. Keep the pointer of the mouse over the plus icon (+) and click on Create :
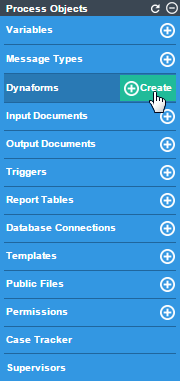
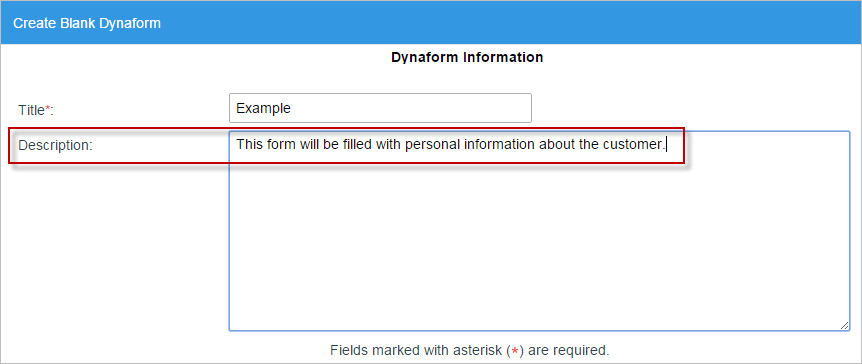
A modal window will be displayed containing the options to create a Dynaform from scratch.
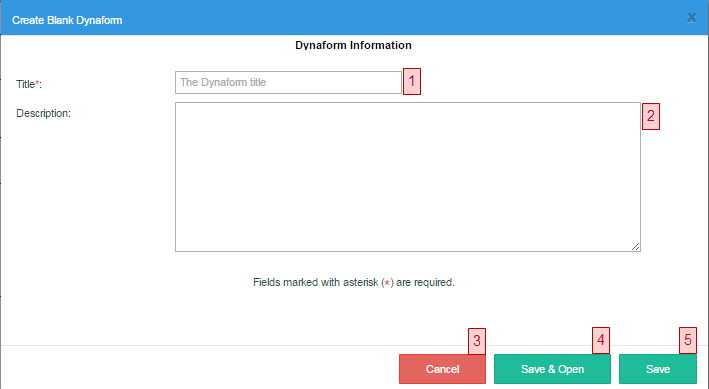
- Title: (Required field). Enter the title of the Dynaform in this field. The more descriptive is the title, the easier to understand what it is about will be. The title of the Dynaform must be unique (it means that two or more Dynaforms can not have the same title in the same project).

Note: Take into account that from version 3.0.1.5, it is possible to create Dynaforms using only one character in its title.
- Description: Enter a description for the Dynaform. The description will not be seen by ordinary production users who run cases, so complete the description for process designers who may need to edit the Dynaform later. Since the description doesn't automatically line wrap, use hard returns.
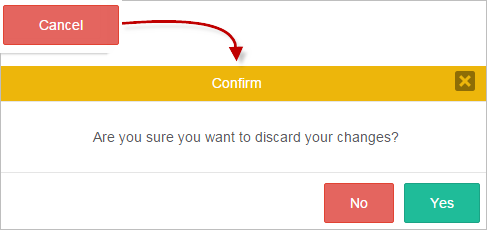
- Cancel: Cancels the creation of the Dynaform and closes the modal window. It also asks the user if he/she wants to cancel and discard all changes made.
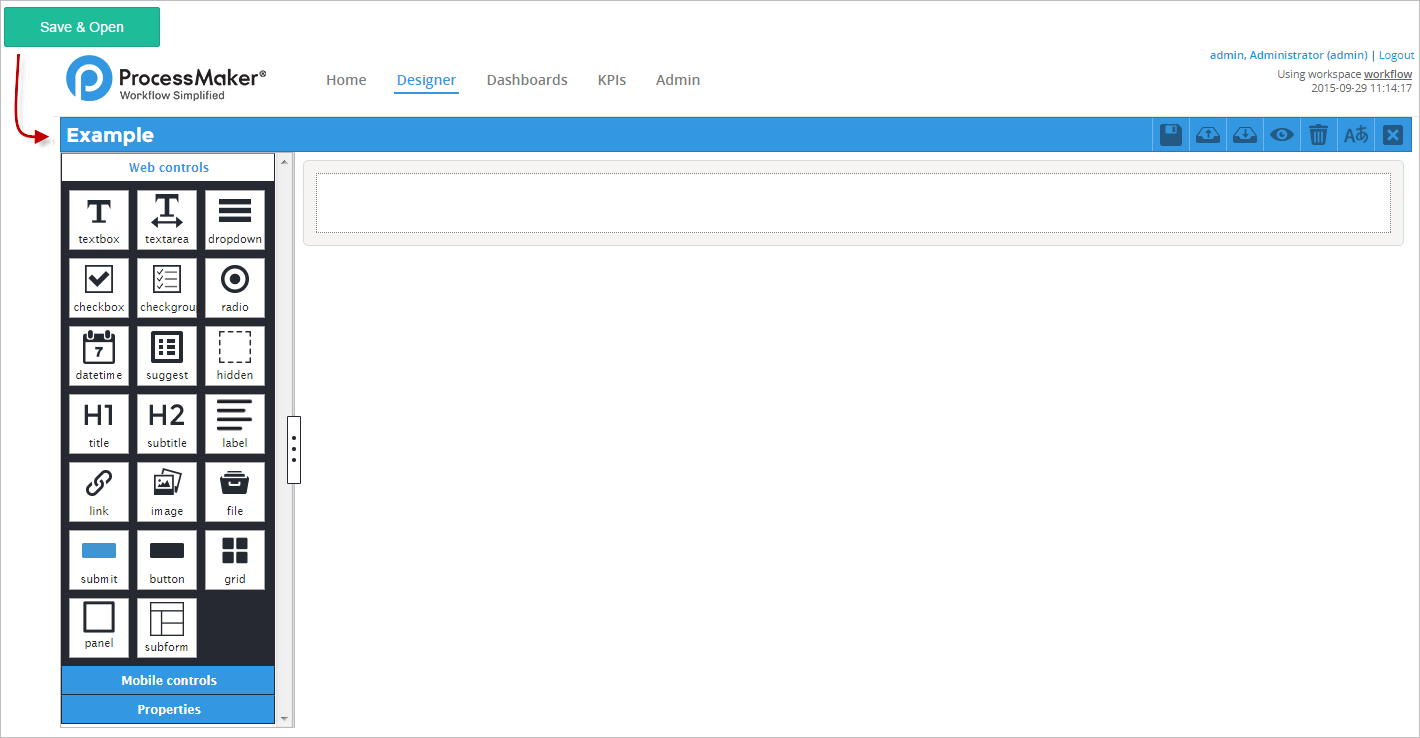
- Save and Open: It saves the configuration made over the new Dynaform and it opens the HTML5/Responsive Dynaforms editor.
- Save: It saves the configuration made over the new Dynaform. Remember that it is demanding to fill all the required fields, otherwise the configuration will not be saved and the mandatory fields that were not filled will be highlighted in red. When the configuration of the new Dynaform is saved, a flash message appears at the top of the window indicating that the new Dynaform was saved successfully.

HTML5/Responsive Dynaforms
ProcessMaker 3 has enhanced the designer for Dynaforms making it much easier to use. This designer gives users an interface to create a 12-column span Dynaforms which also accomplish the "write once, run everywhere" HTML5 promise. These Dynaforms auto adjust in different screen sizes such as desktop, tablets and mobile screens. In addition, this designer is based on variables, meaning that variables are already created in a separate interface and ready to use inside responsive Dynaforms.
Note: From version 3.0.1, it is also possible to create variables from the Dynaform designer using the Variable property in the controls of the designer.
The designer also has the Preview option that displays the preview of how the Dynaform will be displayed when running cases. Here the process designer can try out the form to see how the objects in form will appear and how they will be filled with values. Preview mode may have slight differences from when it is run in a case, especially if it uses fields which depend upon values entered in previous Dynaforms or case variables defined in previous triggers.
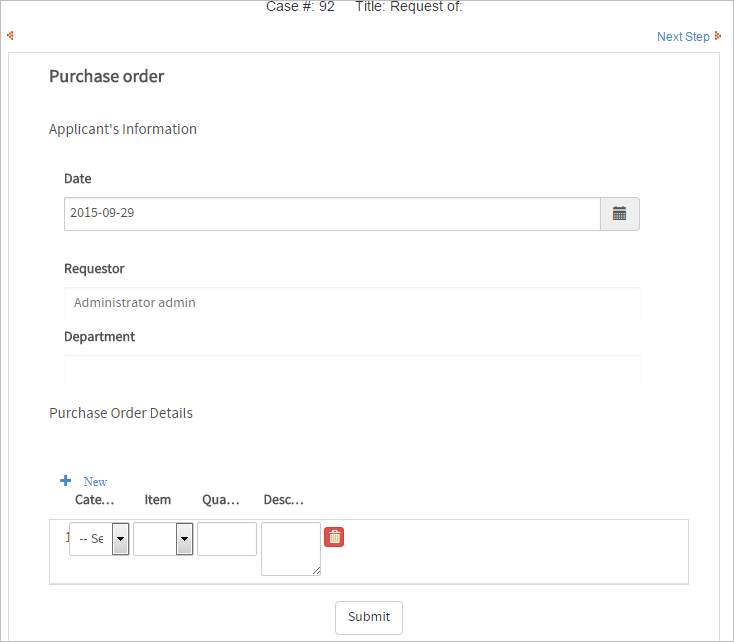
Desktop view:
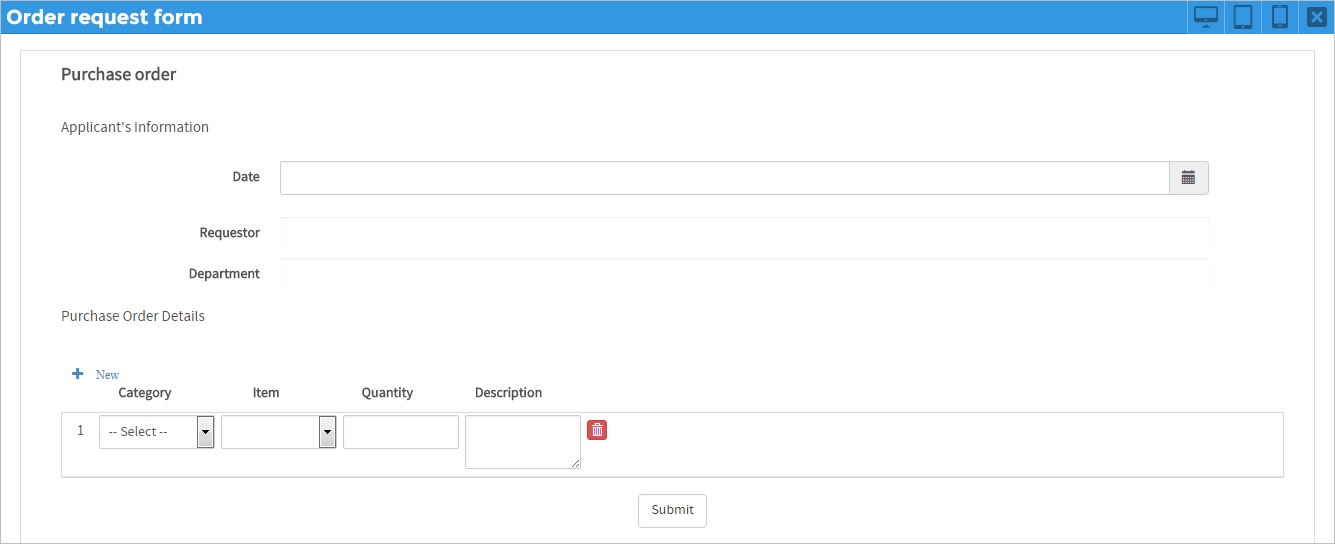
This is how the Dynaform actually looks on desktop when a case is running.
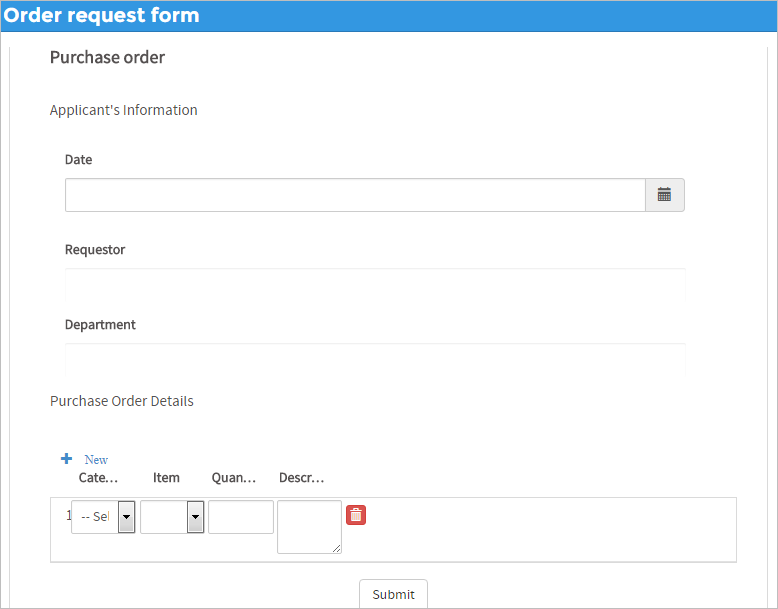
Tablet view:
Note: Take into account that the preview shown in the web browser is different from the ProcessMaker Mobile Application from Android and IOS that have the presentation of the controls modified, due to compatibility issues with webkits and usability in a reduced space.
This is how the running Dynaform looks on an actual Tablet.
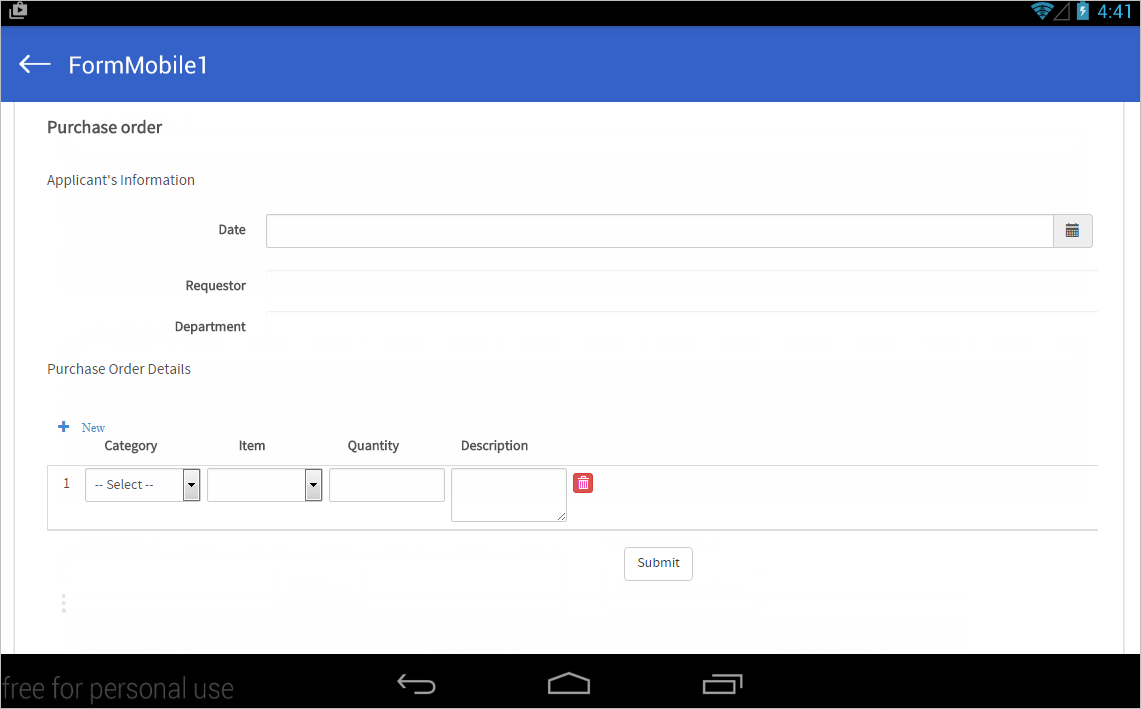
Note: Take into consideration that in a Tablet, Dynaforms cannot be created. They are only rendered when using the application.
Smartphone view
Note: Take into account that the preview shown in the web browser is different from the ProcessMaker Mobile Application for Android and IOS that render the Dynaform controls modified due to compatibility issues with webkits and usability in a reduced space.
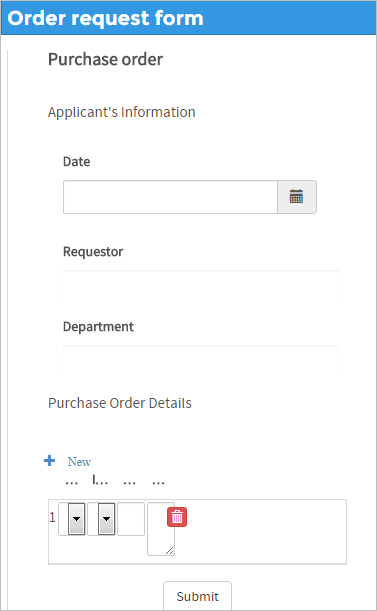
This is how it looks in actual smartphone.
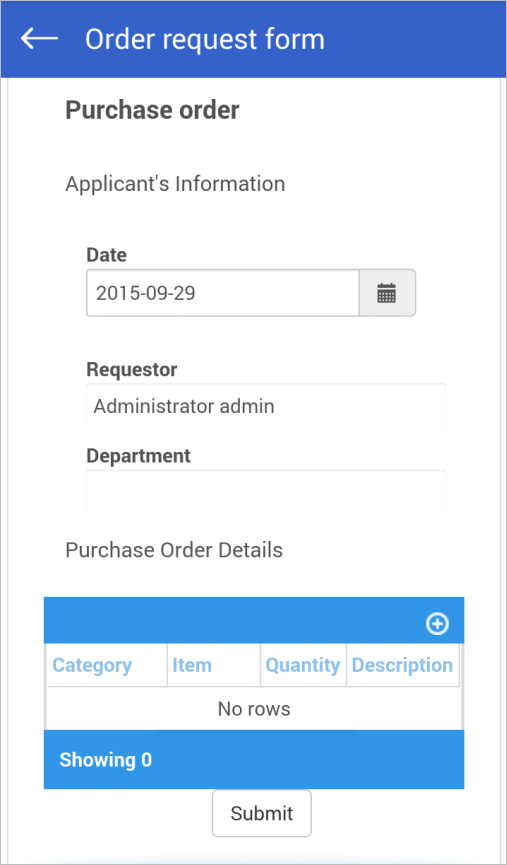
Note: Take into consideration that in Smartphones, Dynaforms cannot be created. They are only rendered when using the application.
None of these Dynaforms need to be rebuilt, after they are created inside the designer, they will auto-adjust to display on desktops, tablets and smartphones.
To learn about the designer for responsive Dynaforms visit this page.
Dynaform Management
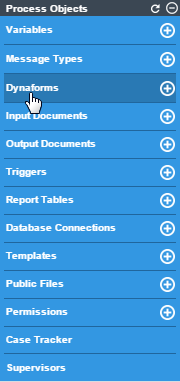
To see the list of Dynaforms created inside a project, click on "Dynaforms":
See the list of Dynaforms with their respective options:
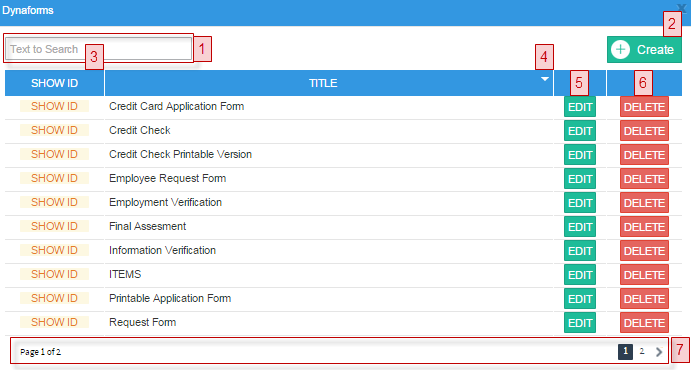
- Text to Search: Searchs the text introduced among the Dynaforms list. All coincidences in the titles of the Dynaforms will be filtered as the text is entered.
- Create: Opens the Creation Blank Dynaform window to create a new Dynaform. It is possible to create Dynaforms using either this option or this option.
- Show ID: Displays the unique ID of the selected Dynaform.
- Title: Shows the title of each Dynaform. The list shows only the first 10 elements before creating a new page in the window. The list is sorted in ascending order. To change the order of the list to ascending order, click on the down triangle in the label of the column.
- Edit: Opens the Dynaform editor.
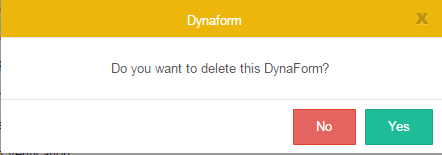
- Delete: Deletes the Dynaform. A confirmation window will be displayed:
- Click on Yes to delete the Dynaform or click on No to close the window without deleting the form. When a Dynaform is deleted, a flash message is shown in the upper part of the window indicating that the Dynaform was deleted successfully.
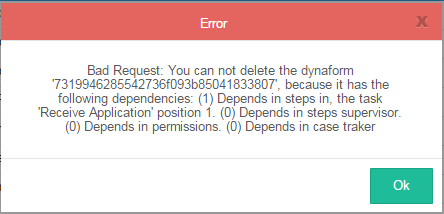
- It is not possible to delete a Dynaform that has been assigned to a task, if so, a warning message displays.
- It will show how many dependencies the Dynaform has. The possible dependencies of a Dynaform are: tasks, supervisors, permissions and Case Tracker. Make sure the Dynaform doesn't have any dependencies before deleting it.
- Pagination: When more than 10 Dynaforms are listed, a new page is created. To navigate through the pages use the > or < options or click over the page number in order to look for a Dynaform.

