The next step in the creation of the process is to create the variables, which hold the data entered in the DynaForm fields and can be used in conditions and gateways. It is not necessary to create all the variables at once. They can be created at any moment while the designer is working on the project.
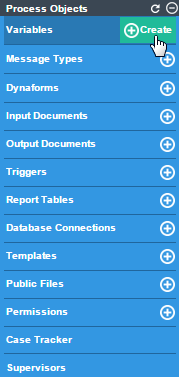
First, define the variables for the “Order Request” form in the first task (we will create the "Order Request" Dynaform after creating the variables). This form asks for personal information about the requester, such as his or her "Name", "Address", "Date" (of the request) and "Email". Also, the form needs to have a section where the information about the requested items will be added, such as their name, the requested quantity and a description of any particular details about the requested items. To create the variables, go to the main toolbox (the toolbox at the right side of the process map) and hover the mouse over the plus icon of the Variables option. Click on the Create option that appears on the right side. For more information about the creation of variables, see this documentation.
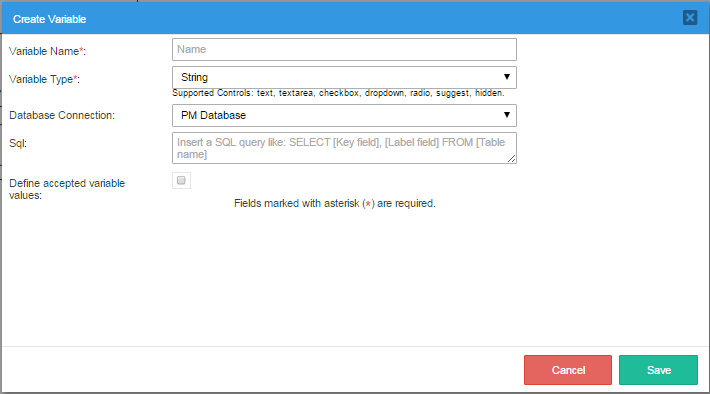
The window where variables can be created will open.
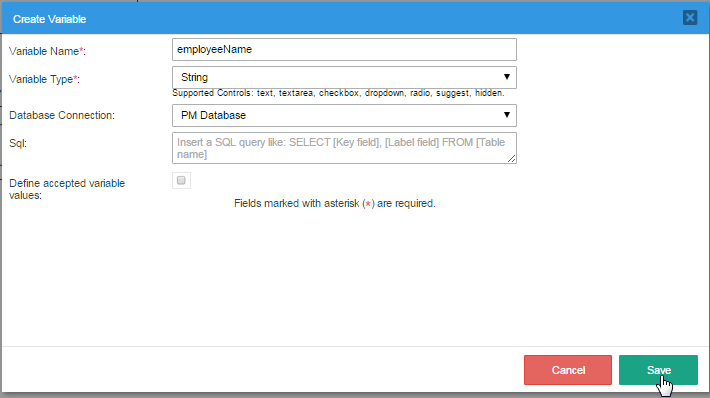
Begin by creating the first variable named "employeeName," which is a String type. After filling in the fields Variable Name and Variable Type, click on Save to create the variable.
A flash message will be displayed at the top of the Process Map, indicating that the variable has been saved successfully.

Also, the variable "employeeName" will appear in the list of variables that will be shown after creating the variable (and can also be seen by clicking on the Variables option in the main toolbox).

Create the next variables that will be needed in the form: "employeeAddress" (String), "employeeEmail" (String) and "requestDate" (Datetime). Also, create the variable "itemGrid" (Grid), which will store the values entered in the "item", "quantity" and "description" fields in the Dynaform's grid. We'll learn how to create a grid when creating a Dynaform later in this page.
Datetimes variables do not support SQL queries, and therefore do not support the configuration of the Database Connection, SQL, and Define accepted variable values fields; so, these options will disappear after selecting "Datetime" for the Variable Type.

A grid is a special type of variable that is used to store the values entered into a grid in Dynaforms. This type of variable also does not support SQL queries, so only the first two options (Variable Name and Variable Type) in the Create Variable window are available.

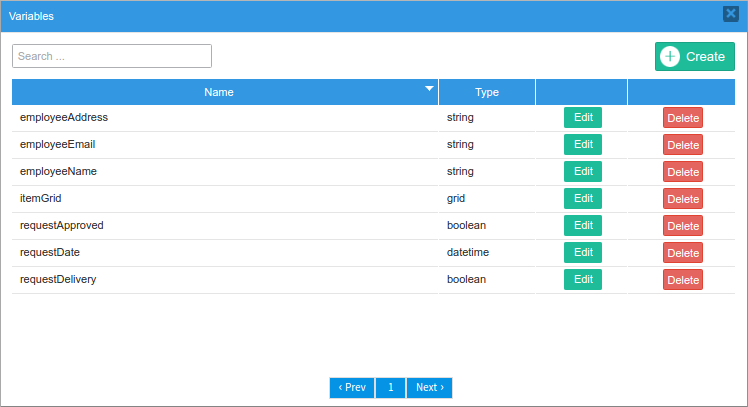
The list of variables for the first Dynaform should look like the image below. Note that variables can be edited after they are used in a Dynaform or another element in the process, but they cannot be deleted without first removing them from the elements where they are being used.

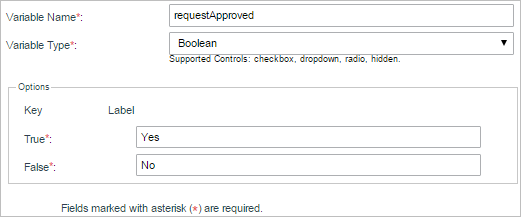
Then, create the variables for the second task "Order Approval". In the second task, the supervisor will check if the information is correct and will approve or reject the request. The only additional variable needed in this case is "requestApproved" (Boolean), which only accepts "true" or "false" as its value.
When creating the variable, the labels for the True and False options must be filled in, which will be will be “Yes” and “No”, respectively.
Finally, the last task, "Deliver Order," needs a variable to determine whether or not the order that was approved by the supervisor will be delivered. Create the variable "requestDelivery" (Boolean) and add the options “Yes” and “No” as well.
The complete list of variables for all the tasks will be the following: