Overview
The User Experience interface is designed to enable the user to view ProcessMaker on mobile devices as well as on desktop computers. This design allows users to open cases, fill in information in Dynaforms and route cases on a variety of devices.
The User Experience interface supports right-to-left (RTL) languages, such as Hebrew and Arabic.
Note: The Simplified User Experience does not use custom options like the ProcessMaker desktop application. Therefore, the Simplified User Experience cannot be skinned.
Changing the interface
There are four types of User Experience interfaces: Normal, Mobile, Switchable and Single Application.
Normal: The default interface of ProcessMaker.
Mobile: A simplified view of the ProcessMaker interface. Only the inbox is shown, where the user's incoming cases are listed with an overview of the information about the case, such as the name and number of the case, person in charge, date of the case, name of the form and the process it belongs to.
Switchable: With just one click, users can switch between the simplified view and the normal view at any time.
Single Application: This interface allows users to work on a specific assigned task. The user who logs into ProcessMaker will be redirected to the most recent case assigned to that user.
How to Change the Interface
As a User
Log into ProcessMaker with a user, such as the "admin", who has the PM_USERS permission in his/her role. Then, go to ADMIN > Users > User Experience:
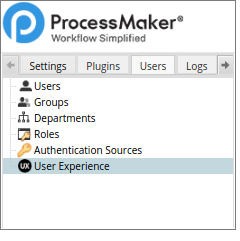
Click on the User Experience option in the sidebar to display a list of users and their user experience setting:

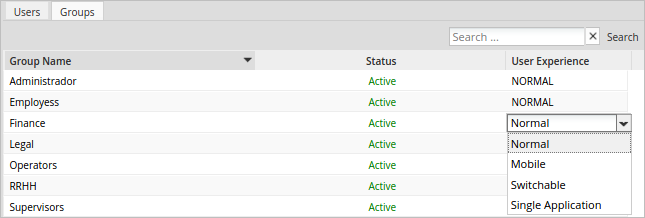
To change a user's interface, click on a user in the User Experience column. Then select an option in the dropdown box that appears:

Users must log out of ProcessMaker and log in again to see the changes.
As a Group
The user experience settings may be applied to an entire group, meaning that all users who are assigned to a specified group are going to have the same user experience:
User Restrictions
Users with the PROCESSMAKER_ADMIN role cannot change the interface of other "admin" users.

Choosing Interfaces
Mobile
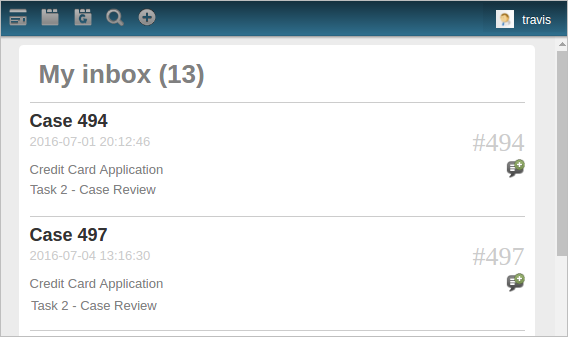
The Mobile User Experience interface displays a simplified view of the ProcessMaker interface. Only the inbox is shown, where incoming cases are listed with an overview of the information about the case, such as the name and number of the case, person in charge, date of the case, name of the form and the process it belongs to.
If the user only receives cases and is not assigned to the first task to initiate a case, the following interface will be displayed:
Switchable
With just one click, users can switch between the simplified view and the normal view at any time. This option is located in the upper right corner above the login menu:

Single Application
This User Experience skin allows a user to work on a specific assigned task. When using the Single Application skin, a user who logs into ProcessMaker will be redirected to the most recent case assigned to that user.
To change a user's display settings from the Normal skin to the Single Application skin:
- Click on the user you want to assign for this application (the user must be assigned to a task):

- When the case is routed to a task assigned to the user, the screen will change to the Single Application skin and will ask for the Username and Password.
Note that only the users whose User Experience is set to "Single Application" will be able to see this login screen.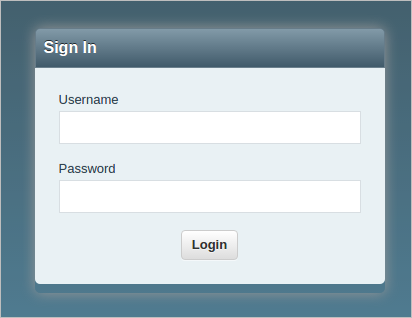
- If the user has no pending cases, a dialog box will appear like the one below:
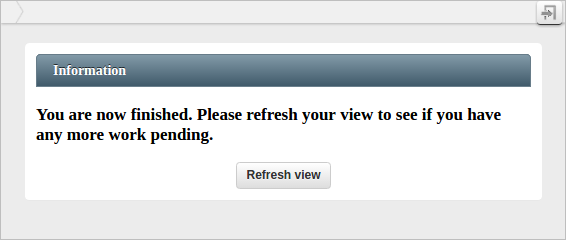
- The cases will be listed in descending order, with the most recent task assigned to the user at the top of the list.
- After logging in, users can work on their assigned tasks:
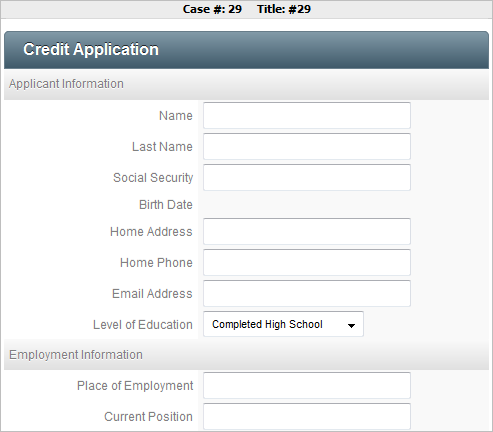
- All the Dynaforms, input documents and output documents in the current task will be displayed in different tabs at the top of the screen. Click on each tab to work on the different steps in the current task.

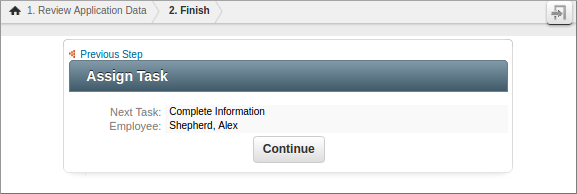
- Once the user completes the assigned task, a dialog box will appear indicating that the case is routing to the next task or the process has completed.
Interface Characteristics: Mobile and Switchable
 New Case
Users can start a new case if they are assigned to the first task of the process:

 My Inbox
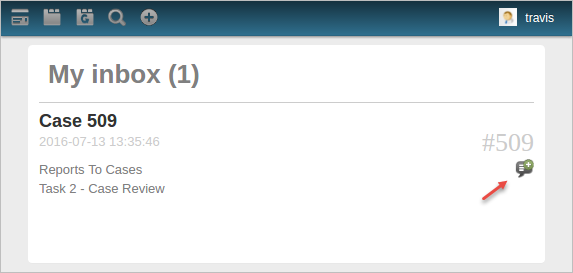
Shows all the incoming cases. This is useful because users can choose to only see cases that require further action. By clicking on the name of the Dynaform, the next step will be displayed allowing users to continue the case.

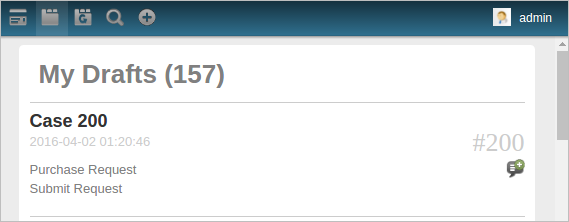
 My Drafts
Shows all incomplete cases that require to be finished.
 Unassigned
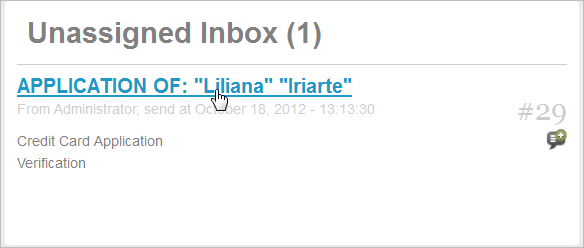
The unassigned folder provides options to improve the use of the User Experience interface. Now, users can open unassigned cases if the self service assignment rule was defined.
This option was added next to the Draft option in the top menu. Click on the Unassigned button to open the case:

Click on the name of the case to claim it:
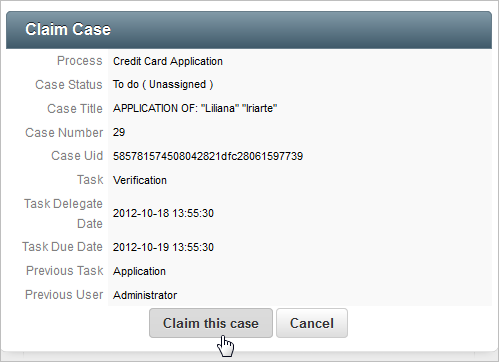
A summary window will be displayed. Click on Claim this Case to open it.
 Advanced Search
The Advanced Search option allows the user to search for specific information about running processes. The fields available to be searched are the following:

Where:
- Category: Search by the category created in the definition of the process.
- Process: Search by the process name in the current workspace.
- Status: Search for information according to the case status: Cancelled, Completed, Draft, Paused or To Do.
- Search: The text box field where specific information can be entered to be searched.
Once the search is configured, click on the Search button. For example, when searching by Draft status:
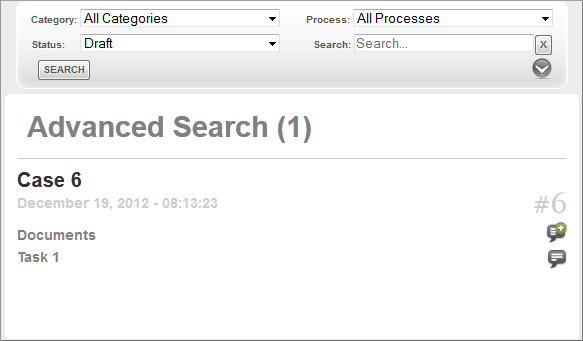
By clicking on the Search button, it is possible to search for a case using two more search criteria:

- Delegated date from: To: Select the range of possible dates when the case was routed from a previous task.
To choose dates to be searched, click on the textbox next to the respective field and a calendar will be displayed:

 Log Out
By clicking on this icon, users can log out from the ProcessMaker interface.
 Case Notes
Users can add a case note by clicking on this icon.
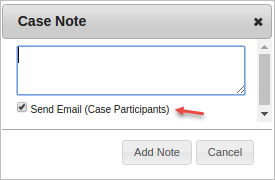
Send Notifications to Case Participants
User who add a case note can send an email to all participants of the case to notify them of the new case note.
 Hide a Case
Cases can be hidden by clicking on this icon ![]() .
.
Routing Screen Template
It's possible to create a custom template either for a process or for a particular task. This option is useful for external users who don't need to know information about the next user or task. This template may be created with variables from the default routing template. The default routing screen template is:

While an example of a custom routing screen is as follows:
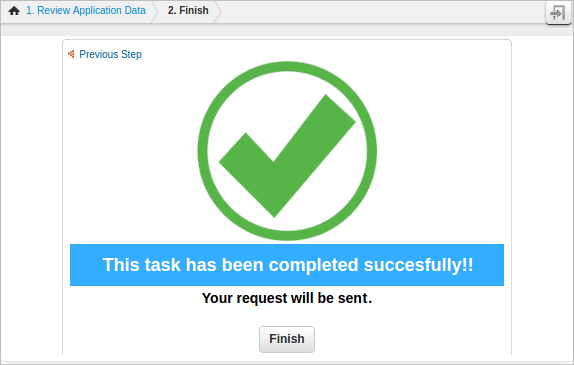
Refer to this section for instructions on how to create a template and add it to a particular process or task.


