Entrust
This section discusses how to set up the SAML Auth plugin with Entrust and how to log on to ProcessMaker.
After Installing and enabling the SAML Auth plugin, follow these steps:
-
Click here to create a new account on Entrust. If you already have an account, jump to step 6.
-
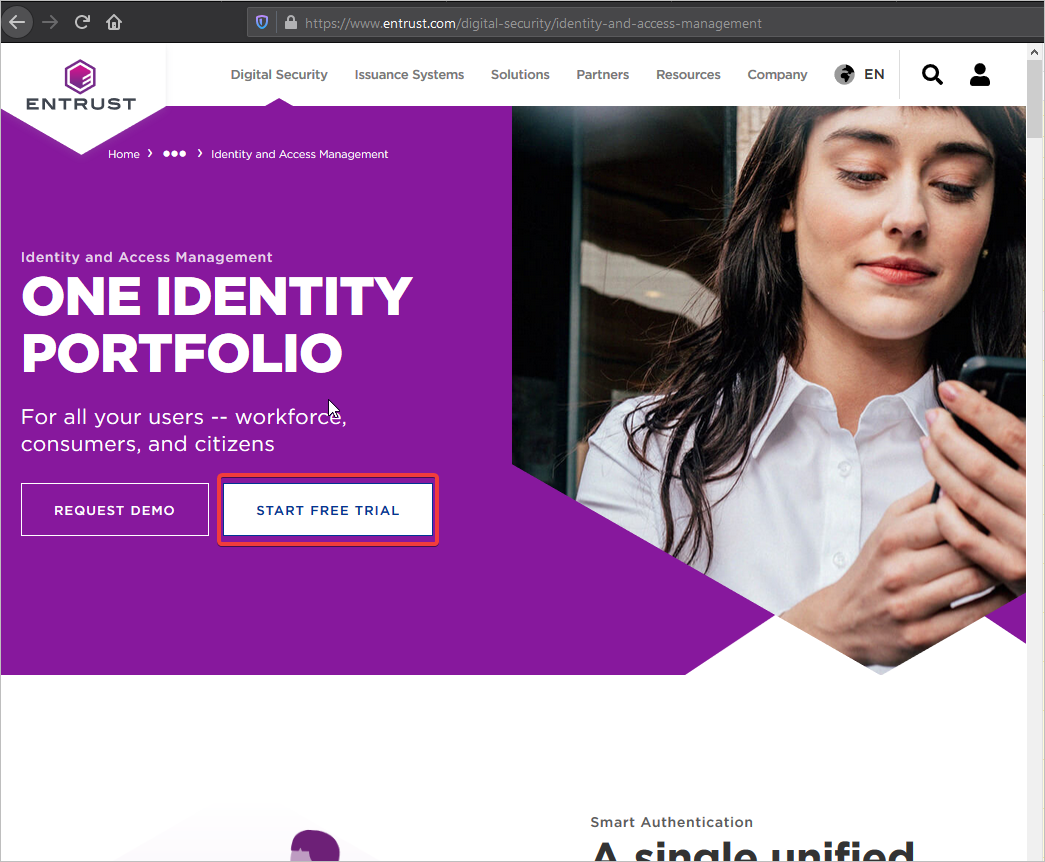
Click START FREE TRIAL.
-
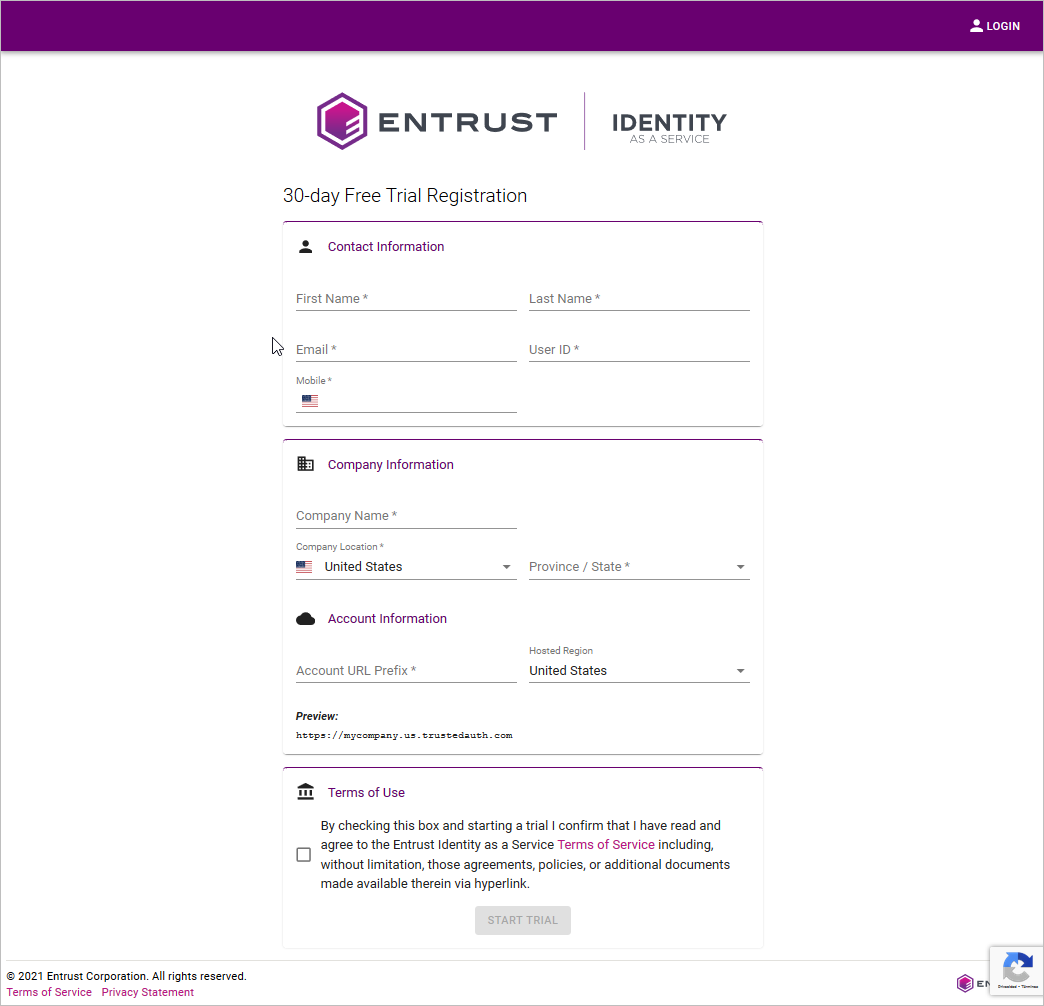
A new new tab opens in the browser. Fill in the new account information.
-
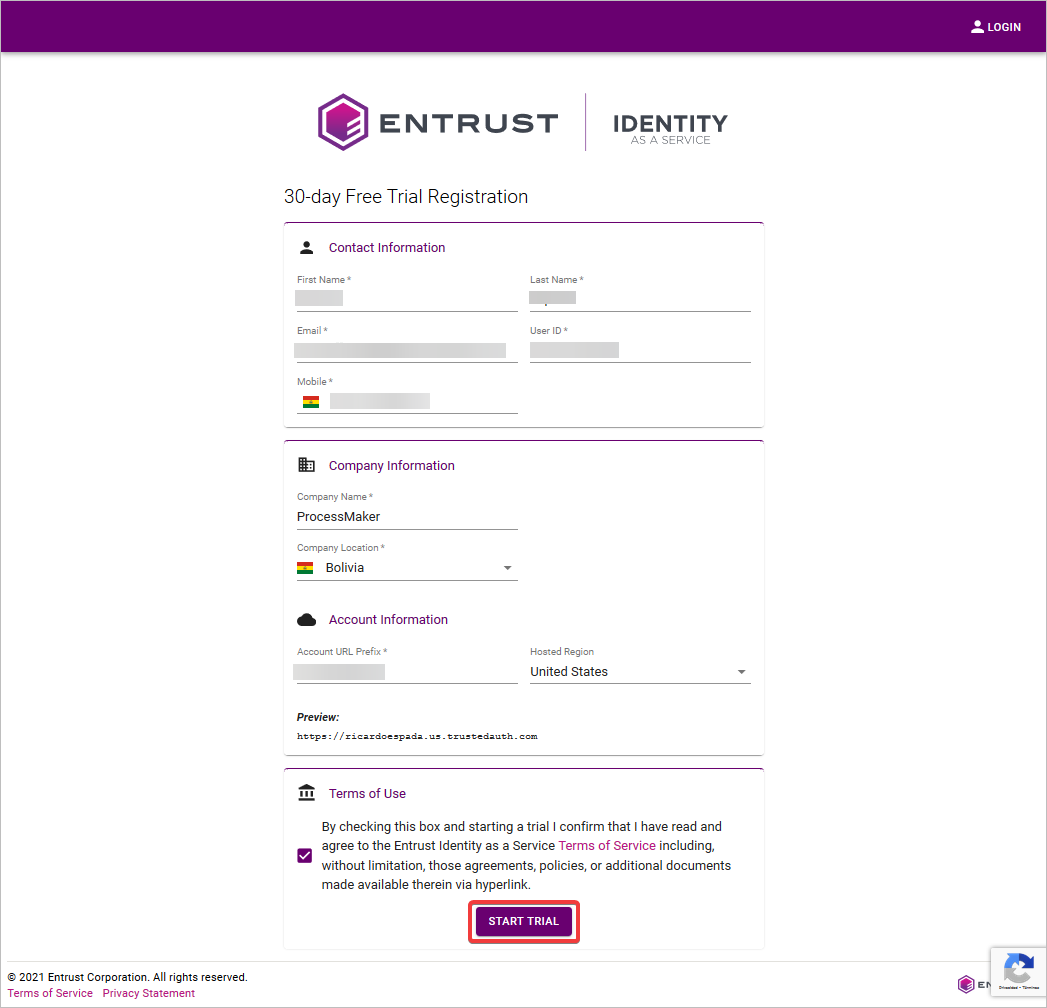
After to fill in the new account information, click the START TRIAL button.
-
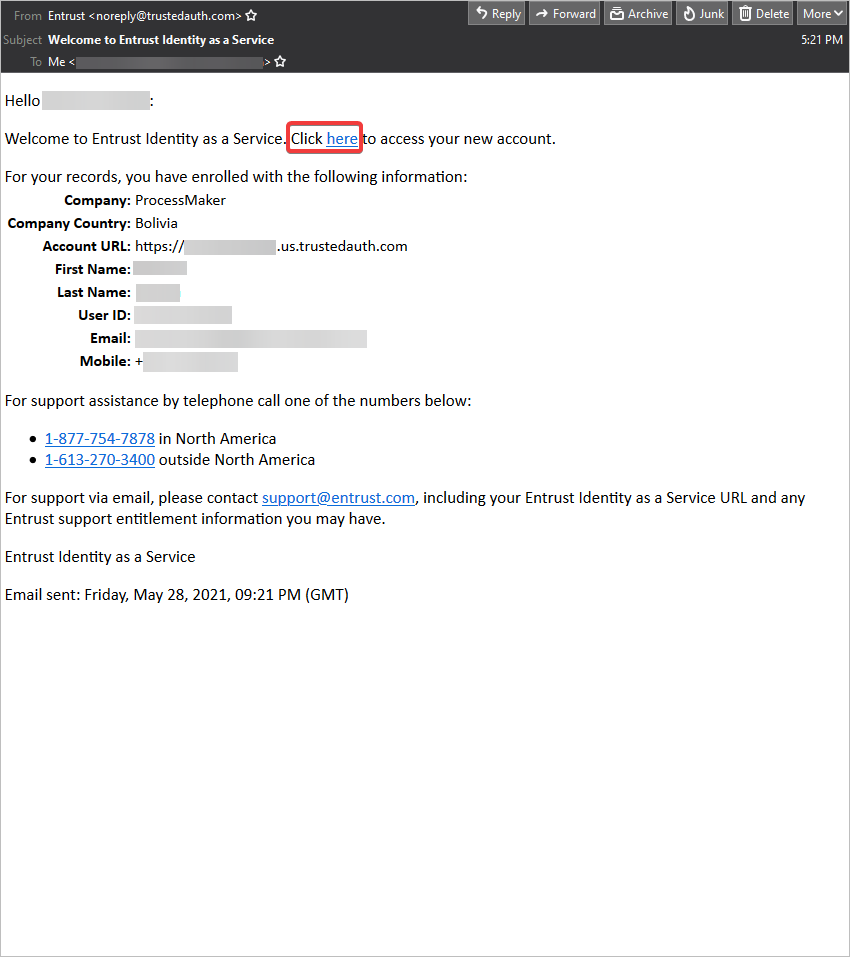
An email is sent to the set account. Click on the link provided to access the new user.
-
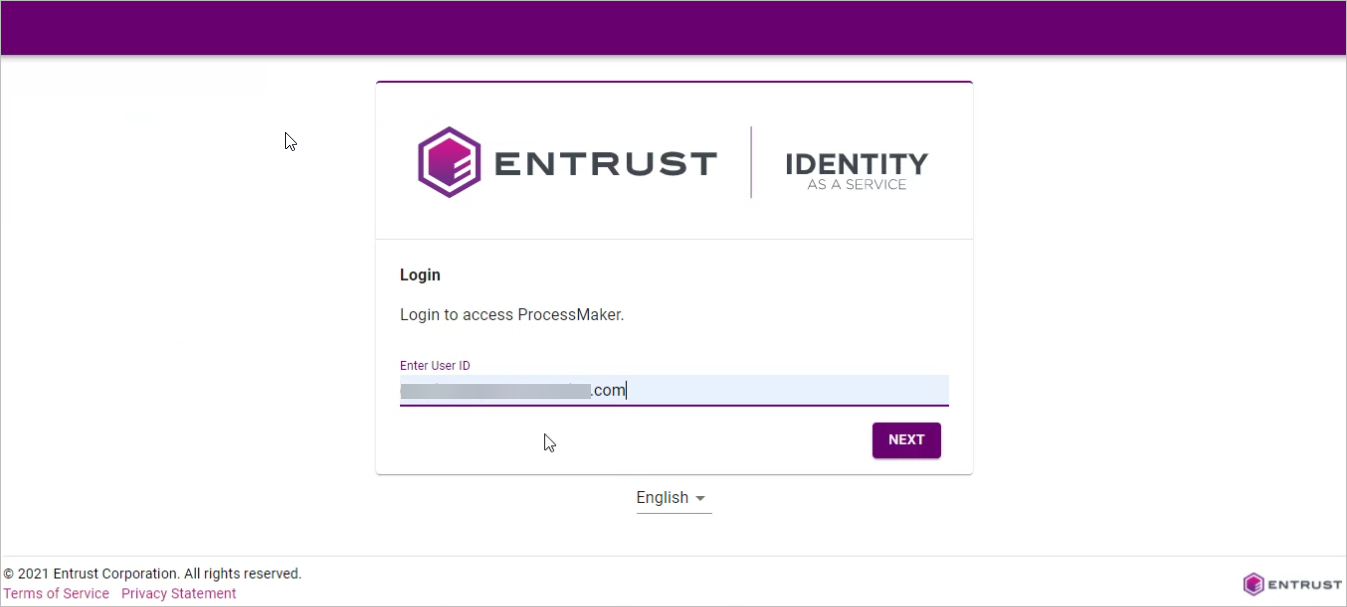
Log on to your Entrust account.
-
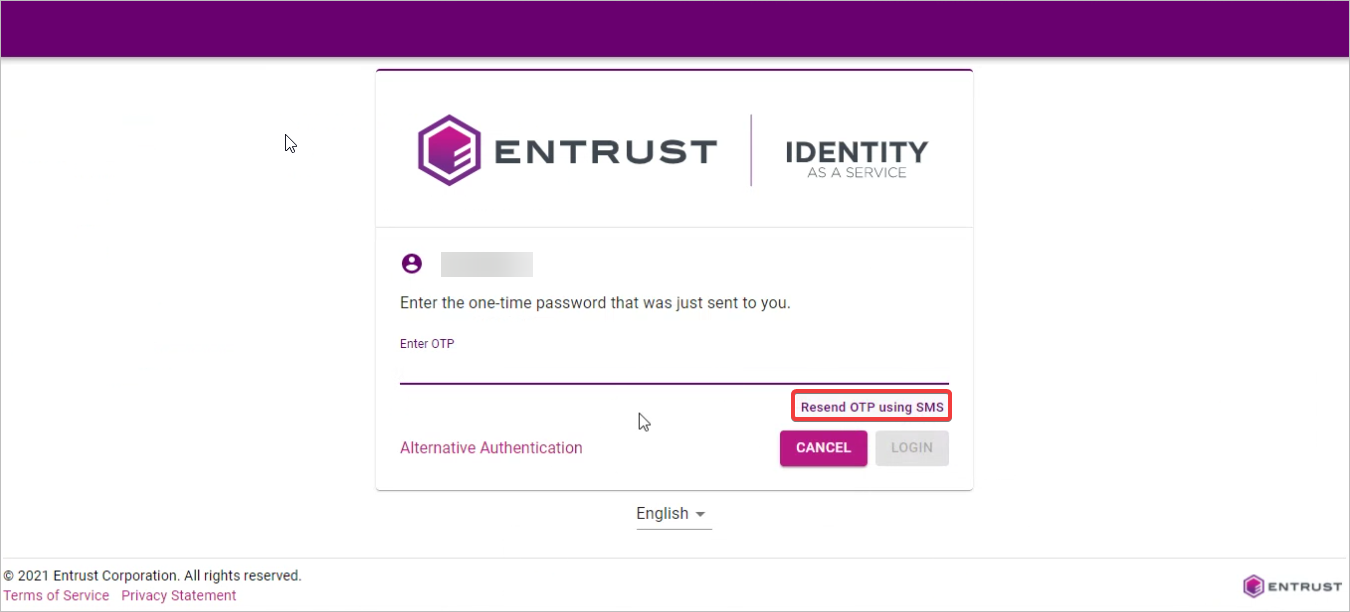
The application requires the One Time Password. If it does not send it automatically, click on the Resend OTP using SMS.
-
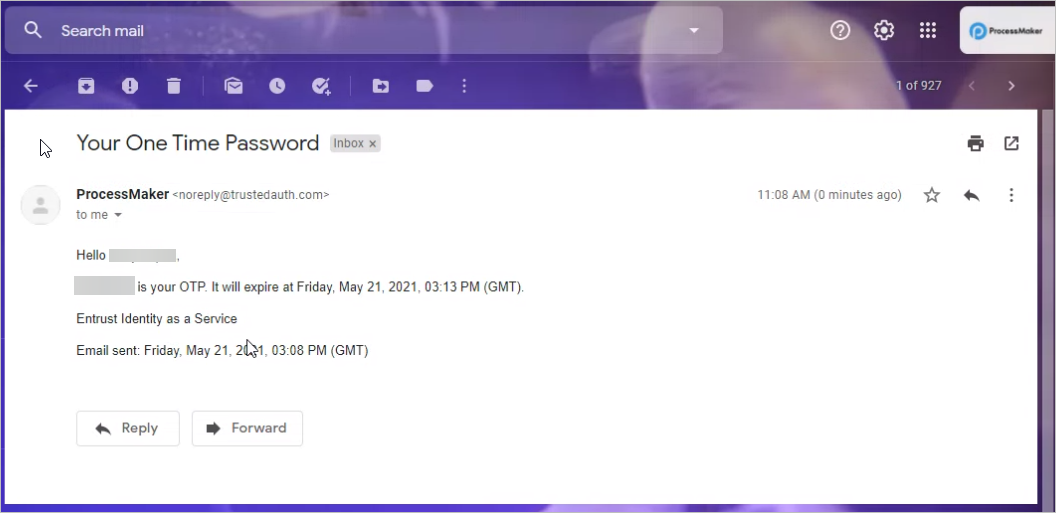
A message and an email with the OTP code are sent to your account.
-
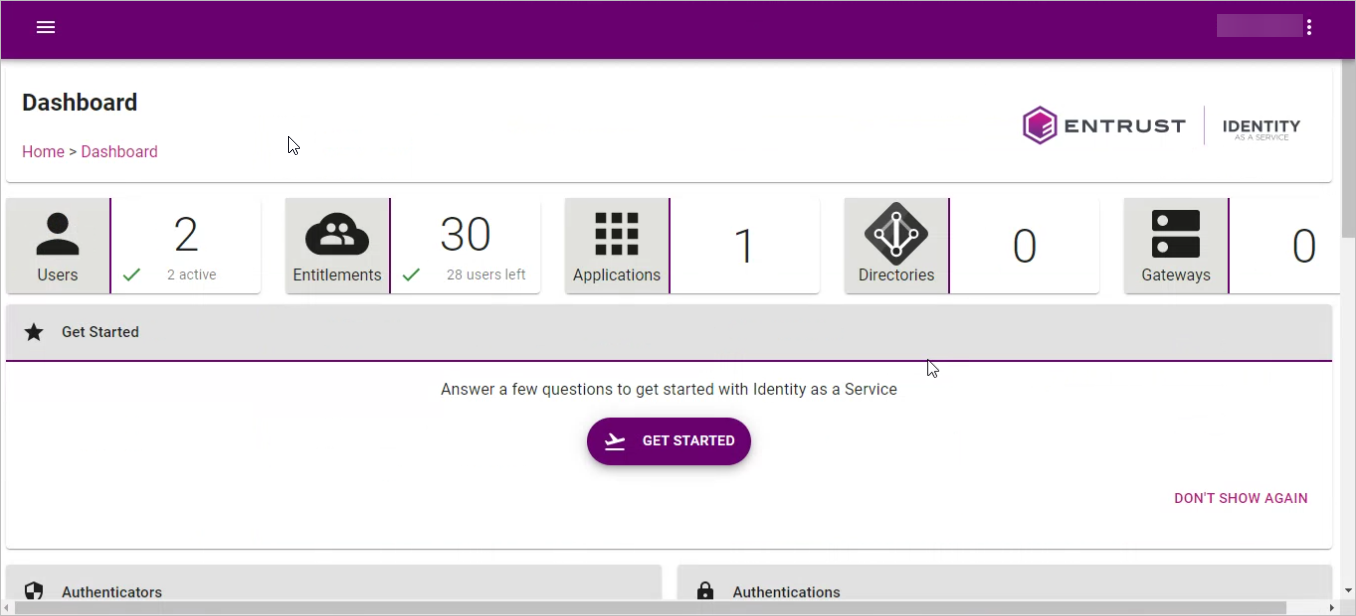
After logged on, click on Users to verify the status of the registered users.
-
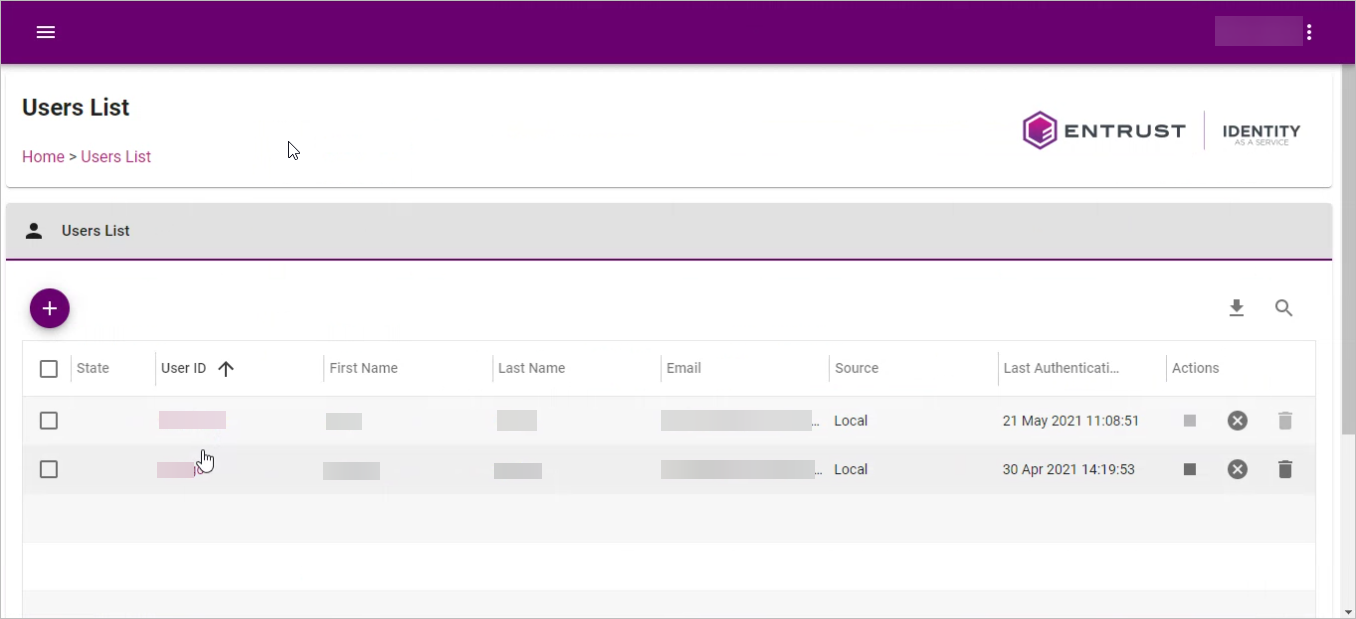
Click a row in the list to see the details or edit the user configuration.
-
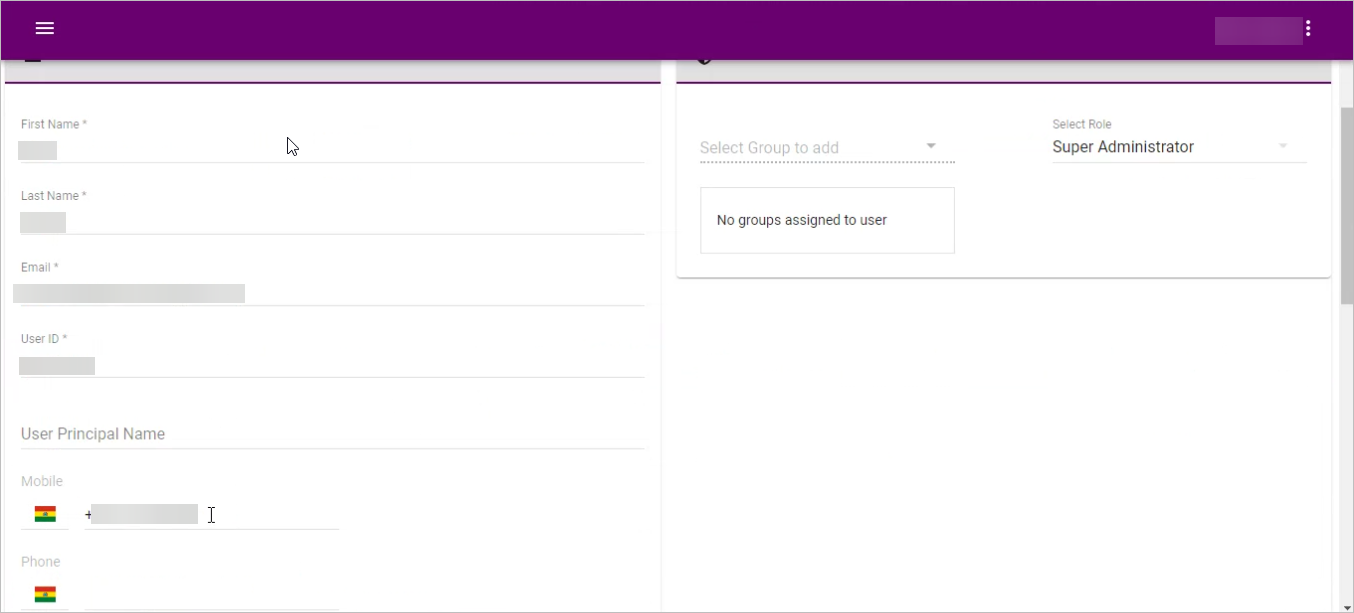
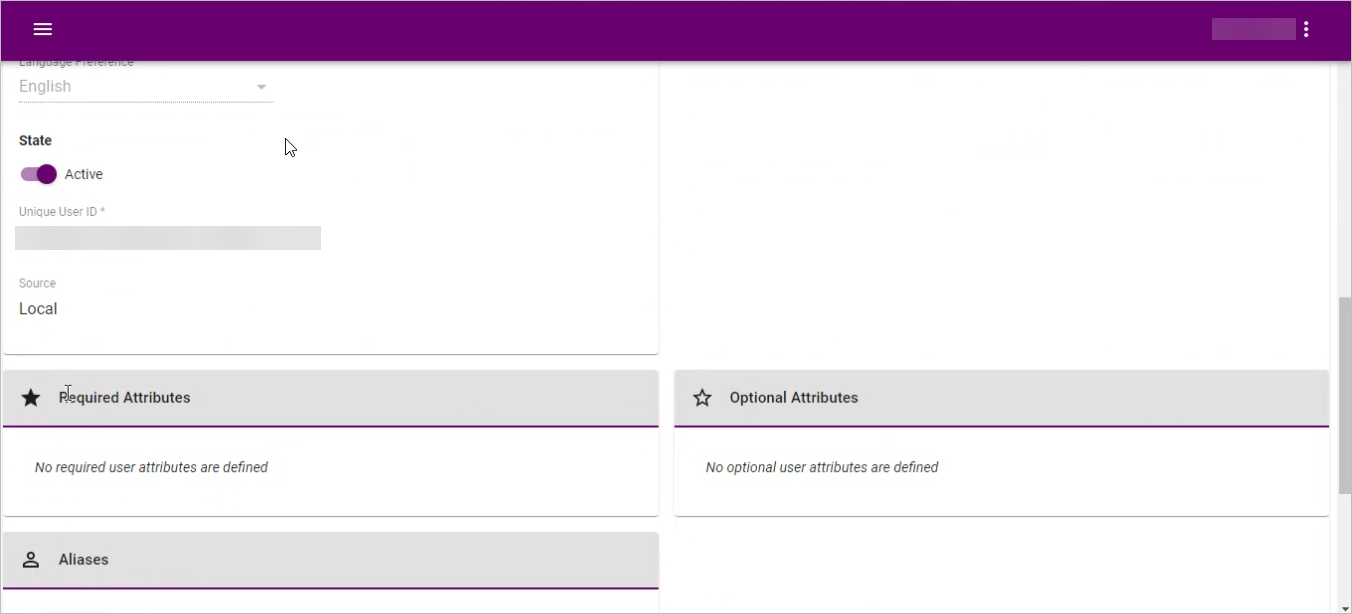
Check the user details and make sure the State is active.
-
Go back to the main menu, and then click Applications.

-
Click the
 icon to add a new application.
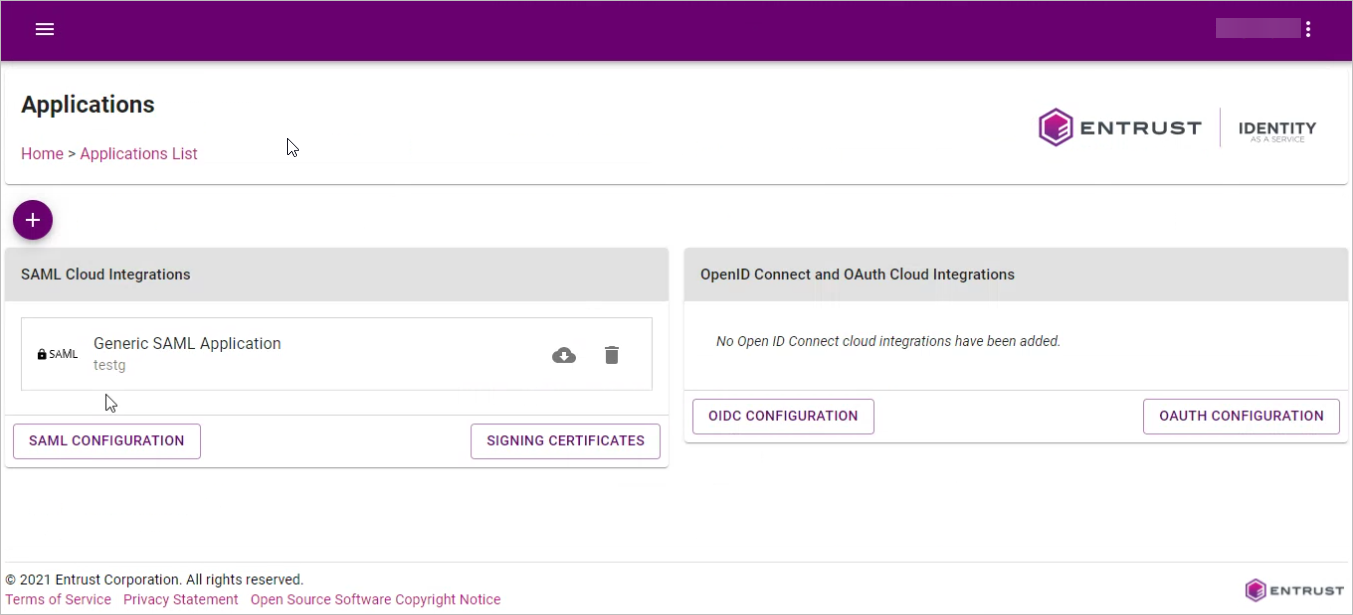
-
Search and select the Generic SAML Application.
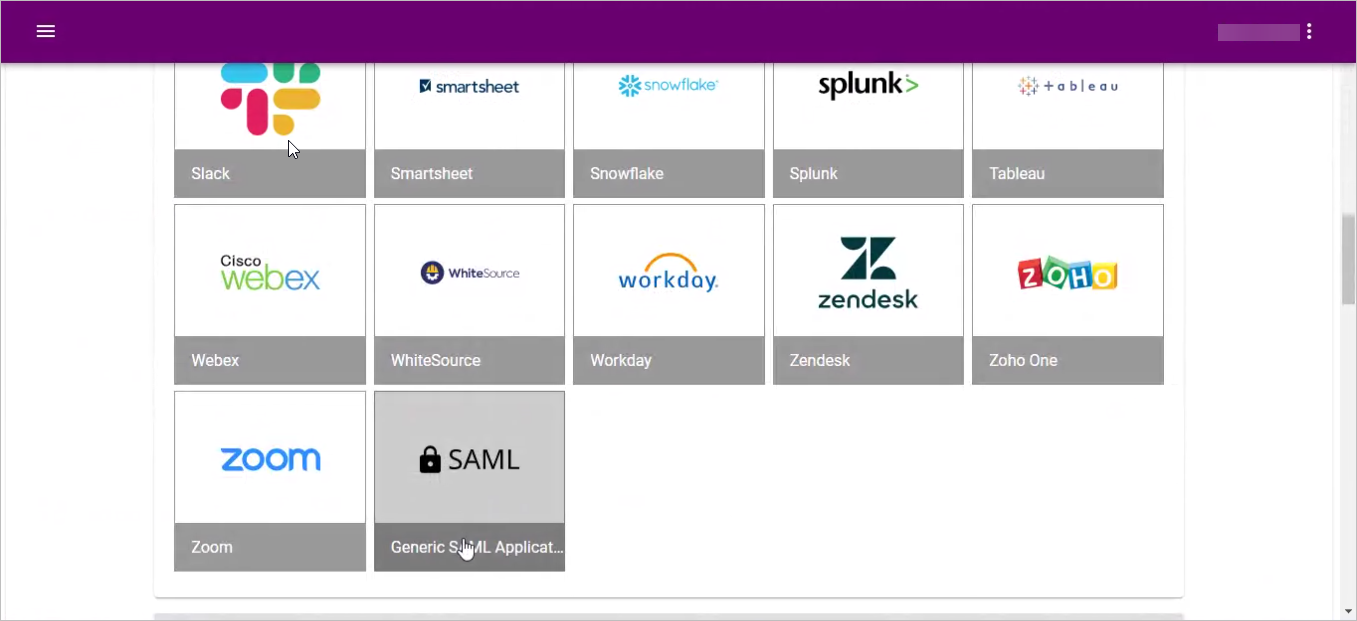
-
After filling in the Application Name and the Application Description, click NEXT button.
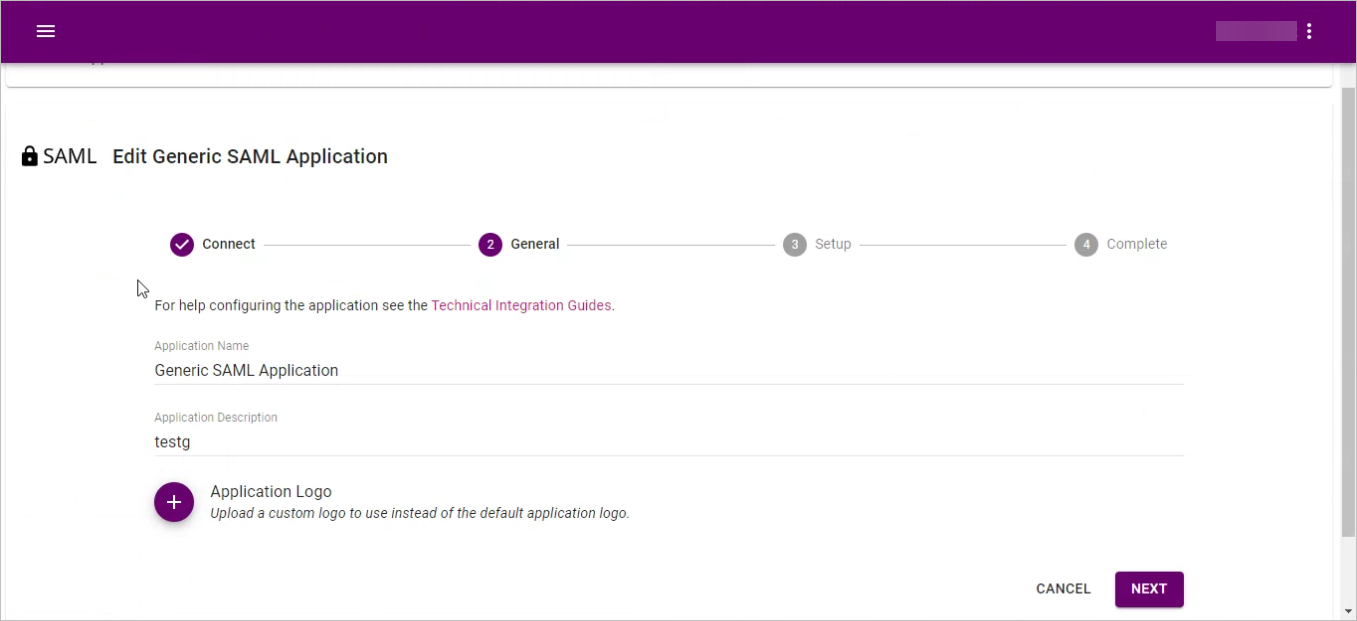
-
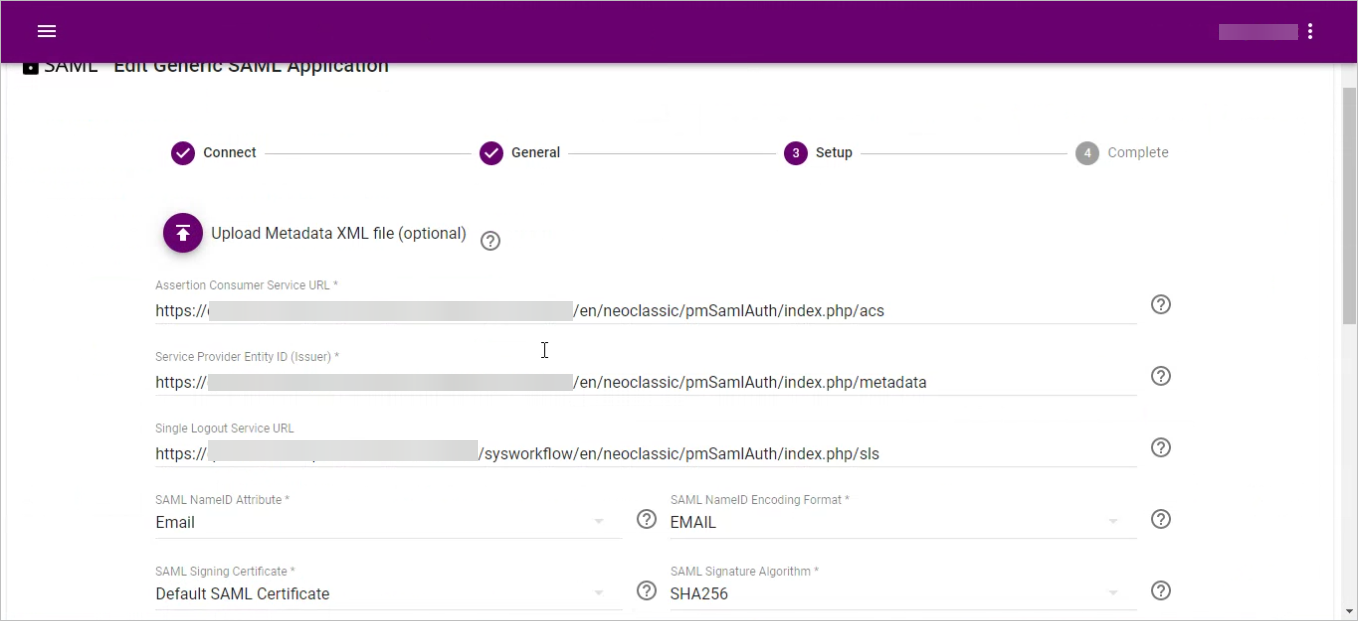
Copy the following values from ProcessMaker Service Provider section (first image below) to the Configure SAML section in Entrust:
Note: Field hints provided by Entrust also provide a guide about how to match values.
- Assertion Consumer Service to Assertion Consumer Service URL.
- Entity ID to Service Provider Entity ID (Issuer).
- Single Logout Service to Single Logout Service URL.
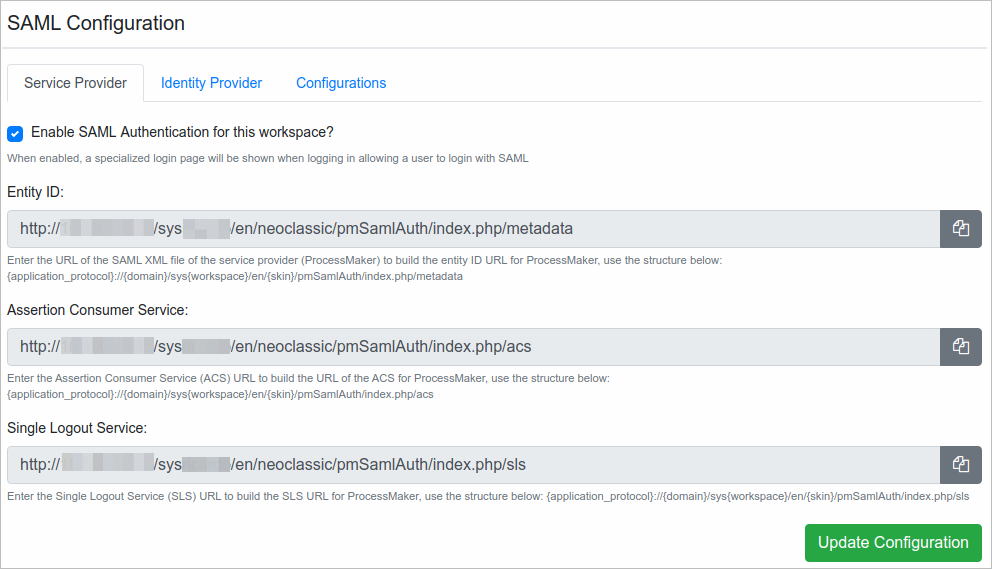
-
Select the SAML NameID Attribute and the SAML NameID Encoding Format. Leave the other attributes by default.

-
In ProcessMaker, select the Configurations tab, fill the Idp Attribute Name field with the attribute mapped in Entrust.

-
Click DONE to complete the application configuration.

-
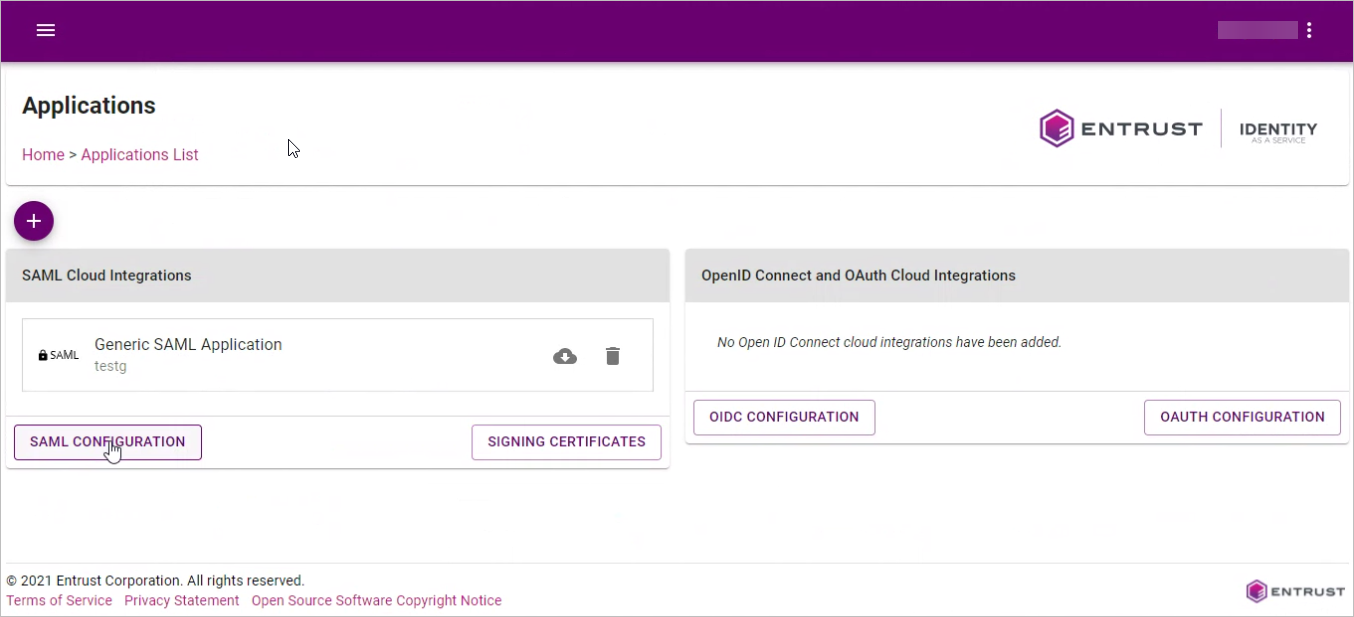
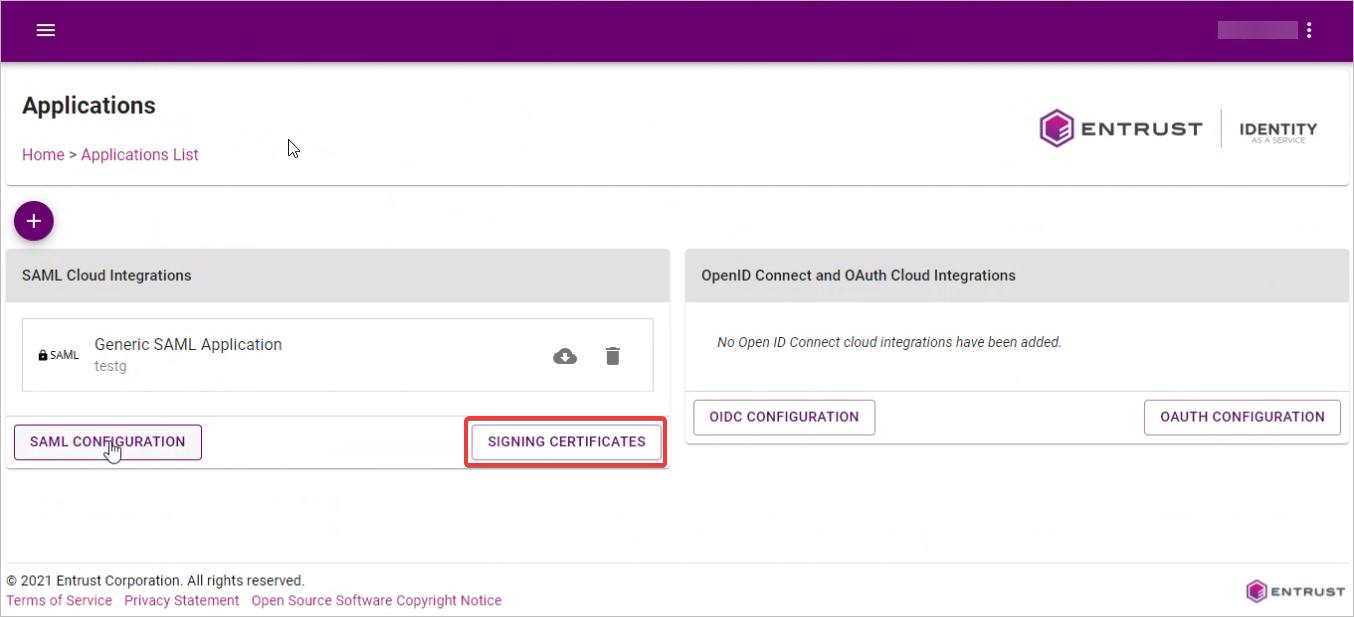
In the Applications List page, click on SAML CONFIGURATION.
-
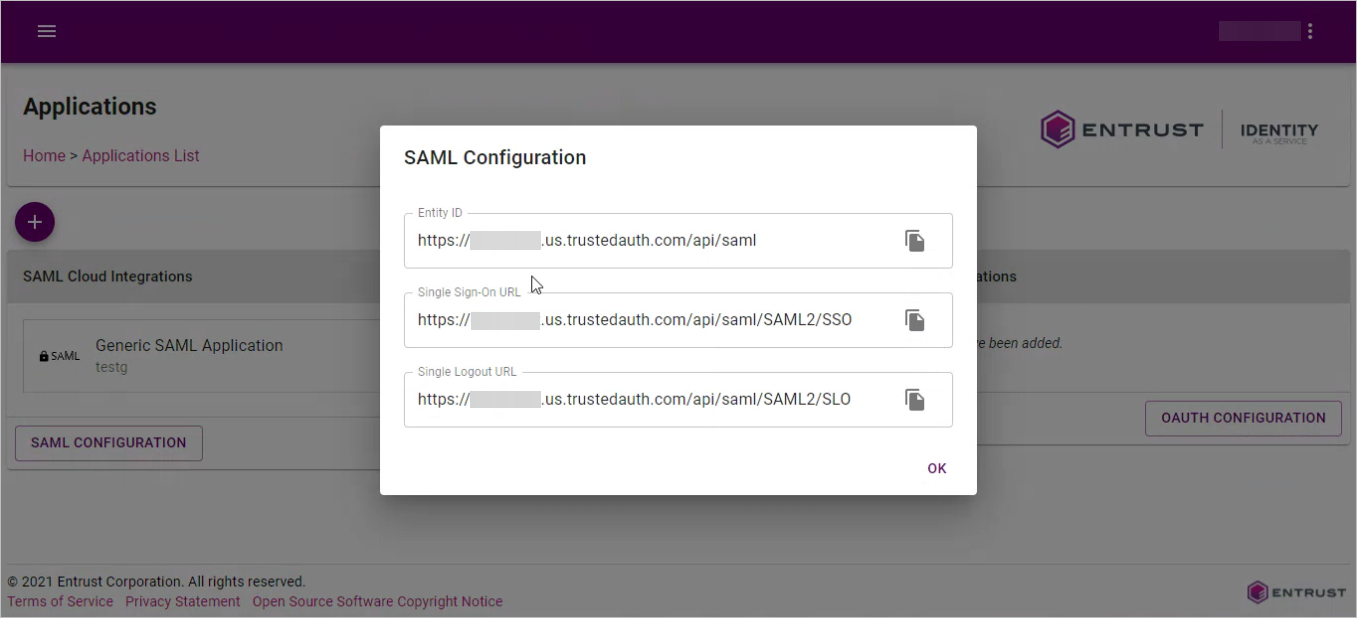
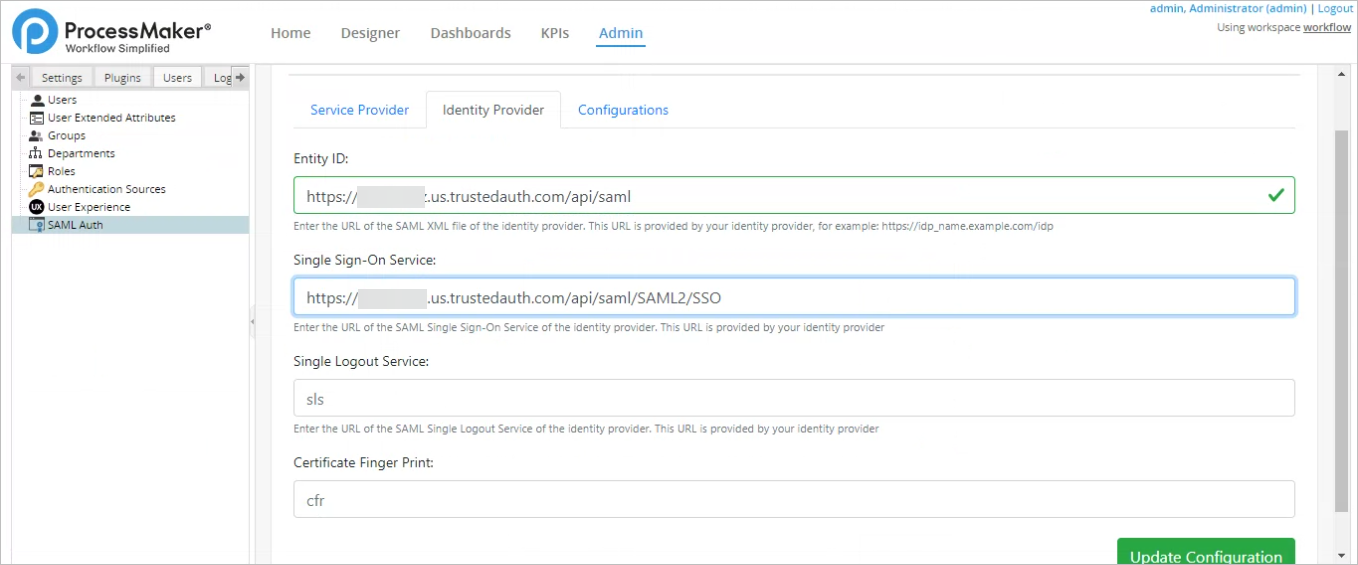
A dialog opens with the SAML configuration required by ProcessMaker in the Identity Provider section. Copy the following fields from Entrust (first image below) and then click Update Configuration in ProcessMaker:
- Entity ID to Entity ID.
- Single Sign-On URL to Single Sign-On Service.
-
Go back to the Entrust Applications List page, and then click on SIGNING CERTIFICATES.
-
Click the
 icon.
icon.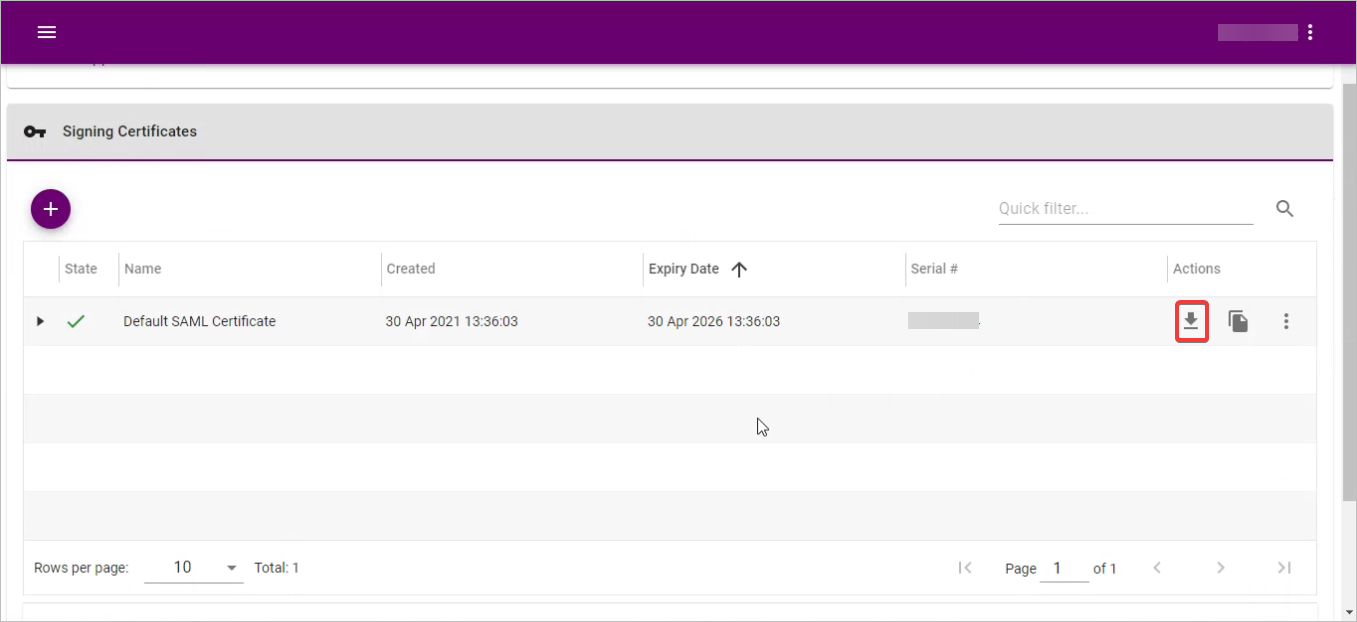
-
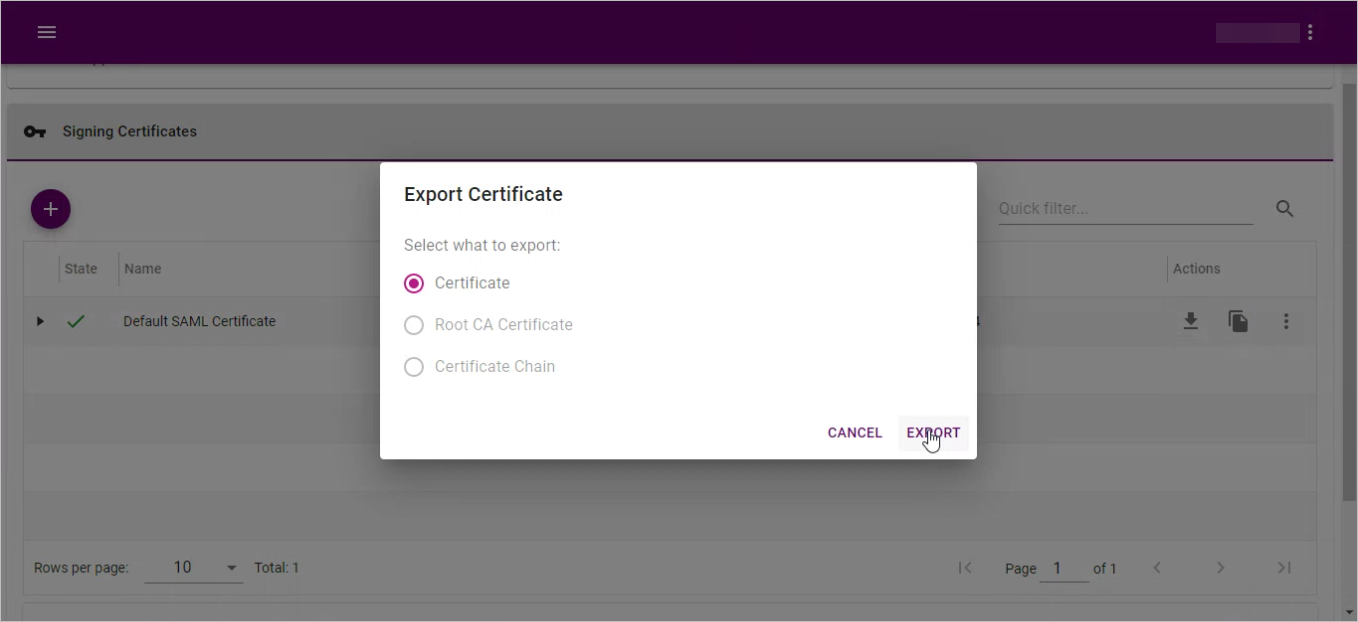
Select the Certificate option, and then click EXPORT button.
-
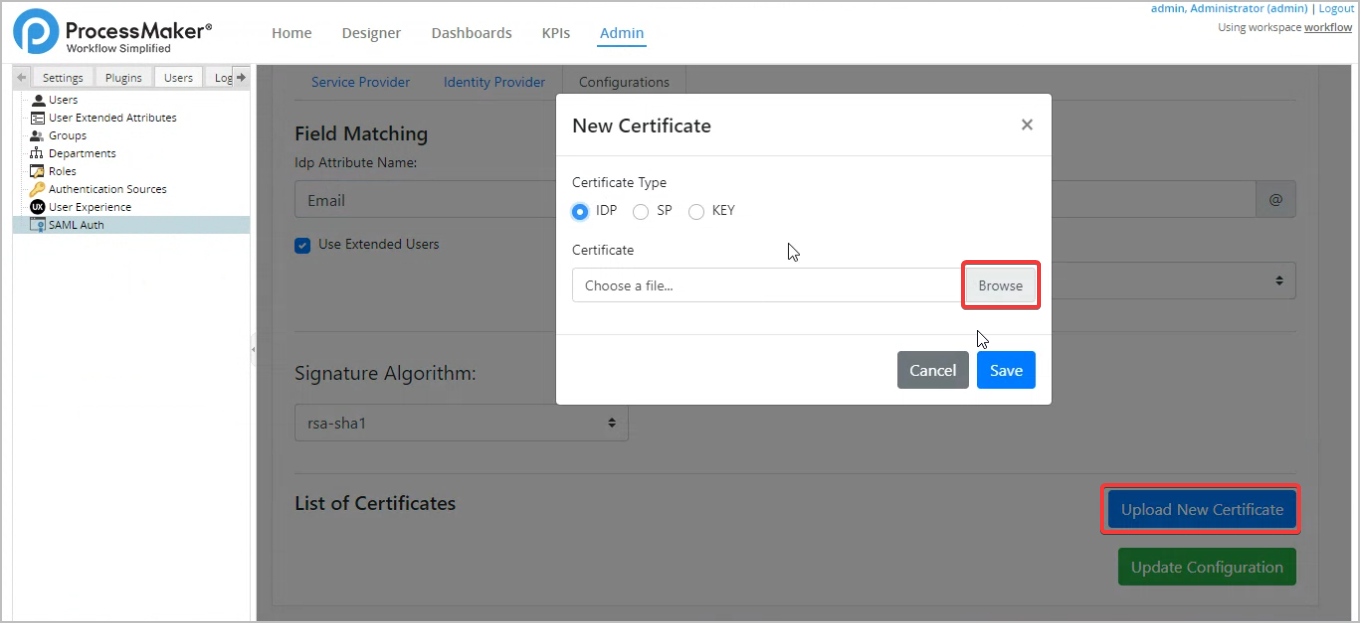
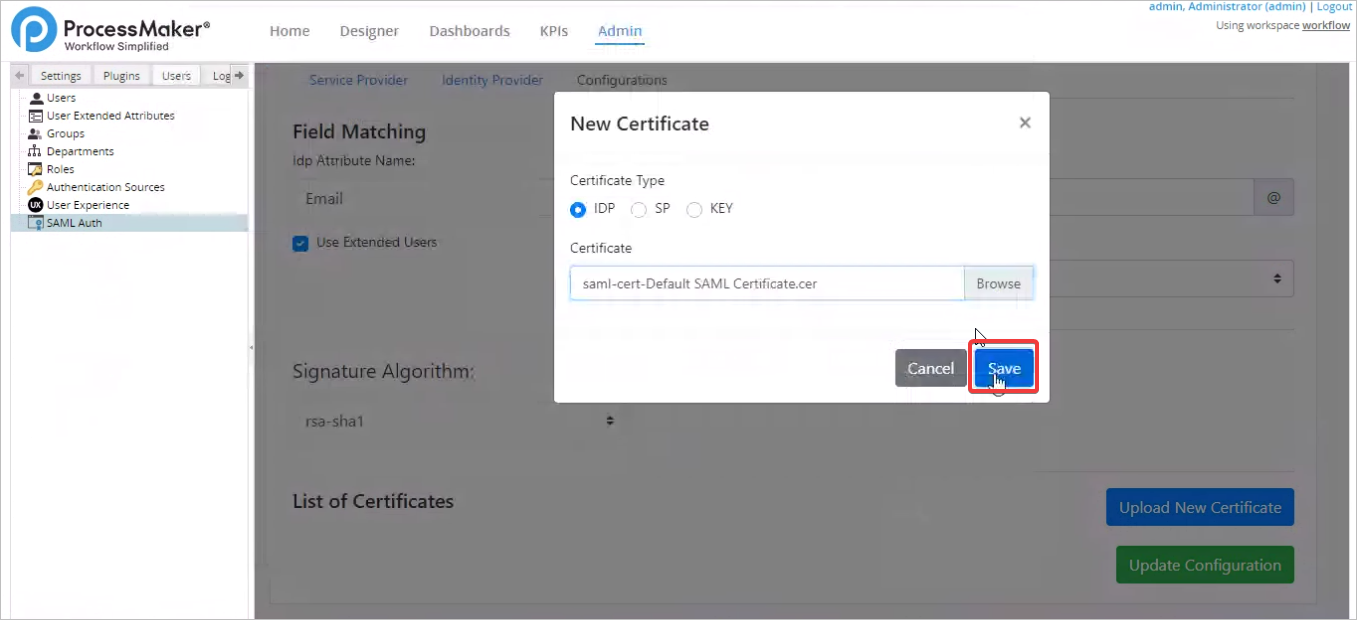
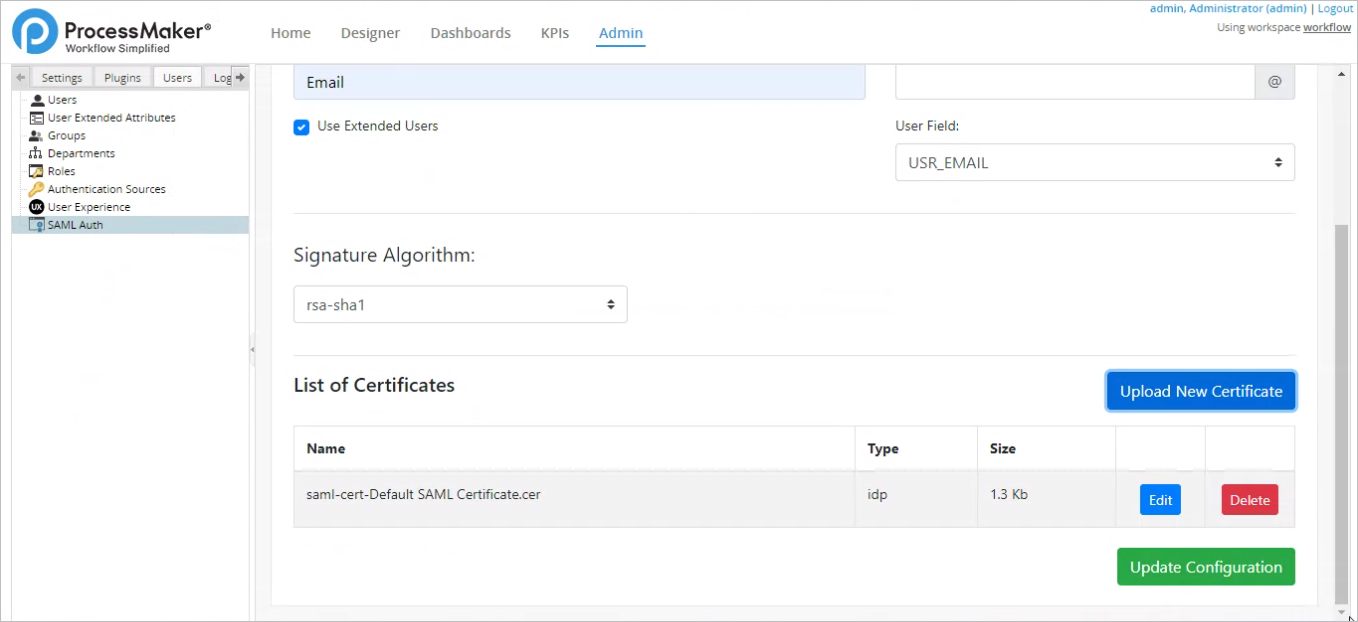
In ProcessMaker Configurations tab, click Upload New Certificate and then click Browse.
-
Select the downloaded Certificate file, and then click Save.
-
Click on Update Configuration.
To be redirected to Entrust login, in your ProcessMaker domain, enter the Workspace name and then click Login.
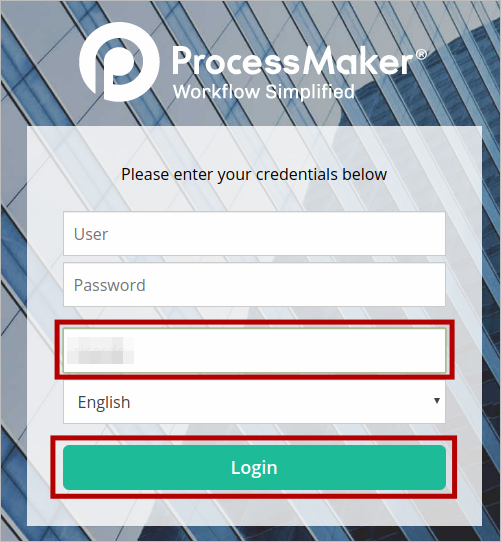
This redirects you to your Entrust domain, then enter your Entrust credentials. You are now logged on to ProcessMaker via Entrust.
