Shibboleth
This section discusses how to set up the SAML Auth plugin with Shibboleth IDP and how to log on to ProcessMaker.
After Installing and enabling the SAML Auth plugin, follow these steps:
-
Open the terminal and then fetch update software list:
sudo apt update -
Install the necessary packages for compiling OpenSSL:
sudo apt install build-essential checkinstall zlib-dev -y -
Check the version of OpenSSL installed on your server with the command below:
open ssl version -a 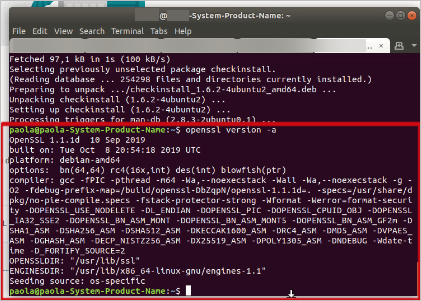
-
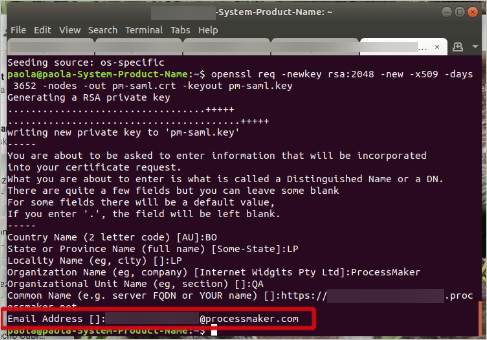
To generate the key with configuration data, run this command:
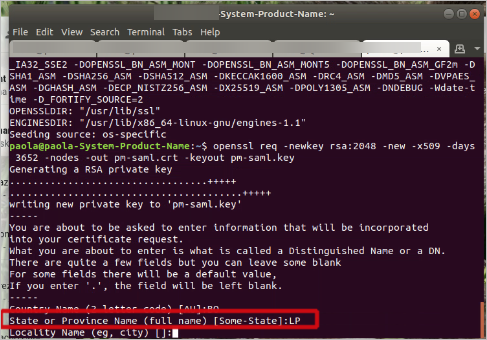
openssl req -newkey rsa:2048 -new -x509 -days 3652 -nodes -out pm-saml.crt -keyout pm-saml.key 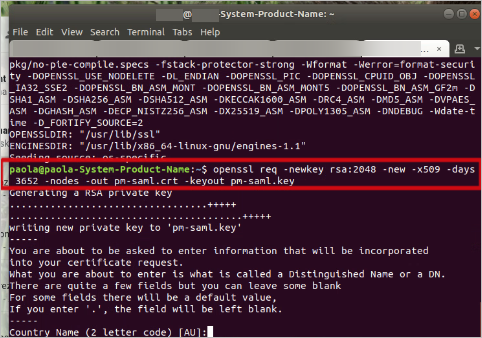
-
Complete the required information. Please review the next steps containing examples on how to complete that information.
-
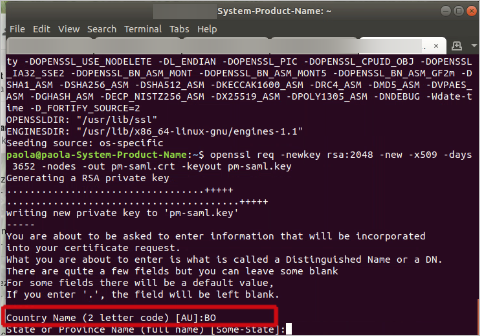
Enter the Country Name.
-
Enter the State or Province Name.
-
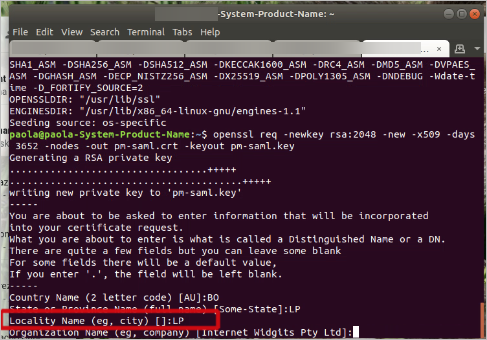
Enter the Locality Name.
-
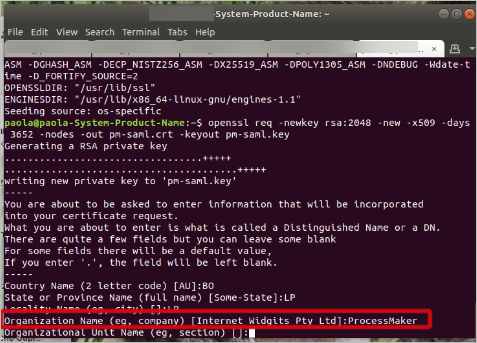
Enter the Organization Name.
-
Enter the Organizational Unit.

-
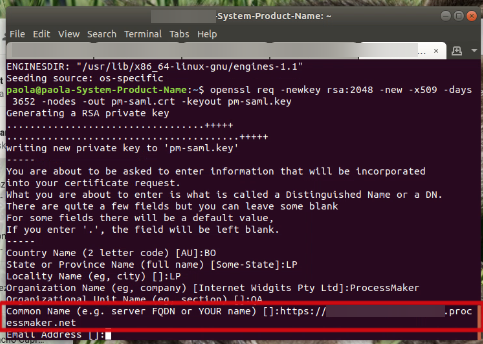
Enter the Common Name with the server name.
-
Finally, enter the Email Address.
-
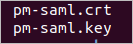
The key and the certificate files are successfully generated.
-
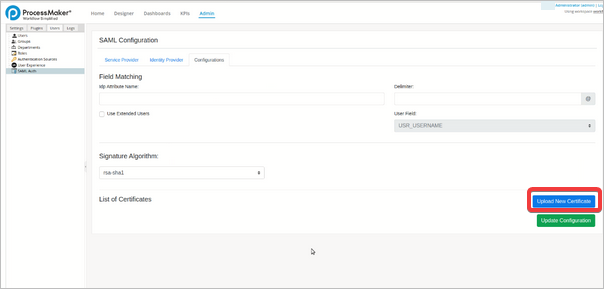
On SAML configuration page in ProcessMaker, click Upload New Certificate.
-
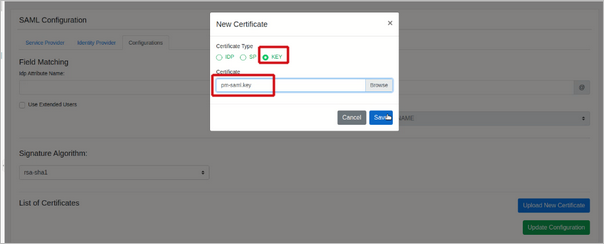
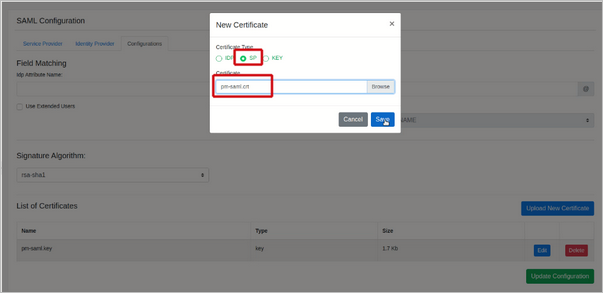
In the New Certificate pop-up screen, select KEY as the Certificate Type. Browse the downloaded files and select the downloaded Certificate .key file. Click Save.
-
Click Upload New Certificate on the SAML Configuration ProcessMaker again.
-
In the New Certificate pop-up screen, select SP as the Certificate Type. Browse the downloaded files and select the downloaded Certificate .crtfile. Click Save.
-
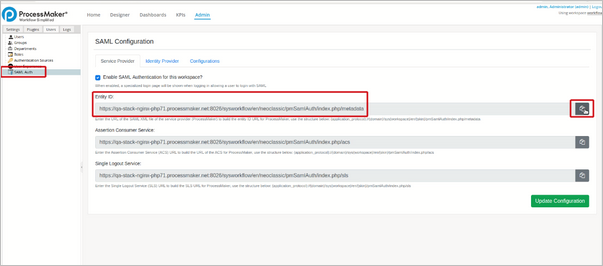
Copy the Entity ID value from the ProcessMaker Service Provider section in the SAML Configuration page.
-
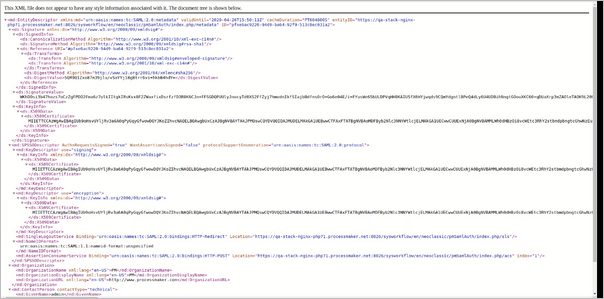
Open a new tab in your browser and enter the copied Entity ID URL.
-
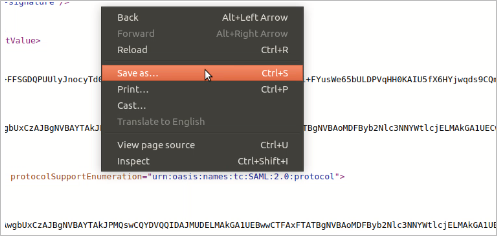
Right-click on the screen, and then select the Save As option.
-
Save the file as
metadata.xml. -
Access the https://samltest.id/upload.php URL.
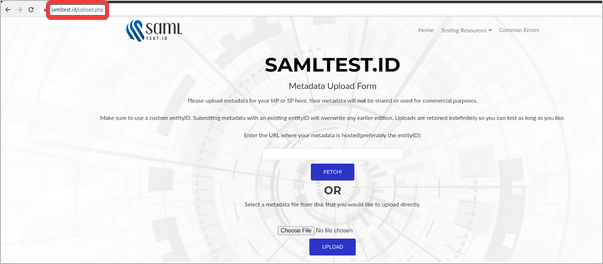
-
In the Testing Resources tab select the Download Metadata option.
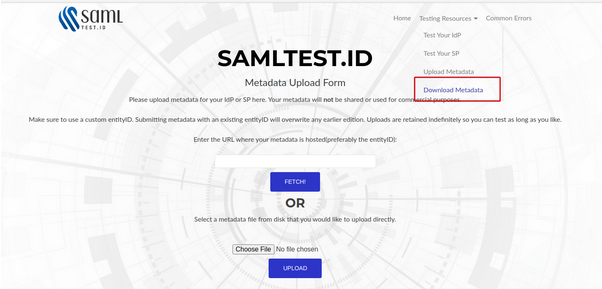
-
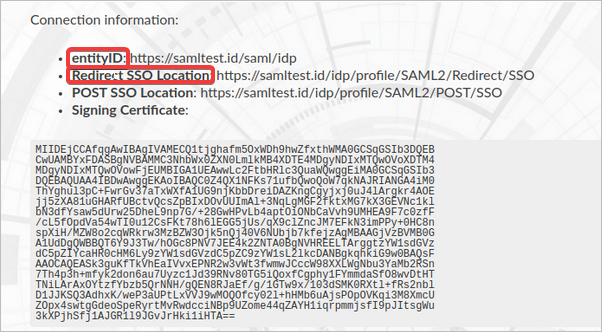
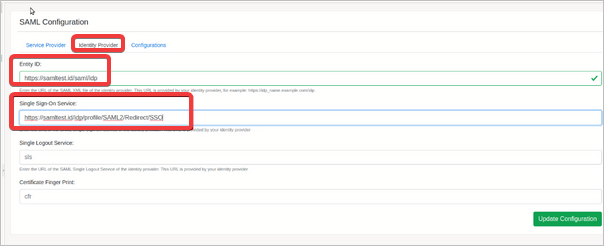
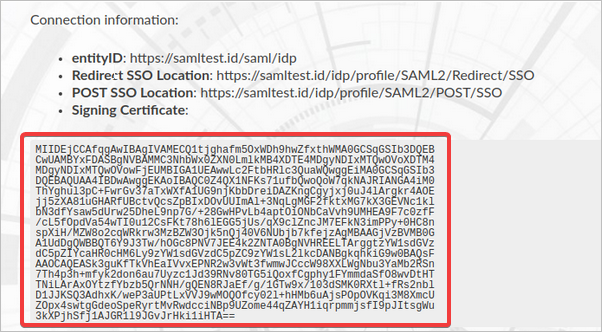
Copy the following fields from the Connection information to ProcessMaker in the Identity Provider section, then click Update Configuration:
- entityID to Entity ID.
- Redirect SSO Location to Single Sign-On Service.
-
Copy the generated certificate to a text editor and then save it as shibboleth.crt.
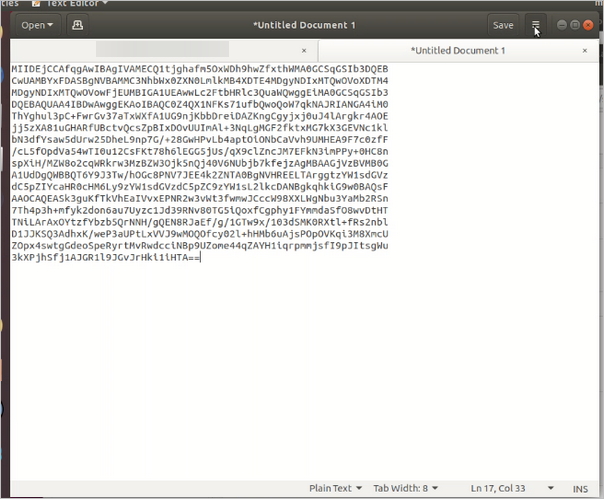
-
Click Upload New Certificate on ProcessMaker and then in the New Certificate pop-up screen, select IDP as the Certificate Type. Browse the downloaded files and select the .crtfile from the previous step. Click Save.
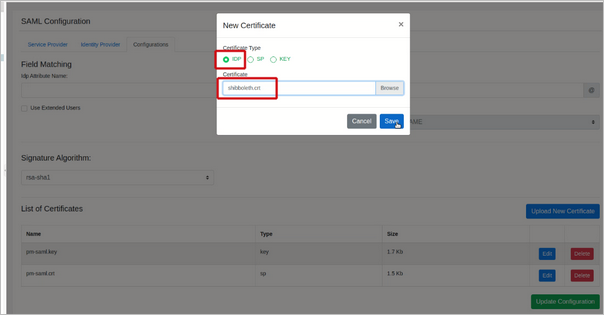
-
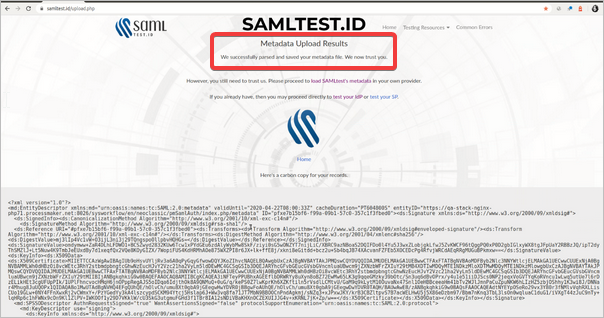
Access again to https://samltest.id/upload.php URL, and upload the metadata.xml saved file.
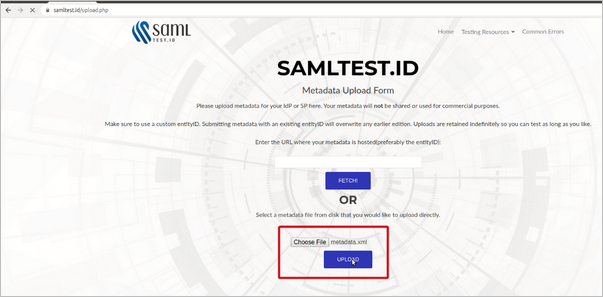
-
A success Metadata Upload Results message displays.
-
On a different browser, go to your ProcessMaker SAML configured URL. For example:
https://yourprocessmakerdomain.net/sysworkflow/en/neoclassic/cases/main. ProcessMaker automatically redirects to the SAML log on page.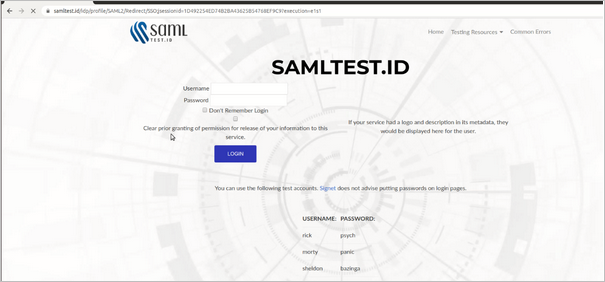
-
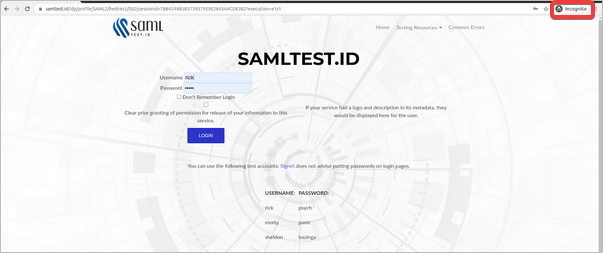
To continue with the configurations, it is possible to log on with the provided username and password.
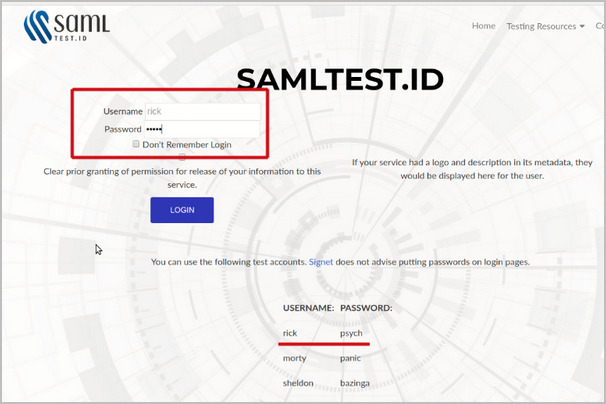
-
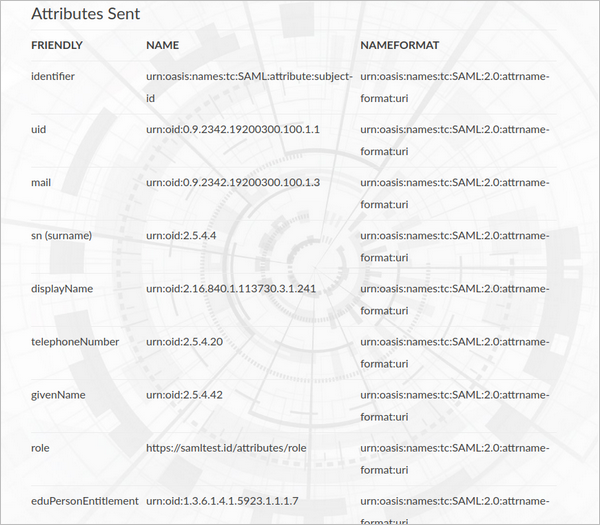
The user information displays on screen. This information is useful to create a user in ProcessMaker.
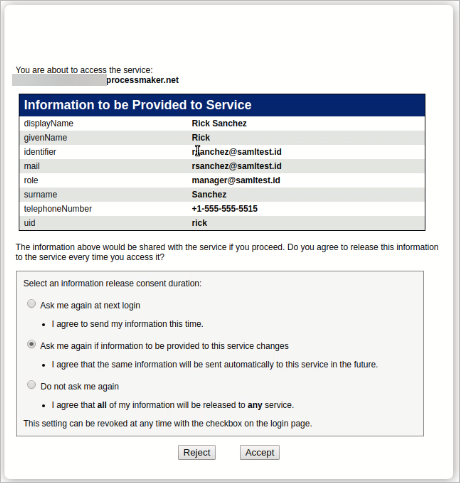
-
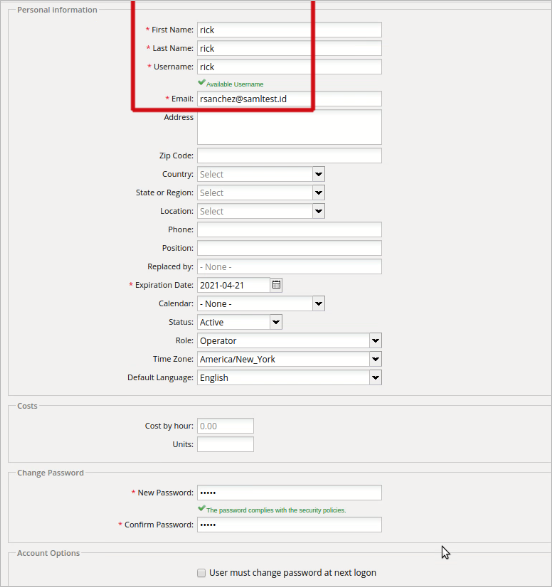
Create a ProcessMaker user with the information displayed in the previous step.
-
To complete de configuration, enter to the https://samltest.id/download/ URL.
-
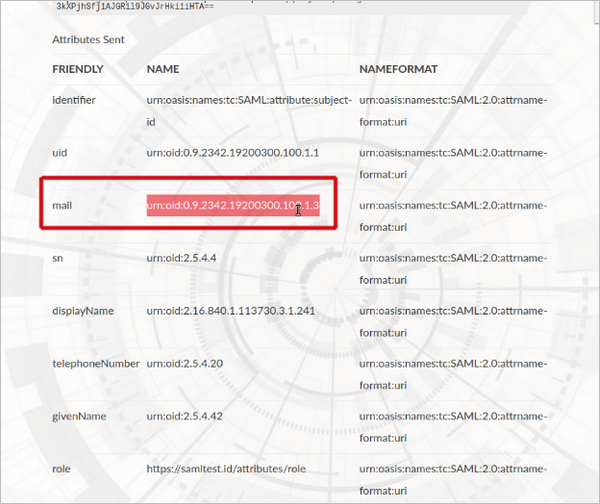
Copy the NAME of the mail attribute.
-
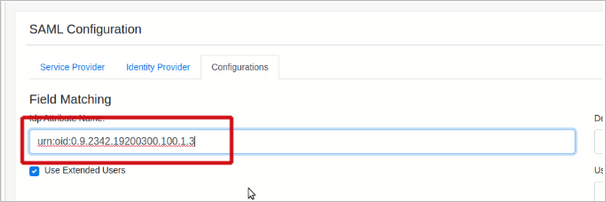
Paste the copied value to the Field Matching section in Configurations tab.
-
Open a browser in incognito mode to test if the Processmaker user created is able to log on.
-
Select the Ask me again if information to be provided to this service changes option. Click Accept.

-
You are now logged on to ProcessMaker via Shibboleth.