PingOne
This section discusses how to set up the SAML Auth plugin with PingOne IDP and how to log on to ProcessMaker.
After Installing and enabling the SAML Auth plugin, follow these steps:
-
Log on to your PingOne account.
-
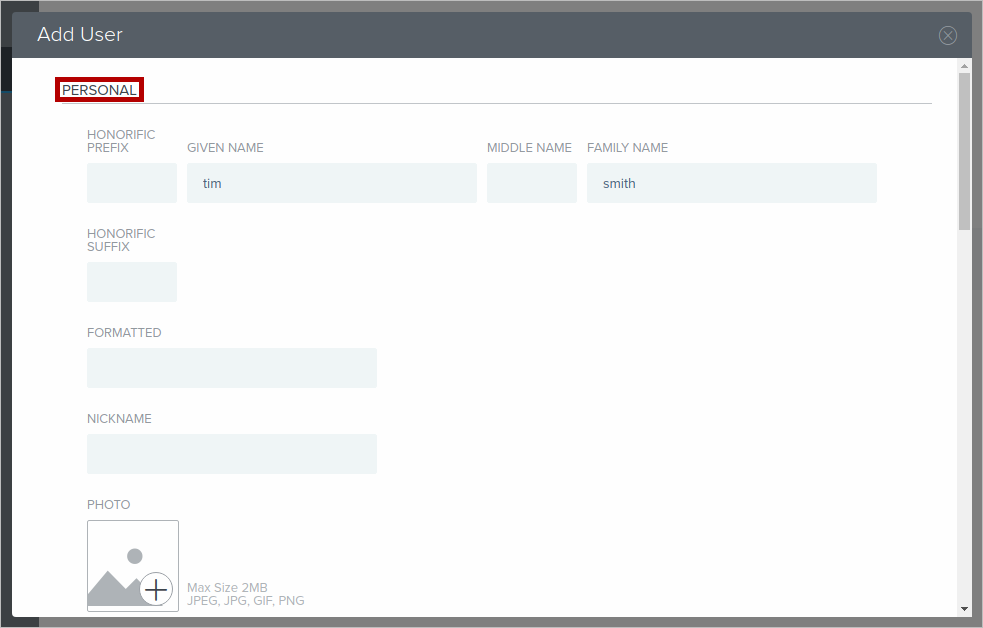
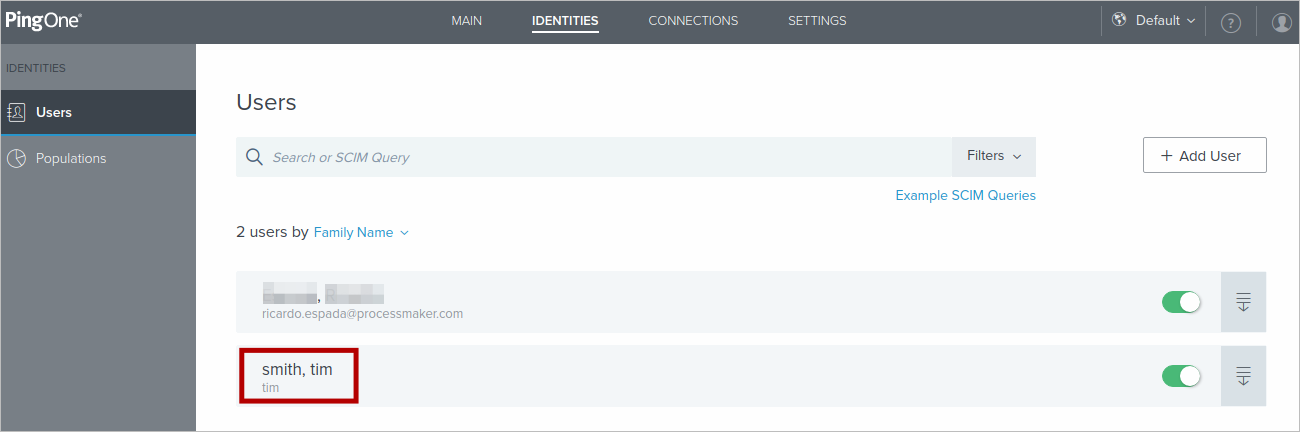
After logged on, users can be created. In the Users page, click Add User.

-
In the Add User pop-up screen, complete all sections with the new user personal data required.
Note: In this example, we only fill with the basic information about the user.
-
PERSONAL section:
-
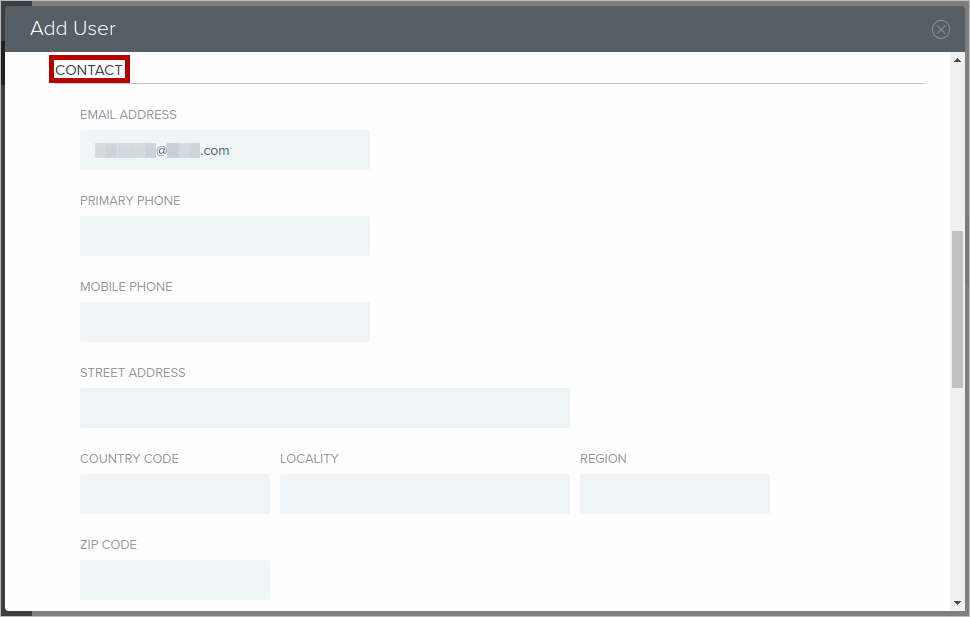
CONTACT section:
-
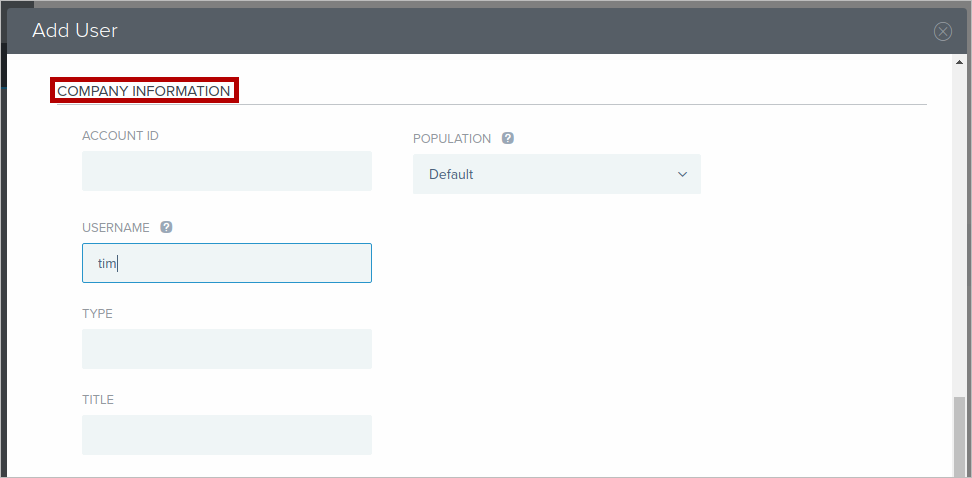
COMPANY INFORMATION section:
-
PREFERENCES section:
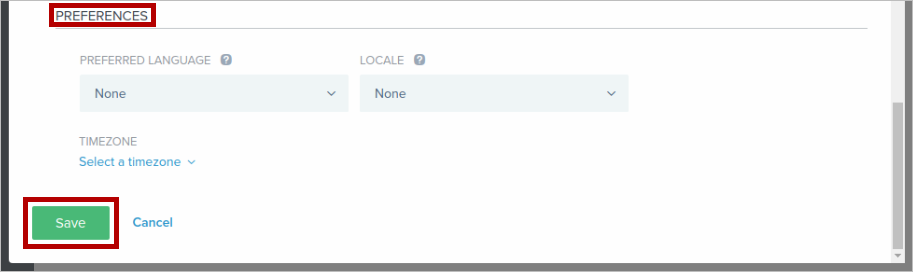 Note:
Remind that not all the information is used to authenticate the user.
Note:
Remind that not all the information is used to authenticate the user.
-
-
Click Save and the new user is created.
-
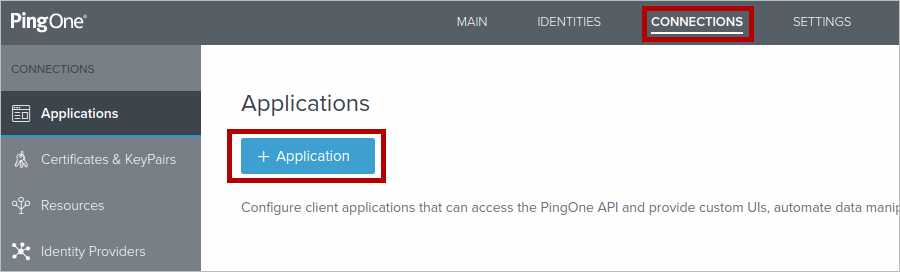
To create a new application, click the Connections tab and then click Application.
-
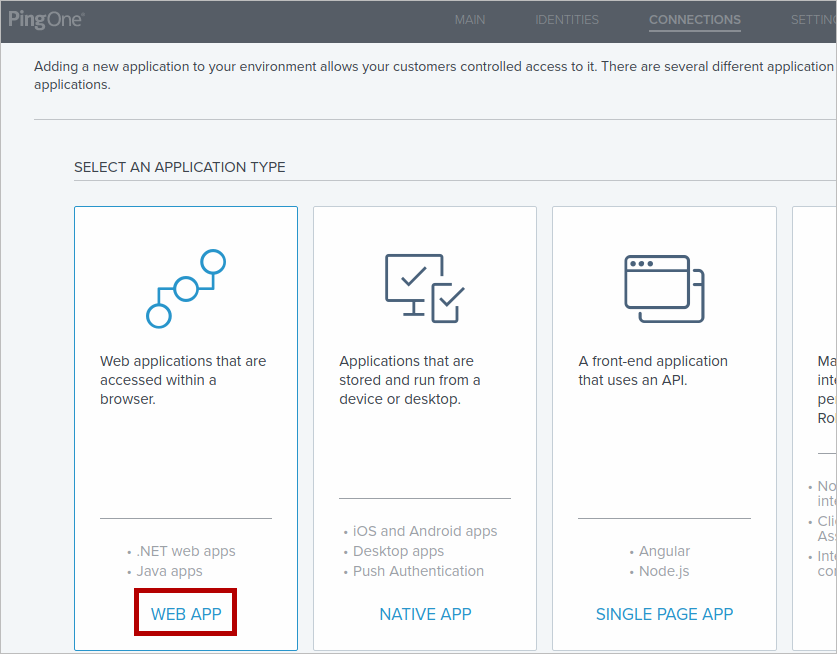
In the SELECT AN APPLICATION TYPE section, select the WEB APP option.
.
-
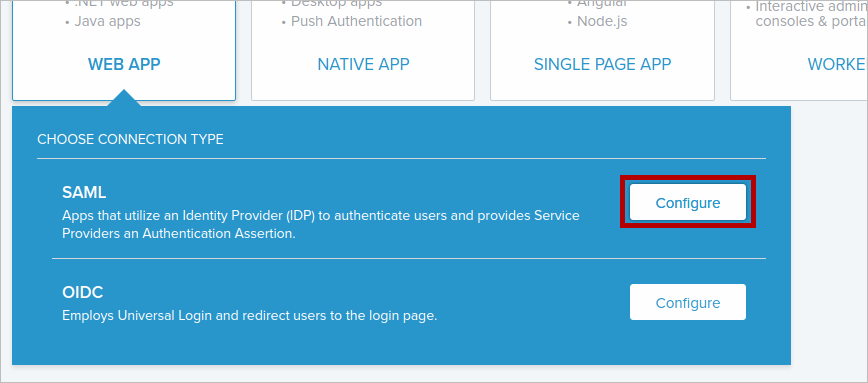
In the CHOOSE CONNECTION TYPE dialog, click Configure on the SAML section.
-
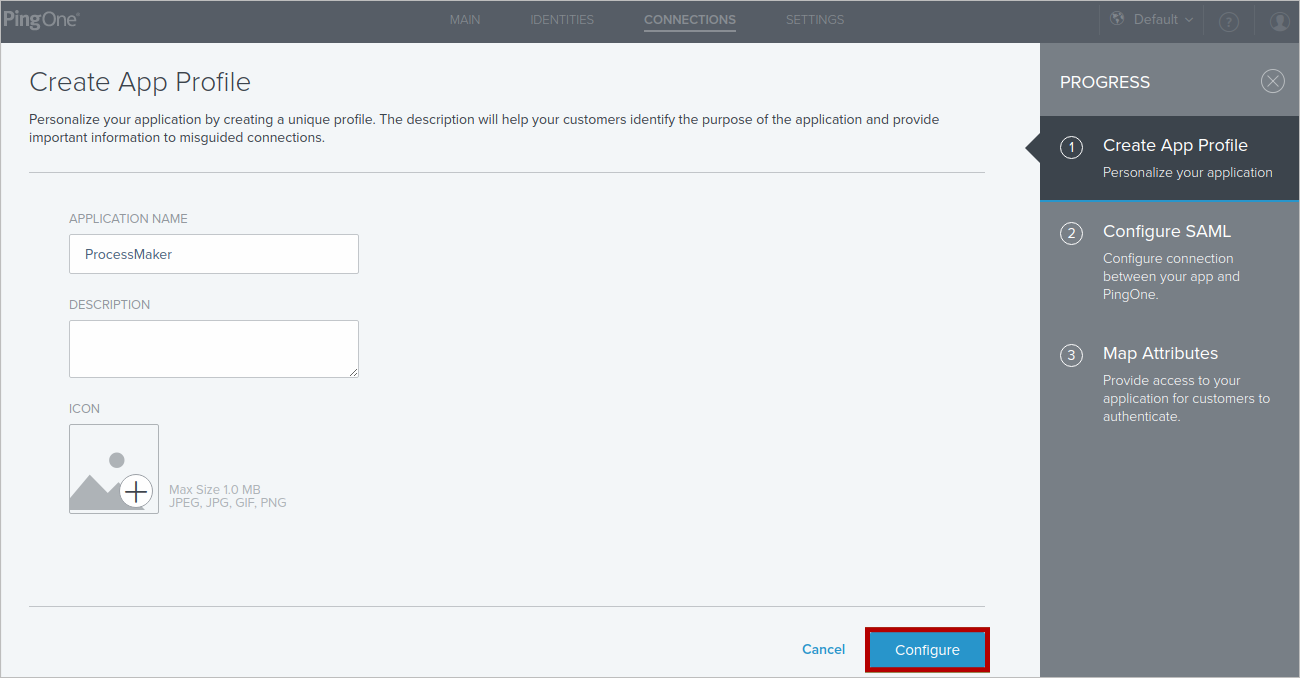
Set an APPLICATION NAME, optionally enter a description for this application and then upload an icon. Then click Configure.
-
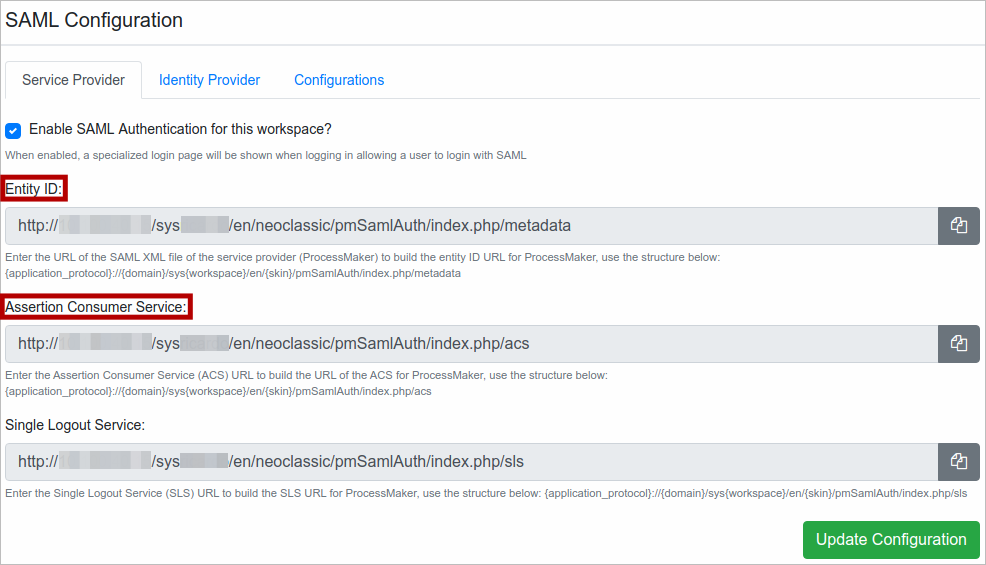
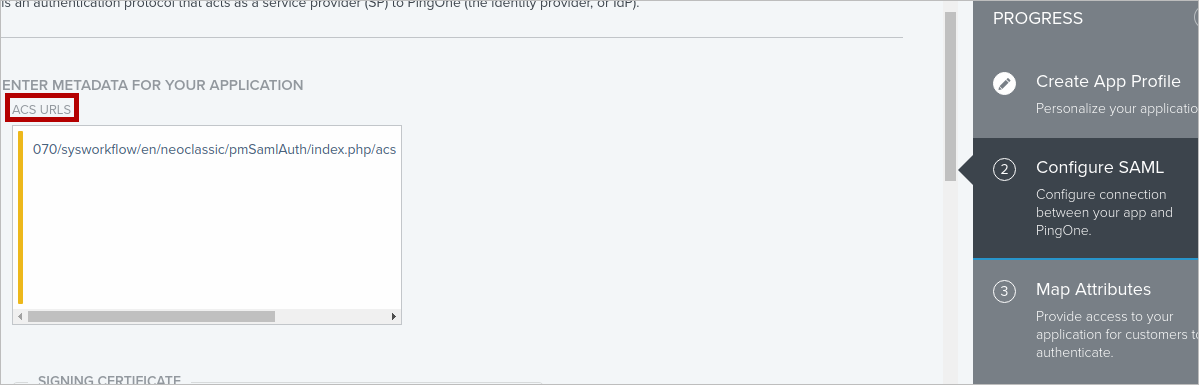
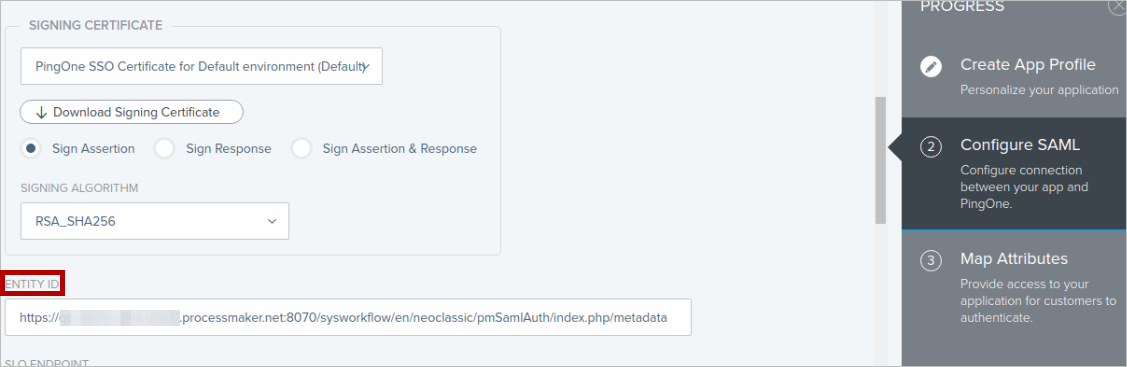
Copy the following values from ProcessMaker Service Provider section (first image below) to the Configure SAML step in PingOne:
- Assertion Consumer Service to ACS URLS.
- Entity ID to Entity ID.
-
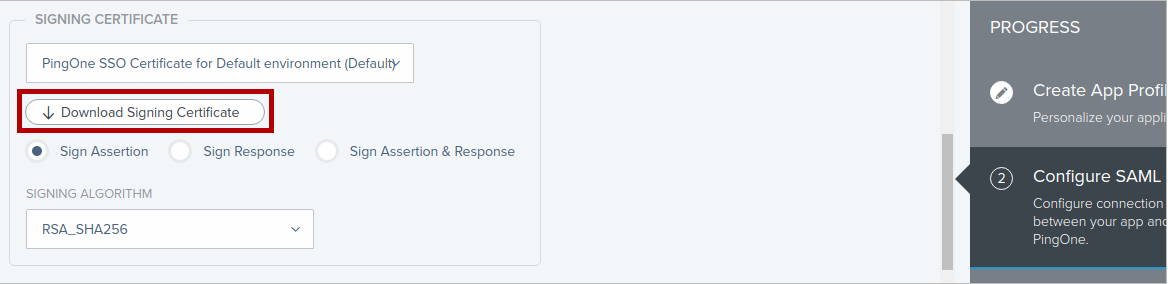
Click Download Signing Certificate.
-
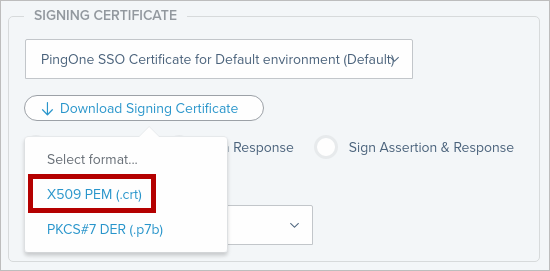
Select the .crt format, option and then the Signing Certificate is downloaded.

-
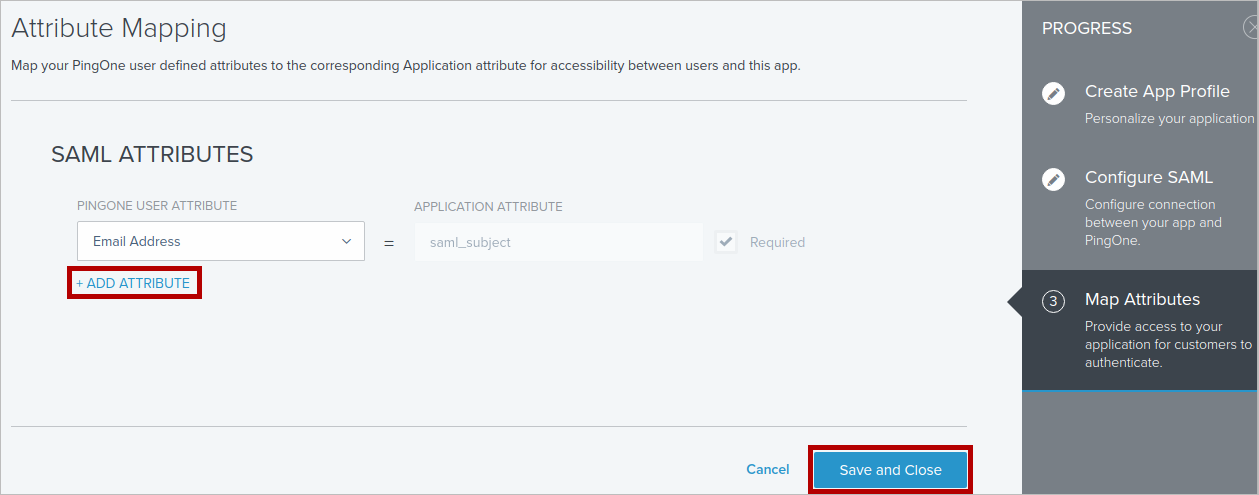
In the Attribute Mapping step, add the attributes that will match ProcessMaker users. Then click Save and then Close.
-
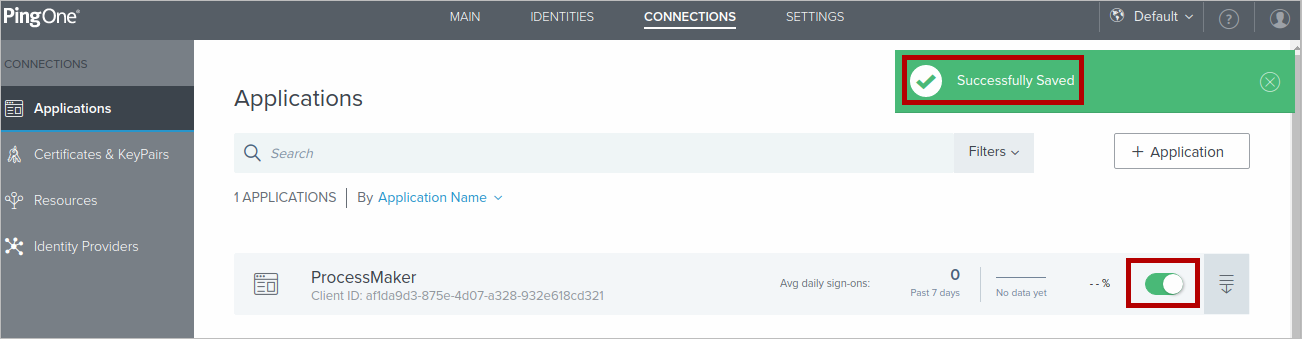
When the application is correctly created, enable the application clicking on it.
-
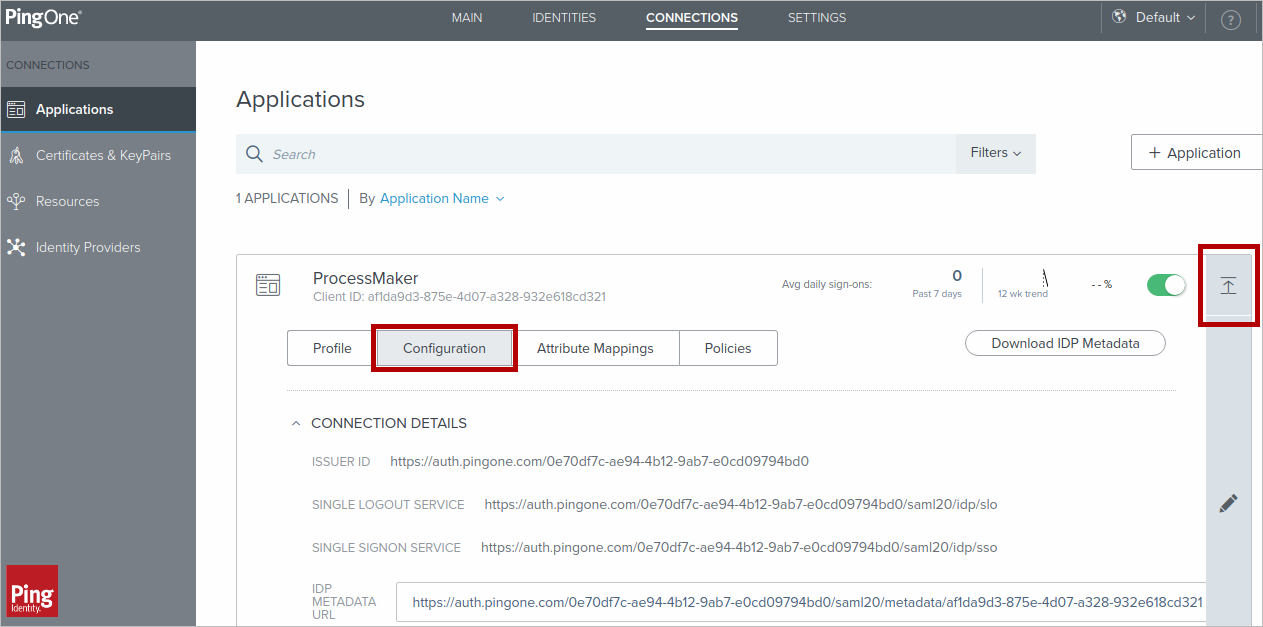
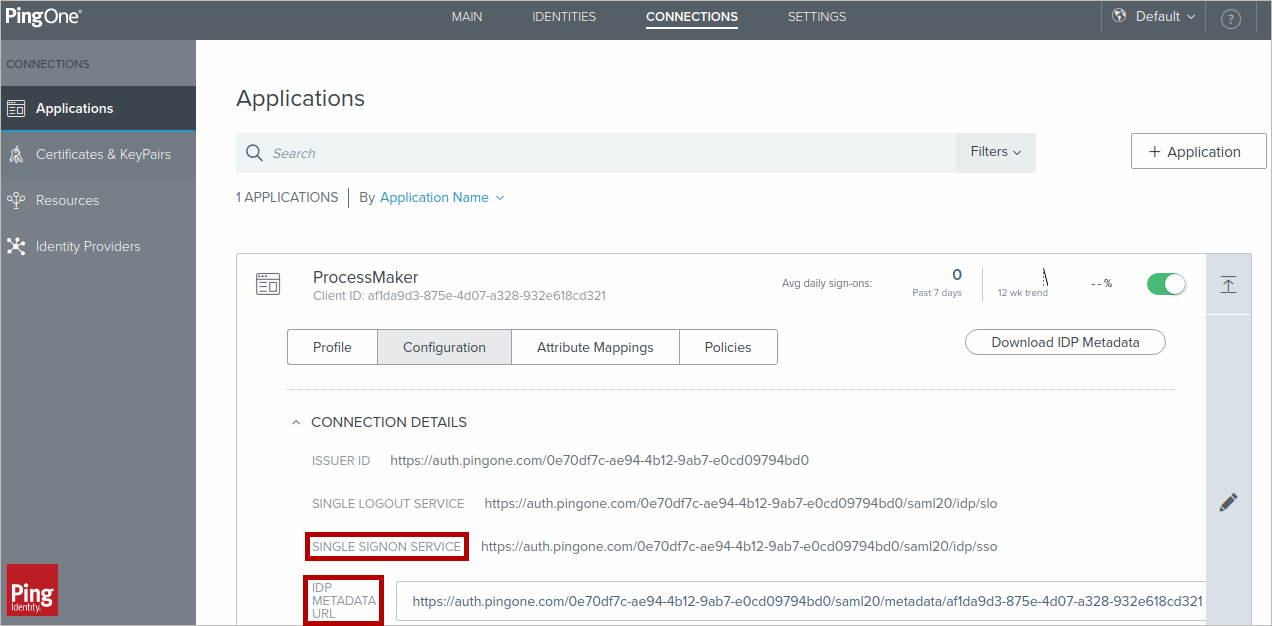
Click the application arrow, then click Configuration.
-
Copy the following fields from PingOne to ProcessMaker in the Identity Provider section, then click Update Configuration:
- IDP METADATA URL to Entity ID.
- SINGLE SIGNON SERVICE to Single Sign-On Service.

-
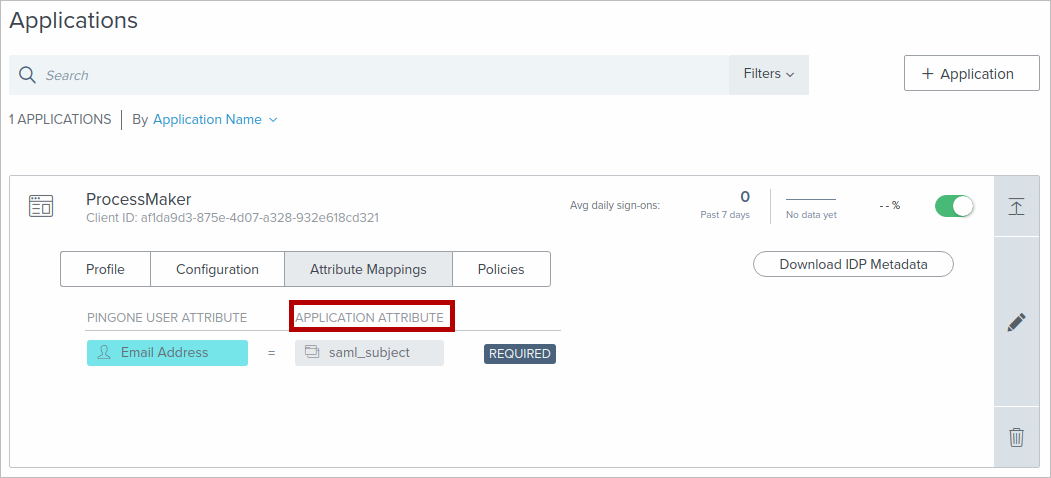
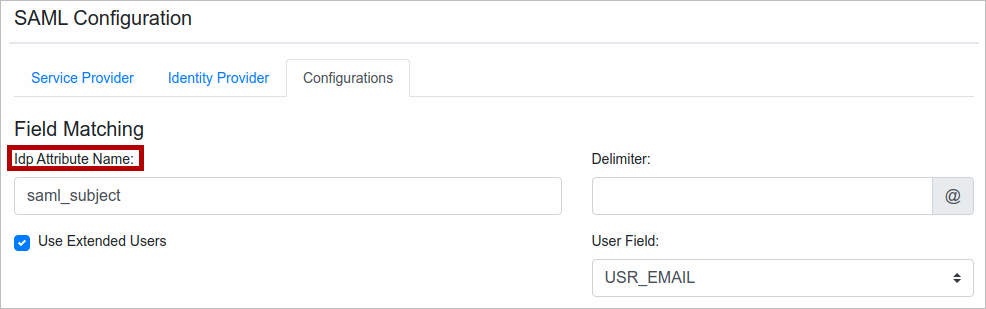
Click Attribute Mappings, then copy the APPLICATION ATTRIBUTE to ldp Attribute Name in the ProcessMaker Configurations section and then select the corresponding User field type.
-
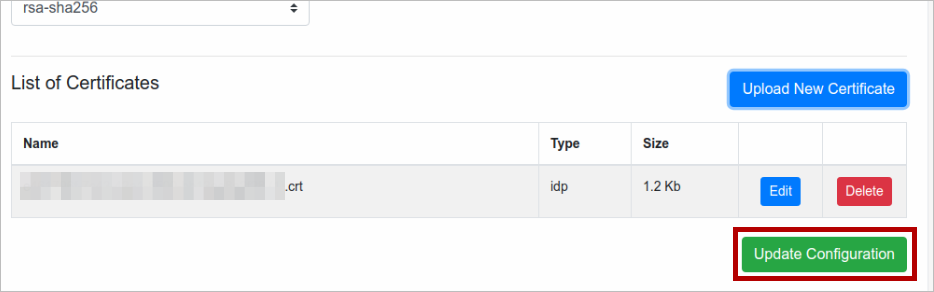
Select rsa-sha256 for the Signature Algorithm. Then click Upload New Certificate.

-
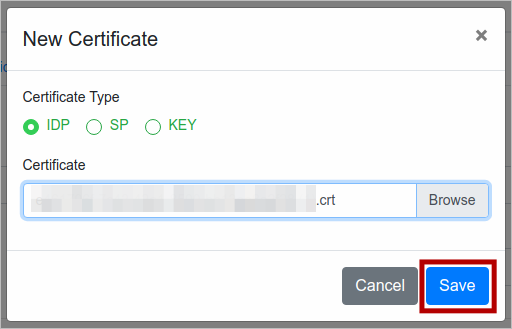
Select IDP as the Certificate Type, browse and then select the downloaded Certificate file. Click Save.
-
Click Update Configuration.
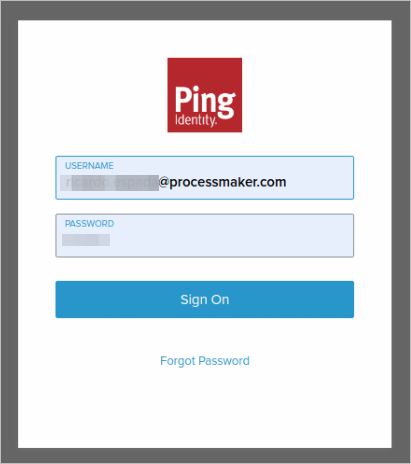
To be redirected to the PingOne login page, in your ProcessMaker domain, enter only the Workspace name and then click Login.
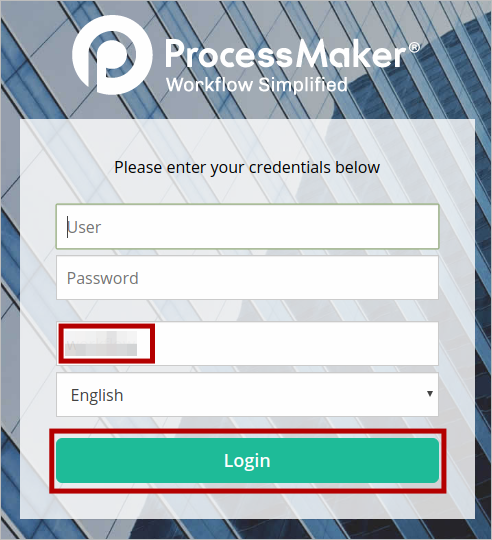
This will redirect you to your PingOne domain. Once in PingOne, enter your PingOne credentials and then click Sign On.
You are now logged on to ProcessMaker via PingOne.