Okta
This section discusses how to set up the SAML Auth plugin with Okta IDP and how to log on to ProcessMaker.
After Installing and enabling the SAML Auth plugin, follow these steps:
-
Log on to your Okta account.
-
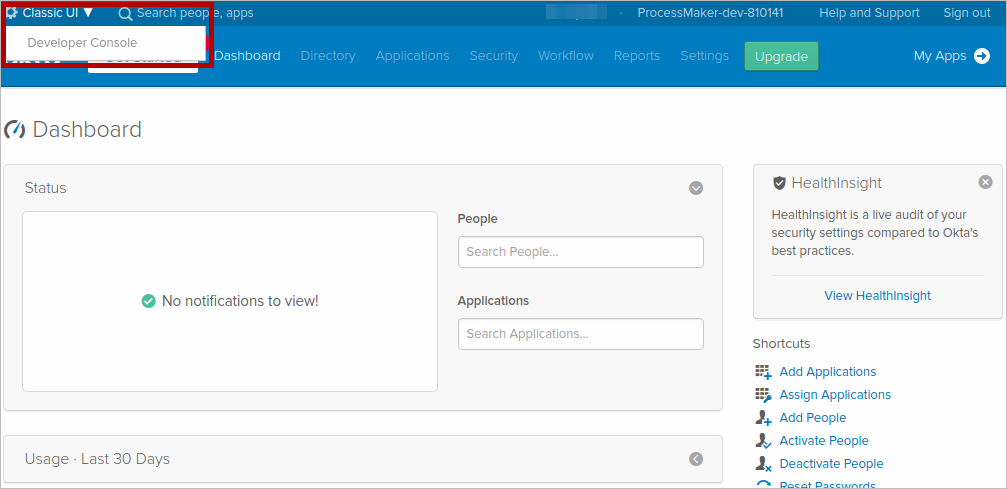
Select the Classic UI skin in the navigation bar.
-
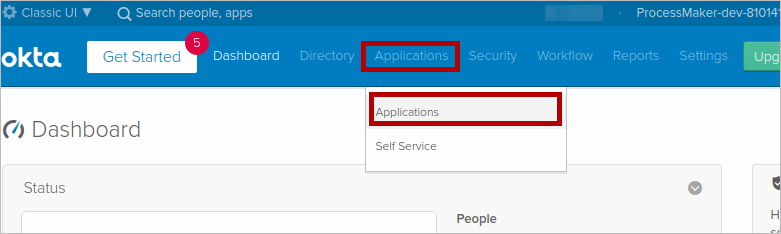
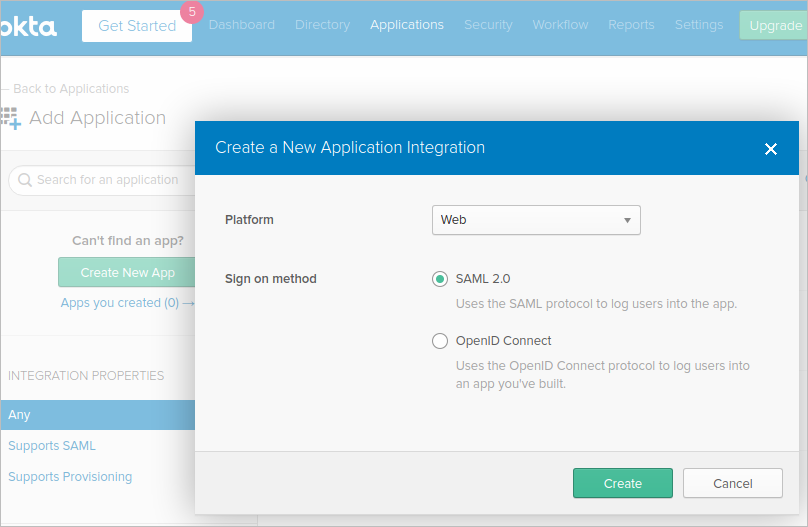
After logged on, select Applications and click Add Application on the menu bar.
-
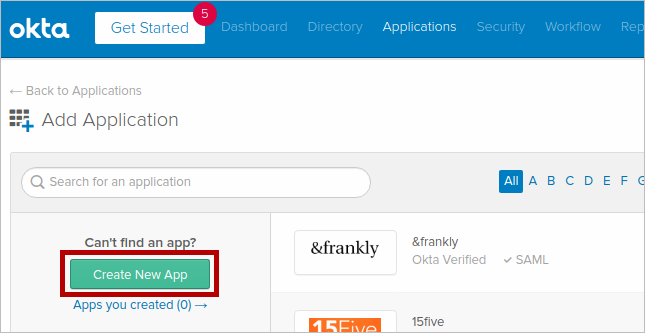
Click Create New App.
-
In the Create a New Application Integration pop-up window, leave Web as the Platform, and then select SAML 2.0 as the Sign on method. Click Create.
-
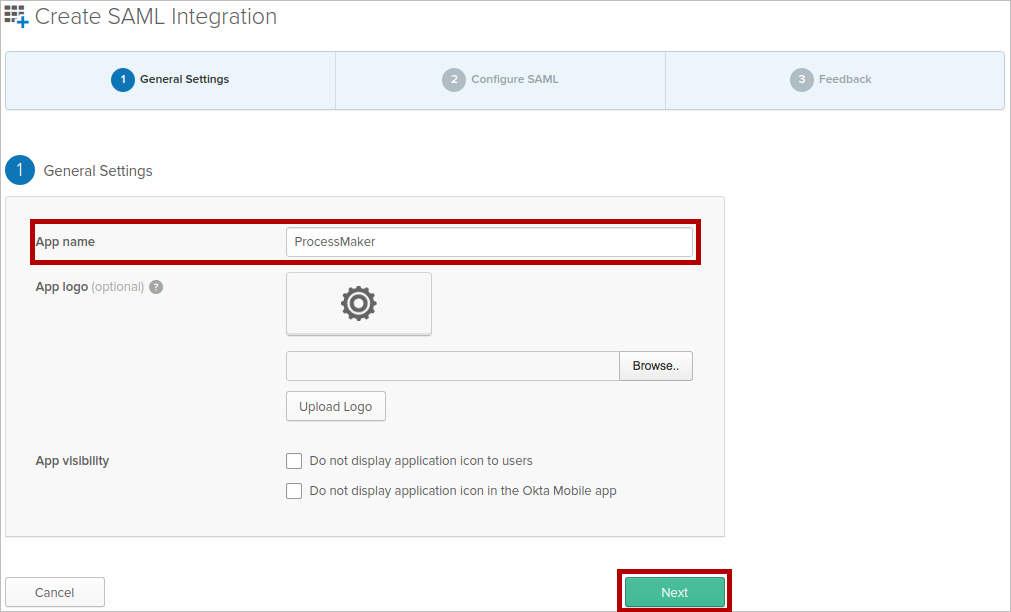
On the Create SAML Integration page, in the General Settings section, enter a name for the App name field. Click Next.
-
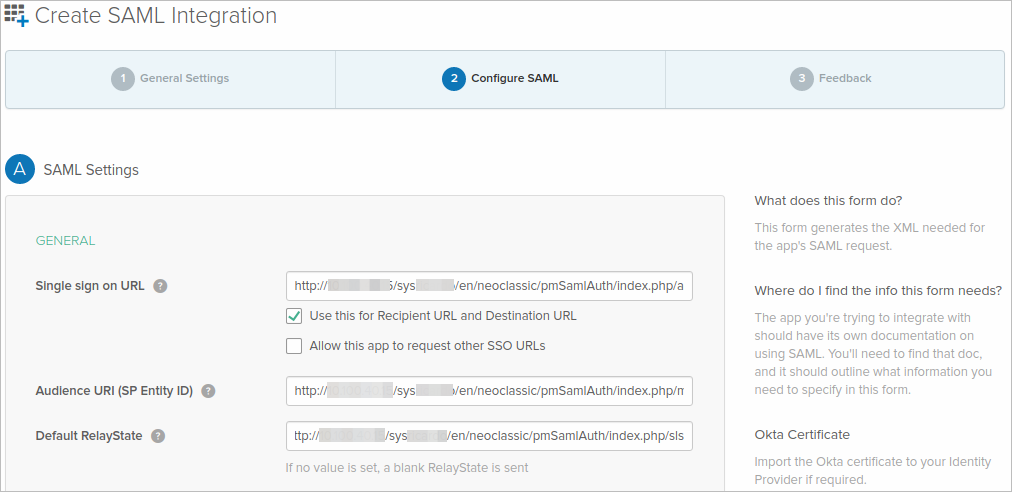
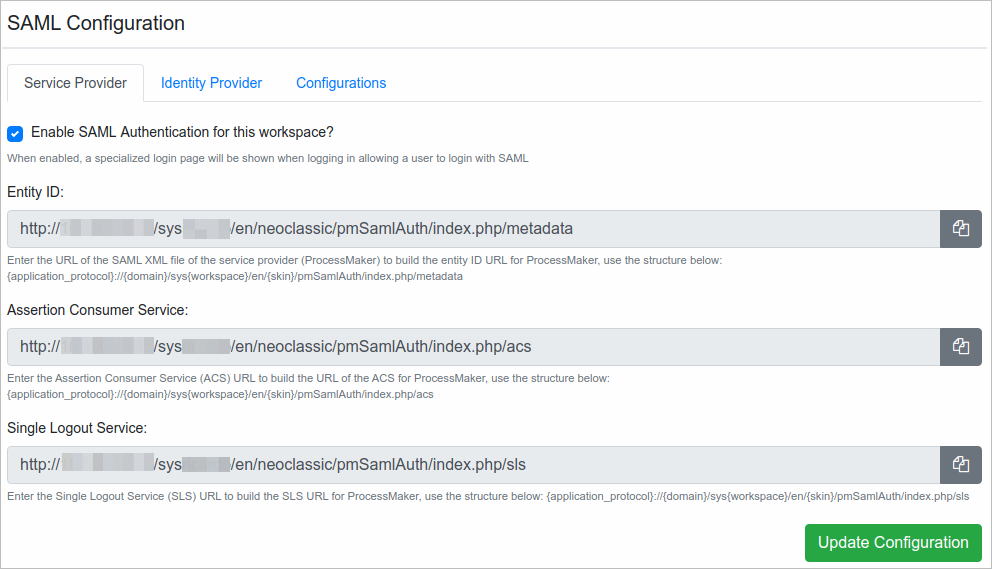
Copy the following values from ProcessMaker Service Provider section (first image below) to the Configure SAML section in Okta:
Note: Field hints provided by Okta also provide a guide about how to match values.
- Assertion Consumer Service to Single sign on URL.
- Entity ID to Audience URI (SP Entity ID).
- Single Logout Service to Default RelayState.
-
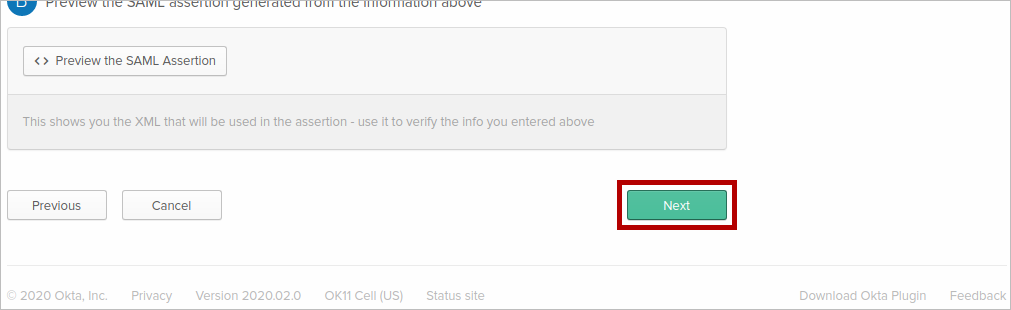
Leave the other fields with their default settings and then click Next.
-
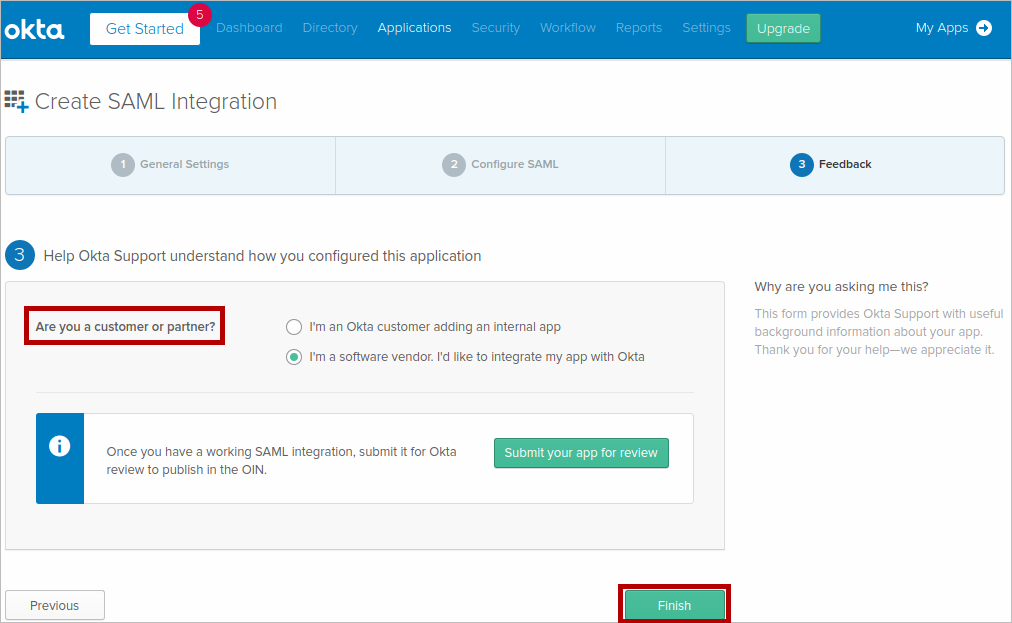
In the Feedback section, select between the customer or partner options. Once selected, click Finish.
-
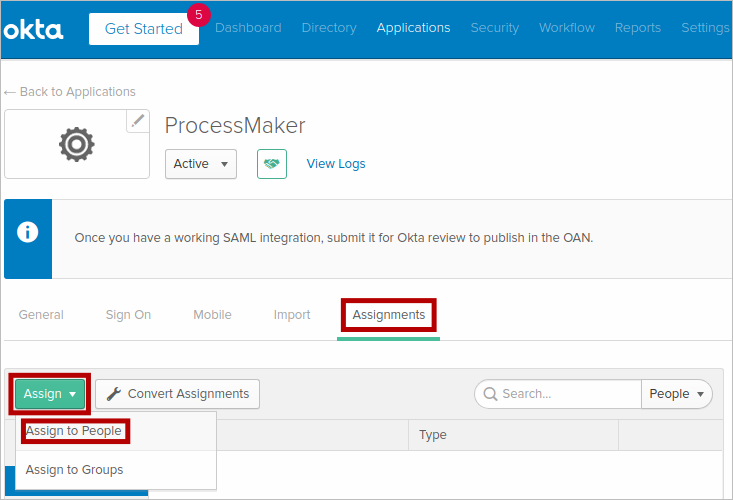
To assign users to the application in the Assignments tab, select the Assign to People option.
-
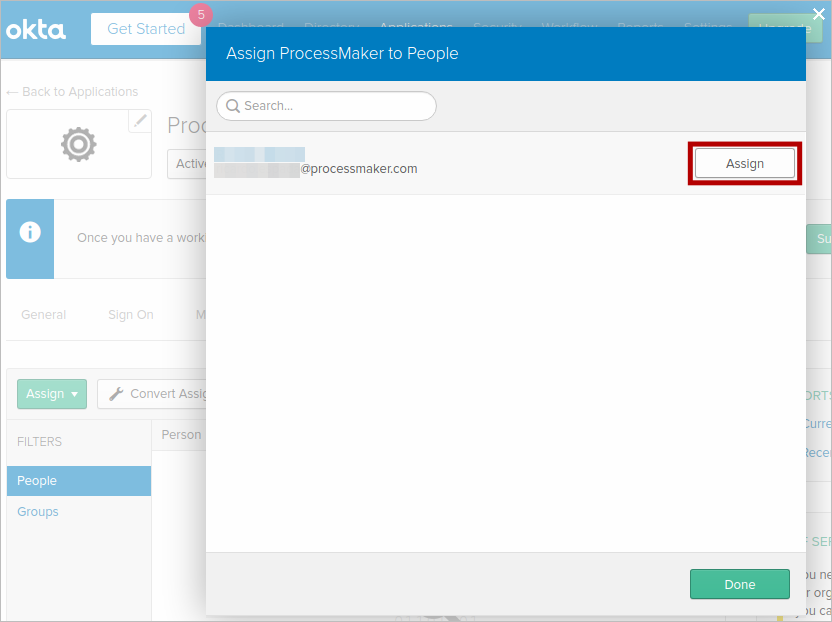
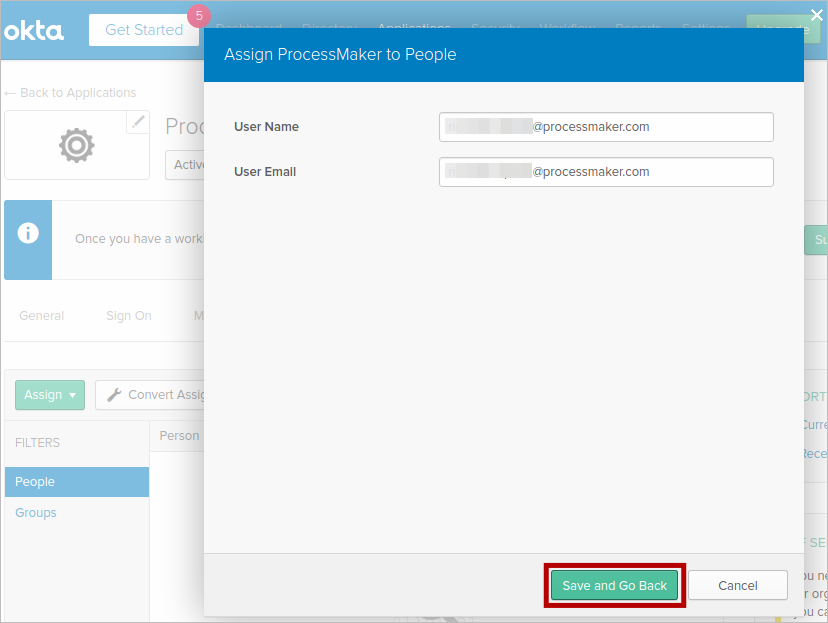
Select the users you want to Single Sign-On into the application, and then click Assign to each user.
-
Click Save and Go Back.
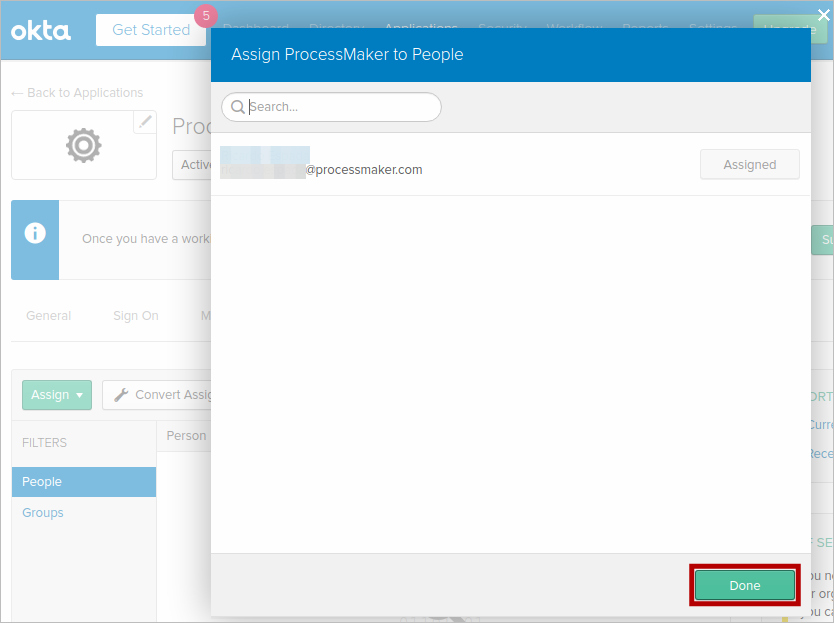
-
When the users are assigned, click Done.
-
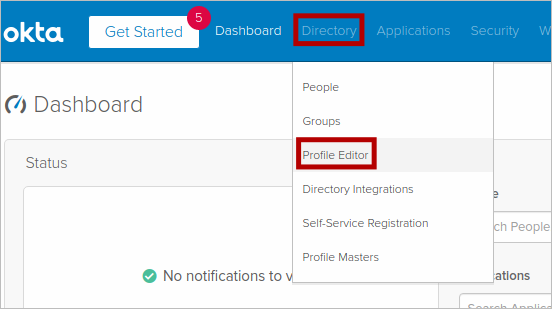
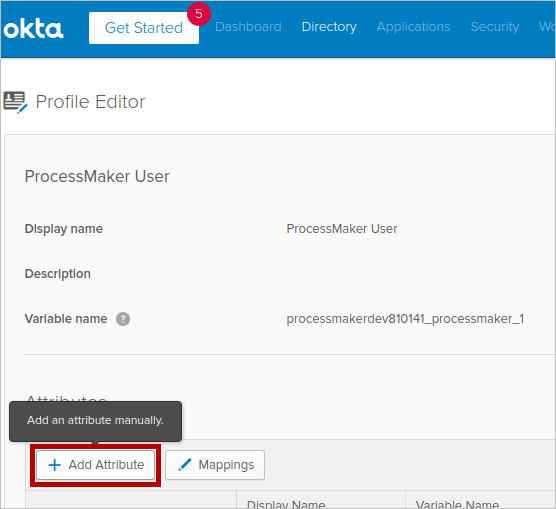
To configure profile mapping, select Directory and then click the Profile Editor option.
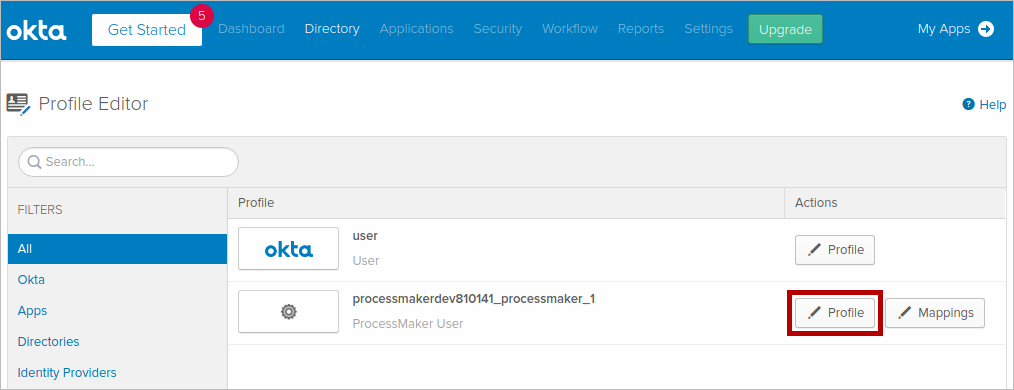
-
In the application row, click Profile.
-
Click Add Attribute.
-
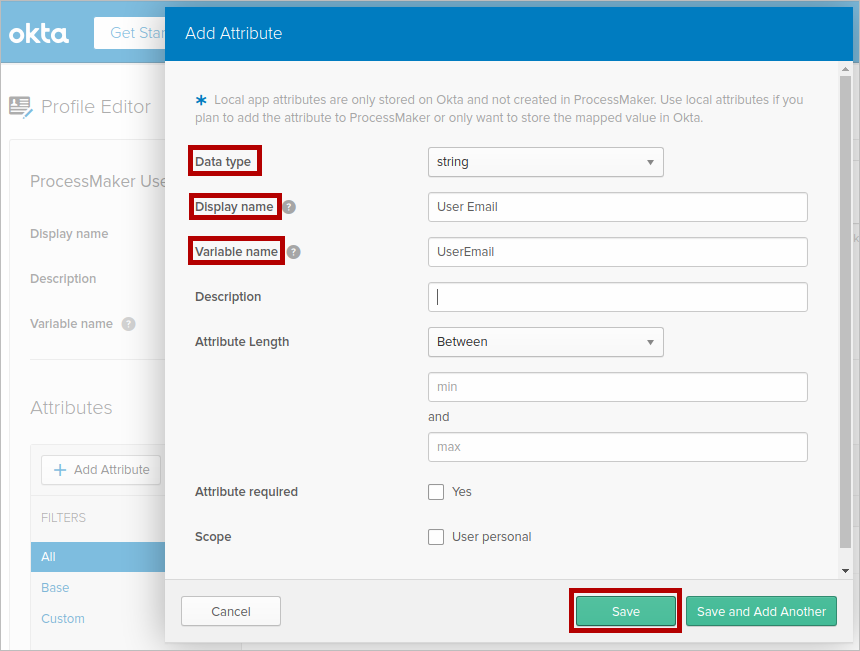
Select the Data type, enter the Display name and the Variable name, then click Save.
Note: In this example, user email is the new attribute created.
-
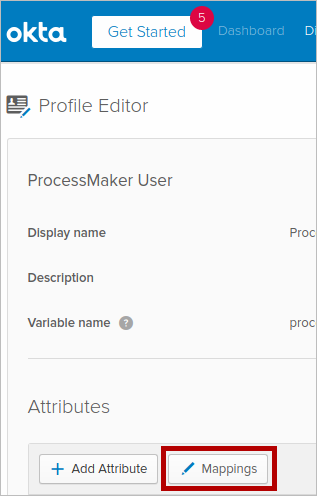
Click Mappings.
-
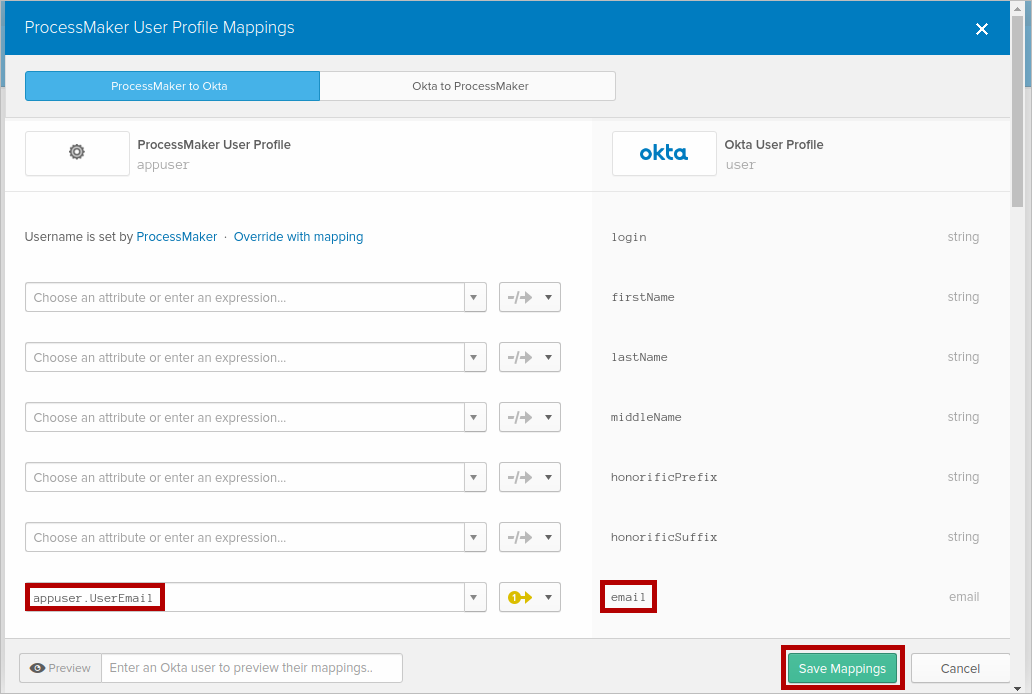
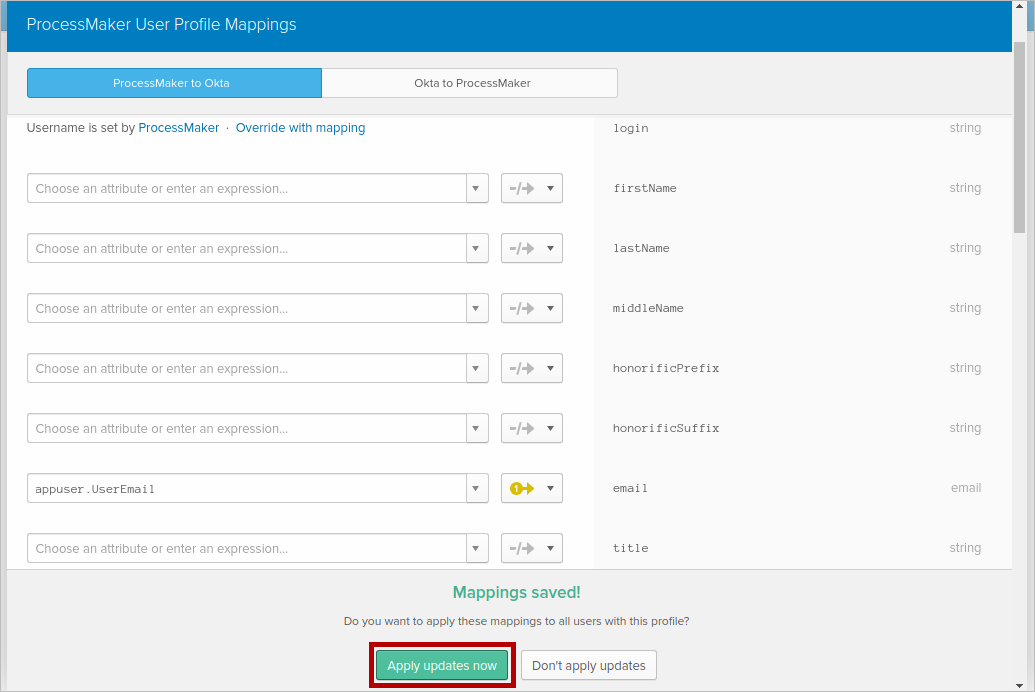
Match the attribute created with the Okta attribute. For example, match the email row with the UserEmail attribute. Click Save Mappings.
-
Click Apply updates now.
-
In the Applications tab, select Applications option.

-
To configure SAML with the application, click the Sign On tab.

-
In the SIGN ON METHODS section, click View Setup Instructions.

-
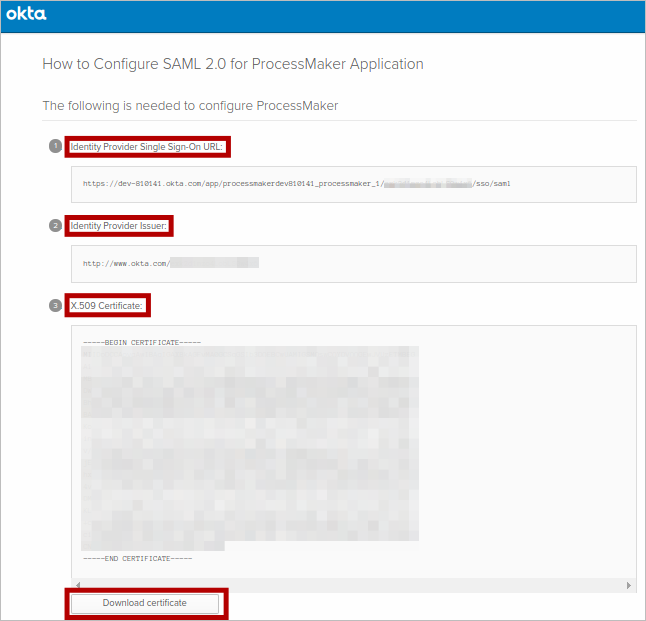
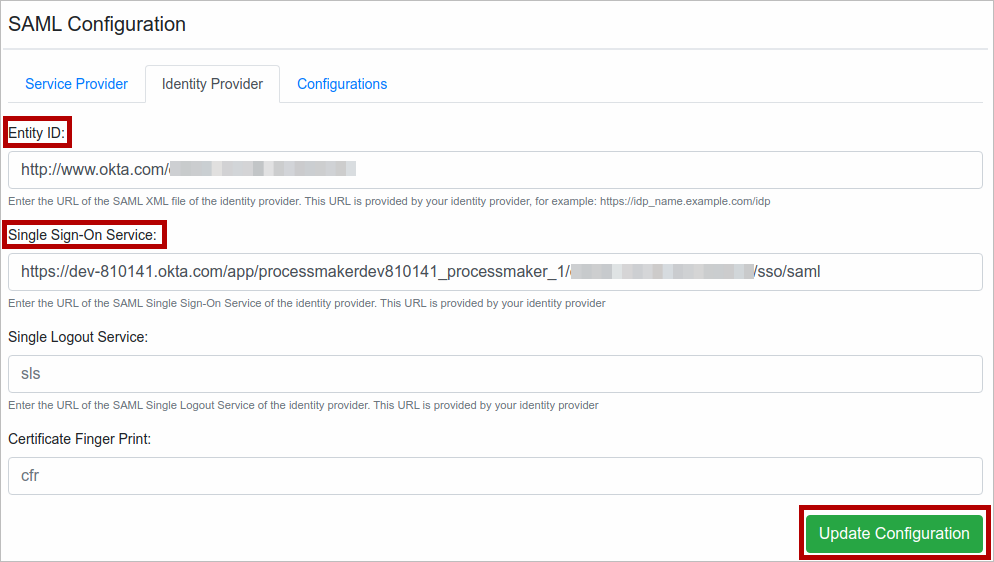
A new browser tab opens with the information required by ProcessMaker in the Identity Provider section. Copy the following fields from Okta and then click Update Configuration in ProcessMaker:
- Identity Provider Single Sign-On URL to Single Sign-On Service.
- Identity Provider Issuer to Entity ID.
- In the X.509 Certificate field, click Download Certificate.
-
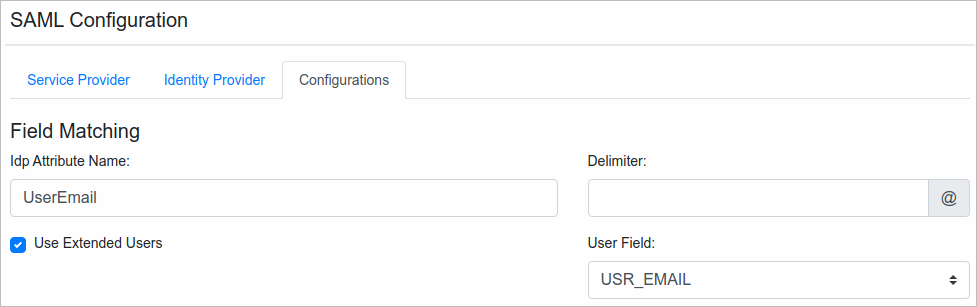
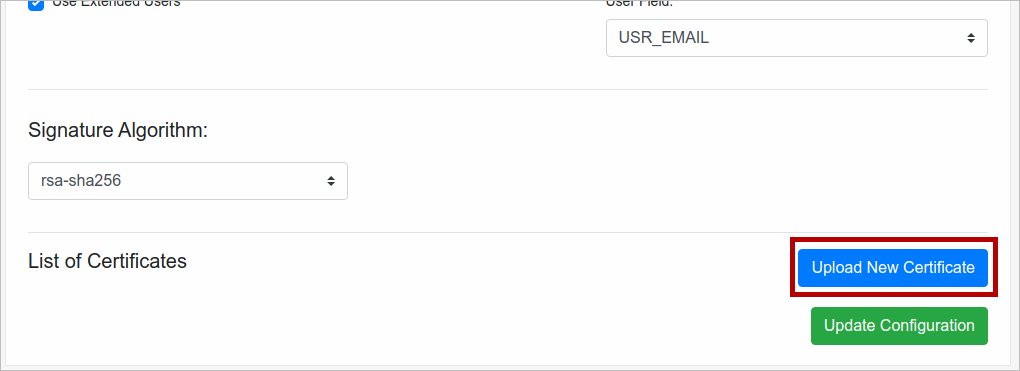
In ProcessMaker, select the Configurations tab, fill the Idp Attribute Name field with the attribute mapped in Okta. Check Use Extended Users and then select the corresponding value in the User Field.
-
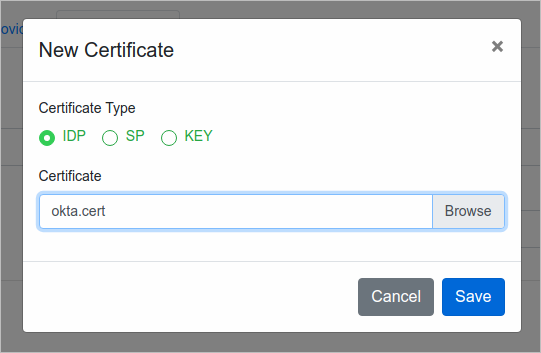
Leave the Signature Algorithm field filled in by default. Click Upload New Certificate.
-
In the New Certificate pop-up screen, select IDP as the Certificate Type. Browse and then select the downloaded Certificate file. Click Save.
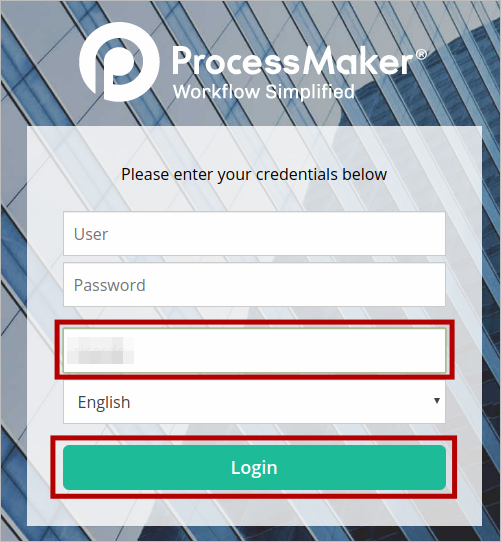
To be redirected to Okta login, in your ProcessMaker domain, enter the Workspace name and then click Login.
This redirects you to your Okta domain. Once in Okta, enter your Okta credentials and then click Sign In.
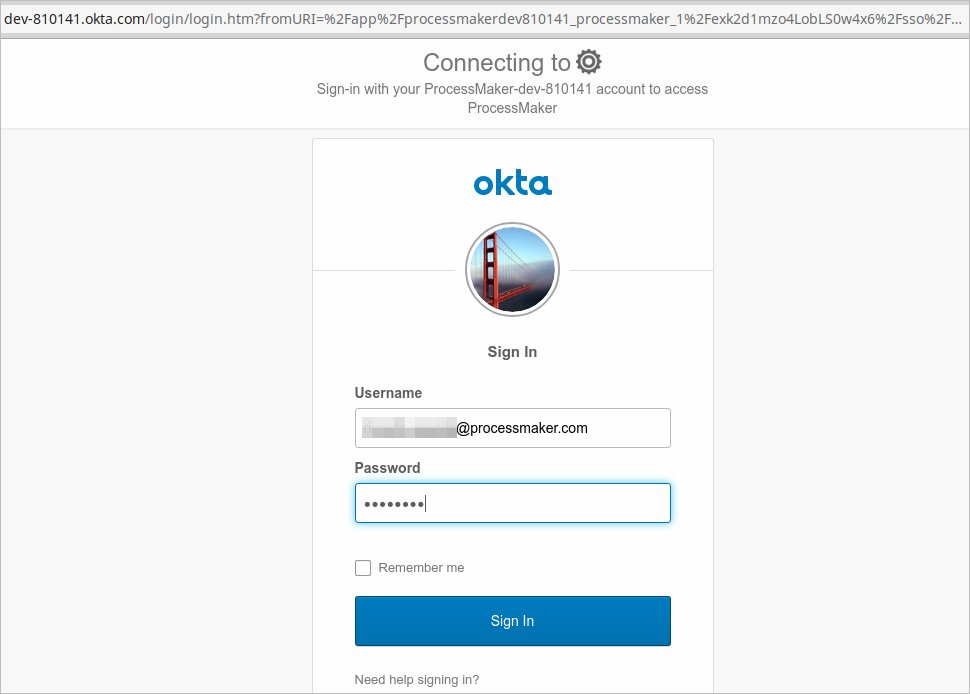
You are now logged on to ProcessMaker via Okta.